How to Perform a Complete Pantry Reset for Lasting Order
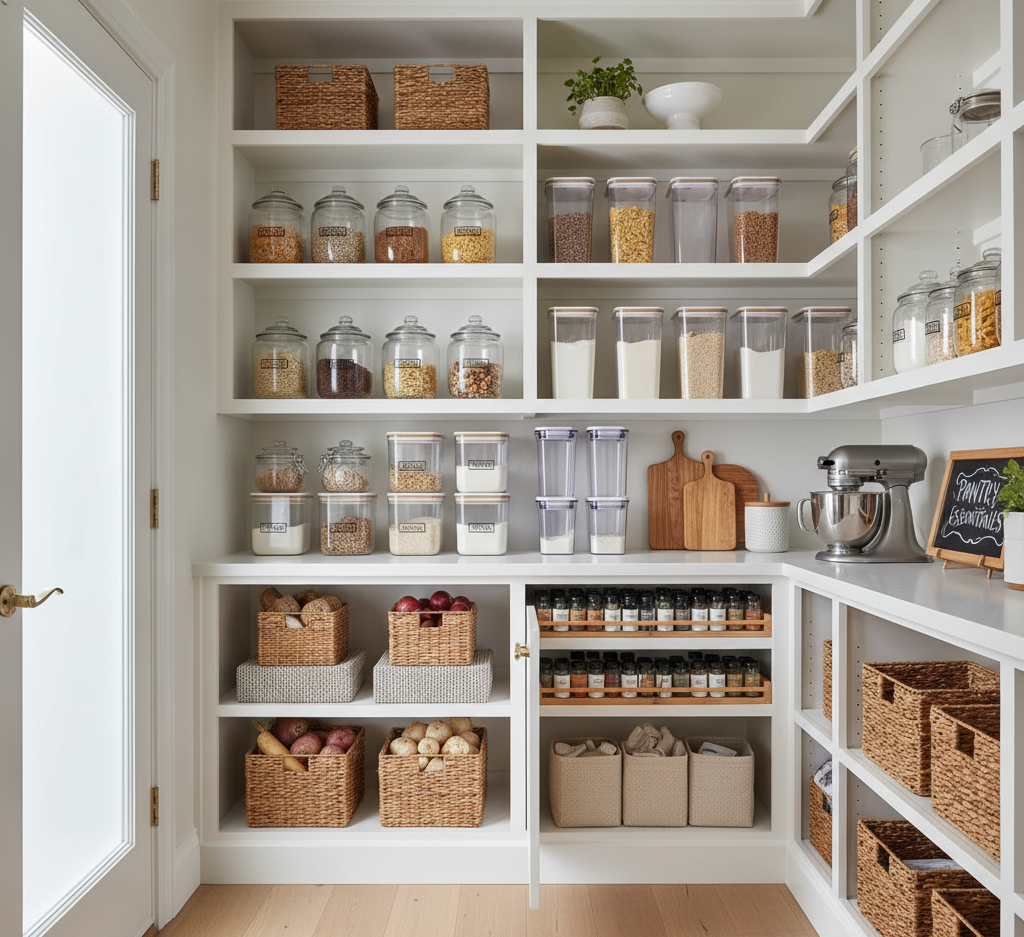
The kitchen pantry, whether it’s a grand walk-in closet or a simple cabinet, is the heart of a home’s food supply. It is meant to be a resource, a well-stocked library of ingredients and staples that supports daily meals and culinary creativity. Yet for many, the pantry becomes a source of stress and disorganization. It can quickly devolve into a chaotic jumble of half-used bags of pasta, precariously stacked cans, forgotten spices, and stale crackers. An untamed pantry is more than just an eyesore; it’s an inefficient system that leads to food waste, duplicate purchases, and a frustrating cooking experience. Taking control of this space is a transformative act that streamlines your kitchen, saves you money, and brings a sense of calm and order to the daily routine of feeding yourself and your family. Reorganization The first step in taming a chaotic pantry, and perhaps the most cathartic, is a complete reset. This requires pulling every single item out. Every can, every box, every bag must be removed from the shelves and placed on a countertop or table. This may seem like a daunting task, but it is non-negotiable. It is impossible to truly understand what you have or to properly clean the space with items still in the way. As you remove each item, begin the process of sorting. Create broad categories on your work surface: grains and pasta, canned goods, baking supplies, oils and vinegars, snacks, breakfast items, spices, and so on. This initial sort will immediately begin to reveal the state of your inventory. You will likely find three half-empty boxes of the same cereal, a collection of expired canned soups, and that jar of specialty chutney you bought for a dinner party two years ago. With everything out and sorted, the crucial purge begins. Pick up each item and inspect it, paying close attention to the expiration or best-by date. Be ruthless. Discard anything that is past its date. For items without a clear date, like a bag of flour secured with a twist-tie, use your best judgment. If it smells off, looks discolored, or you have no memory of when you bought it, it is best to let it go. This is not just about clearing clutter; it is about food safety and quality. Beyond expired items, consider the food you simply will not use. That bag of quinoa you bought with the best of intentions but have never cooked, or the tin of smoked oysters from a well-meaning relative. If an item has been sitting untouched for over a year, it is unlikely you will ever use it. If it is still in date and unopened, consider donating it to a local food bank. This process declutters your pantry of aspirational purchases and aligns it with the reality of how you and your family actually eat. Complete Cleaning Once the shelves are completely bare, the next step is a thorough cleaning. Pantries are notorious for accumulating a fine layer of dust, sticky spills, and a cascade of crumbs. Begin by vacuuming every shelf, starting from the top and working your way down. Use a crevice tool to get into the corners and along the edges where debris loves to hide. After vacuuming, wipe down all surfaces with a cloth dampened with warm water and a gentle all-purpose cleaner. Pay special attention to any sticky spots from leaked honey or syrup. Wipe down the walls and the baseboards as well. Finally, sweep and mop the floor. Starting with a truly clean, empty space is a psychological reset that provides a blank canvas for creating a new, functional system. With the space clean and your inventory edited down to only the items you will actually use, the process of thoughtful reorganization can begin. The guiding principles are visibility and accessibility. The goal is to be able to see what you have at a glance and to easily reach it. The most effective way to achieve this is through containment and zoning. Decant dry goods from their original, often bulky and flimsy, packaging into clear, airtight containers. Items like flour, sugar, rice, pasta, oats, and cereal are perfect candidates for this. Clear containers allow you to see instantly how much of an item you have left, preventing you from running out mid-recipe. They also protect your food from pests and keep it fresher for longer. Opt for square or rectangular containers over round ones, as they make much more efficient use of shelf space, fitting together without any wasted gaps. Most importantly, label every single container. Use a simple label maker or a chalk marker to clearly identify the contents and, if you wish, the expiration date. This step eliminates guesswork and prevents a costly mix-up between baking soda and baking powder. Establish Places Next, establish zones within your pantry for each food category. Think of your pantry shelves as real estate, with the most accessible spots being the most valuable. The shelf at eye level is your prime real estate. This is where you should store the items you reach for most often: everyday snacks, cereals, cooking oils, and your go-to grains. Heavier items, such as bulk bags of pet food, large jars of sauce, or cases of beverages, should be stored on the lower shelves or the floor to avoid having to lift them from overhead. The top shelf is best reserved for lighter, less frequently used items, like backup paper towels, specialty baking ingredients, or seasonal items. By assigning a permanent home for each category, you create a logical map of your pantry. You will always know where to find the pasta and where to put it away after a grocery trip. To maximize visibility within these zones, use organizational tools. Tiered risers are a game-changer for canned goods. By placing cans on a stepped shelf, you can see the label of every single can, not just the ones in the front row. This simple tool prevents cans from getting lost and forgotten
How to Perform a Complete Pantry Reset for Lasting Order Read More »