5 Reasons Why You need to Clean Your Toilet Tank Right Now
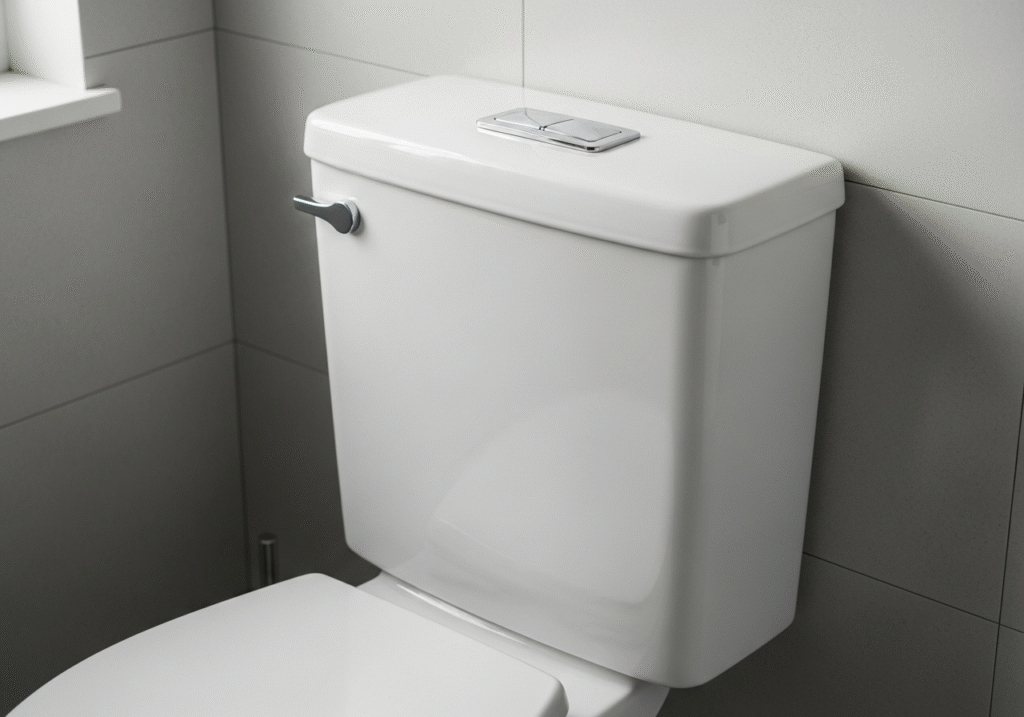
The toilet tank is a completely forgotten part of the bathroom. We scrub the bowl, disinfect the seat, and polish the handle with a regularity born of hygiene necessity. Yet, mere inches away from this ritual of sanitation lies a reservoir of filth that is almost universally ignored. The toilet tank, the porcelain box that looms behind the bowl, is the engine room of the fixture. It holds the water that initiates the flush, houses the mechanical components that regulate flow, and, unfortunately, serves as a dark, damp sanctuary for mold, mineral deposits, and bacteria. Neglecting the tank is a strategic error in bathroom maintenance. A dirty tank essentially sabotages every flush, sending contaminated water into your clean bowl, causing premature rust stains, and degrading the internal rubber seals that prevent leaks. To truly clean a bathroom, one must lift the heavy porcelain lid and address the ecosystem living inside. Stagnant Water To understand why cleaning the tank is vital, one must appreciate the chemistry of standing water. Unless you are flushing every few minutes, the water in the tank sits stagnant. In areas with hard water, minerals like calcium and magnesium precipitate out of the liquid and coat the walls of the tank and the mechanical parts. This limescale is not just an aesthetic issue; it is a mechanical one. It builds up on the float arm, making it stick. It crusts over the flapper seal, preventing it from closing tightly, which leads to the dreaded “running toilet” and wasted water. Furthermore, the tank is cool and dark. This environment promotes the growth of black mold and mildew, particularly on the porous unglazed ceramic of the tank’s interior walls. If you have ever scrubbed a ring of mold from your toilet bowl only to see it return three days later, the spores are likely being delivered from the tank with every flush. The process of cleaning a toilet tank requires a departure from standard cleaning protocols because you are dealing with plumbing mechanics and a large volume of water. Safety is the first step. You cannot clean the tank while it is full. Locate the water shut-off valve, usually a football-shaped knob on the wall behind the toilet near the floor. Turn it clockwise until it stops. This cuts the supply. Next, flush the toilet. Hold the handle down to allow as much water as possible to drain from the tank into the bowl. There will still be an inch or so of water left at the bottom. To remove this, you need a large sponge. Soak up the remaining liquid and wring it into the bowl or a bucket until the tank is effectively dry. This step is crucial because it exposes the sediment at the bottom and prevents your cleaning agents from being diluted. Sludge and Rust Once the tank is empty, you will likely see a landscape of rust-colored sludge or white, crusty mineral deposits. The primary weapon for this battle is not bleach, but white distilled vinegar. Vinegar is a mild acid that is incredibly effective at dissolving calcium carbonate (limescale) and breaking down rust. If the mineral buildup is severe, you might need to plug the drain hole and fill the tank with pure vinegar, letting it sit for twelve hours to dissolve the rock-hard deposits chemically. For a standard clean, pouring vinegar into a spray bottle and liberally saturating the walls, the floor of the tank, and the plastic components is sufficient. Let the acid dwell for at least thirty minutes. This dwell time allows the chemical reaction to occur, softening the deposits so they can be removed without aggressive chipping that could crack the porcelain. While the vinegar works, inspect the hardware. The flapper—the rubber valve at the bottom—is the most critical component. Over time, chlorine from city water and chemical cleaners can cause the rubber to blister, warp, or disintegrate. If the flapper leaves black, inky residue on your fingers when you touch it, it is decomposing and needs to be replaced immediately. If it is simply slimy with algae, wipe it down gently with the vinegar solution. The fill valve and the float mechanism also need attention. Gently scrub these plastic parts with a soft brush, like an old toothbrush, to remove algae or mineral grit that might impede their movement. It is vital to be gentle here; these parts are often made of plastic that can become brittle over time, and snapping a float arm turns a cleaning job into a plumbing repair. Time to Scrub After the soak, manual agitation is required to lift the grime. A long-handled scrub brush is ideal for the walls of the tank. You do not need to scrub until the porcelain looks brand new; the unglazed interior will always be rough and slightly discolored. The goal is to remove the loose debris and the biological growth. Pay special attention to the corners and the area around the rim where the lid sits, as dust often enters here. If you encounter stubborn rust stains that vinegar won’t shift, a pumice stone can be used, but only if both the stone and the surface are wet. Use extreme caution, as aggressive scouring can scratch the ceramic. A critical warning must be issued regarding the use of bleach. There is a common impulse to pour a gallon of bleach into the tank to “nuke” the bacteria. This is dangerous for two reasons. First, if you have used vinegar, adding bleach creates chlorine gas, a potentially lethal chemical weapon. Never mix these two substances. Second, bleach is highly corrosive to rubber. It will attack the flapper and the gaskets that seal the tank to the bowl. Chronic use of bleach in the tank is the leading cause of premature toilet leaks. It dries out the rubber, causing it to crack and crumble. The blue “drop-in” tablets sold in supermarkets are essentially concentrated bleach pucks. Plumbers universally advise against them because they sit against the seals
5 Reasons Why You need to Clean Your Toilet Tank Right Now Read More »