Downsizing a Toronto Home: Clear Out, Then Clean
On this page
To downsize your Toronto home, confirm what stays with the sale, measure the new space, sort belongings and arrange their departure. Plan the final clean for the empty house after the movers leave.
Plan the clear-out around your closing date
Start early and work one room at a time, beginning with the easiest room rather than the fullest storage area. Put the closing date, moving arrangements, family collections and final clean on the same calendar. Give each outgoing item a destination before you pack it.
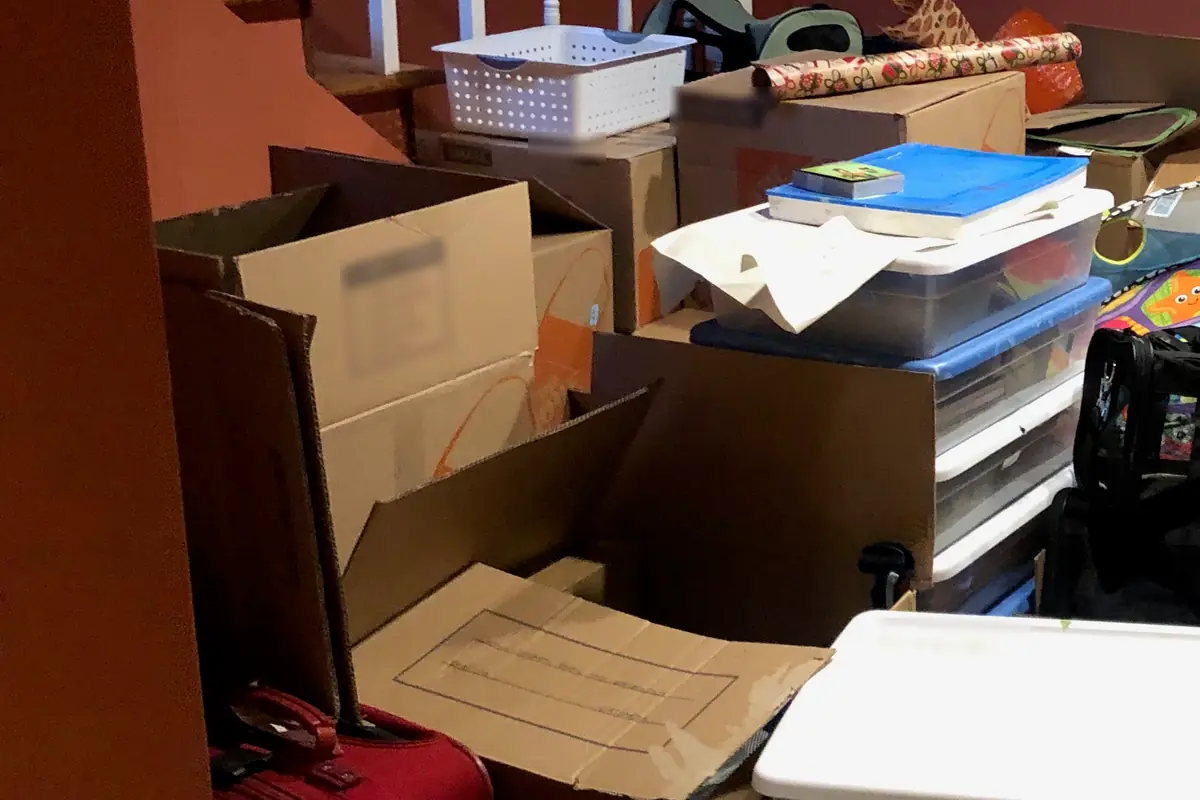
Measure the new home and decide which furniture fits before sorting the rest. Sketch where the bed, sofa, dining table and storage pieces will go, and compare their dimensions with the available space. Include doorways and the route into each room in your checks. A piece that has a place on the plan can go on the keep list; leave undecided furniture unpacked until you have checked it.
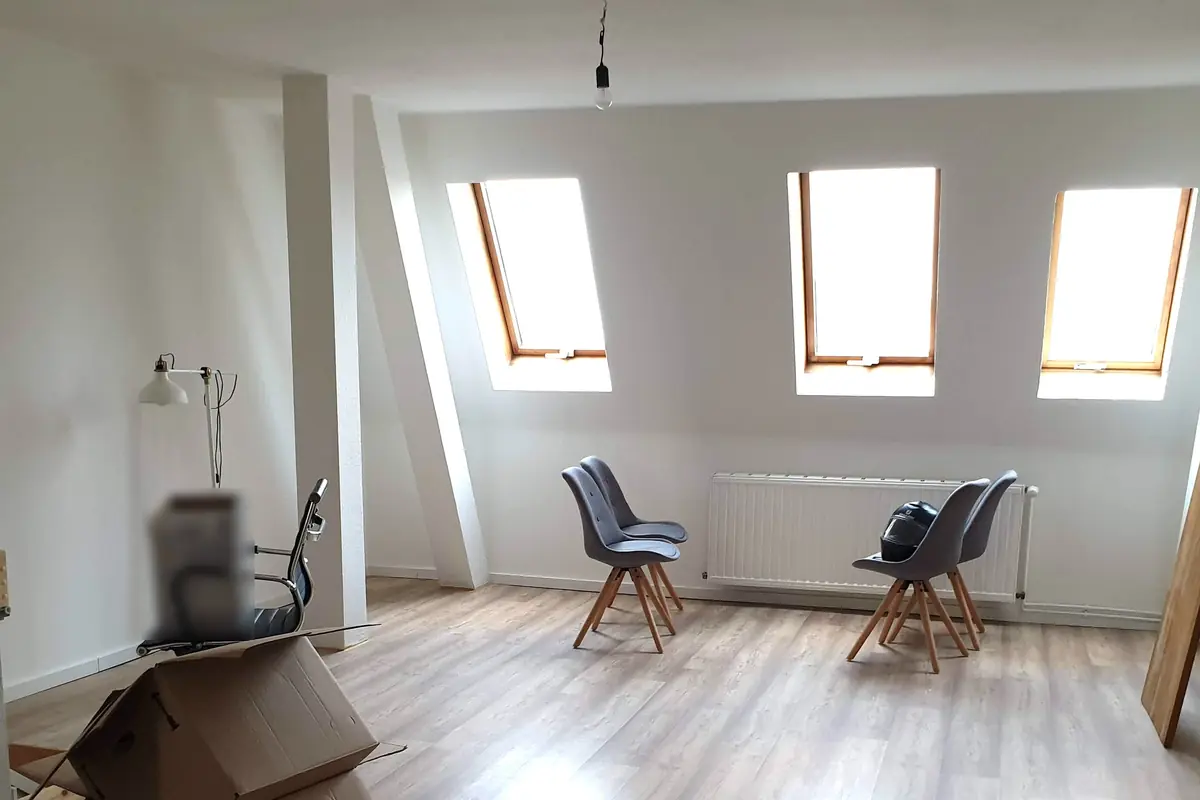
For a move into a compact Liberty Village suite, where a desk can share the living room, give each retained piece a defined job. If the new living area also serves as your workspace, check that the furniture plan leaves room for both uses before arranging donations.
The Real Estate Council of Ontario’s seller’s checklist says to make sure the listing accurately identifies items included and not included in the sale, such as the water heater, appliances, light fixtures and window coverings, and to have a contingency plan if buying and selling closing dates do not line up.
Use that included-items list as your stay-put reference while sorting. Label the relevant fixtures and appliances on your working checklist so helpers do not treat them as donations. For a closing-date gap, write down where you and your belongings will go, then confirm those arrangements before setting collection dates.
Sort room by room: keep, give, donate or discard
Set up four clearly labelled groups in each room:
- Keep: belongings with a use and a place in the new home.
- Give to family: items someone has agreed to take.
- Donate or sell: reusable belongings you are ready to pass on.
- Discard: items needing an appropriate disposal route.
Keep the groups separate as you work. A box marked “family” still needs a recipient and collection arrangement; a donation box needs an organisation that accepts its contents. Avoid moving unresolved boxes into another room just to make the first room look finished.
In Homes & Gardens, Lina DaSilva, professional cleaner and founder of Toronto Shine Cleaning, advocates a six-month rule for drawers: reassess the drawer every six months and treat anything not touched since the last declutter as a candidate to throw out, because if it has not been essential until now, it likely will not be in the future.
Use that question when you reach the just-in-case drawer. A candidate to go still needs a destination; decide whether it belongs with reusable items or disposal rather than putting everything straight into a garbage bag.
Kitchen and dining
Keep the dishes, cookware and tools you use, then compare that selection with the new kitchen’s cupboard space. Lay duplicate utensils and serving pieces together so you can choose deliberately. Box the remainder for family or donation only after deciding who will take it.
Separate dishes you still need while living in the house from packed belongings. Mark cupboards as cleared when their contents have been sorted, so helpers know which areas remain.
Closets and bedrooms
Empty each closet and sort its contents before refilling any part of it. Wipe shelves as they clear, then pack the belongings you are keeping by their destination in the new home. Check the closet floor, upper shelf and back of the door before calling it finished.
Agree on keepsakes and furniture with family early. Ask each person to identify what they want and arrange collection. Return anything you are storing for others rather than deciding its destination on their behalf.
Basement, garage and storage
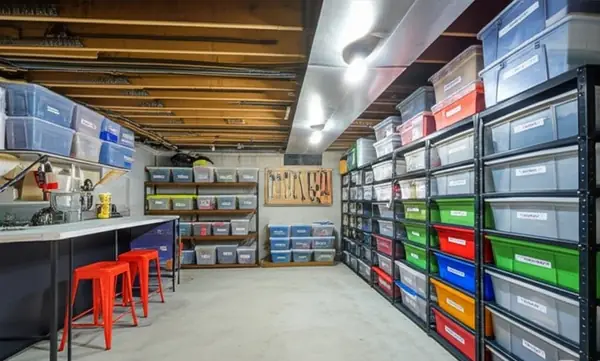
Open old boxes first instead of carrying them unopened to the new address. Check the contents, match loose pieces with their sets and sort each box completely. Keep paint, cleaners and batteries apart from the furniture-disposal group for the City routes below. For the room itself, the basement sorting and cleaning tips offer a useful next step once the boxes are cleared.
Where it goes in Toronto
Make a departure list alongside your room checklist. Record what is leaving, where it is going and who is taking it. Recheck the list before moving day so a donation awaiting acceptance does not get confused with a confirmed collection.
The City of Toronto’s donation and reuse guidance lists non-profit organisations accepting clothing, books, toys and more, along with City-permitted clothing drop boxes; it says to check acceptance and condition requirements first, donate nothing wet, mildewed or contaminated with hazardous waste, and leave nothing outside drop-off locations or bins.
Contact the organisation before loading furniture or sealing mixed donation boxes. Keep accepted items together and label their destination. Under the same City guidance, apartment and condo residents should ask their building manager where to bring furniture or appliances that are not accepted for reuse.
The City of Toronto’s oversized-item collection rules say it picks up oversized items beside your garbage bin on garbage collection day, with an annual fee paid by each house whether used or not; leave 0.5 metres between items, remove appliance doors, including those on fridges and ovens, roll, cut and tie carpet into bundles no longer than four feet and no heavier than 20 kilograms, and take household hazardous waste such as cleaners, paint and batteries to a Drop-Off Depot or book a home pickup for 10 to 50 litres or kilograms, with no fee for those items.
Distinguish curbside furniture from hazardous waste going to a depot or awaiting home pickup on your departure list. Confirm the disposal arrangements before clearing the storage shelf, so the containers have a planned destination. Check off each group only after it has left, not merely when it has been moved out of its original room.
Cleaning the empty house for the new owners
Do the final clean once the movers have gone. Check for dust and marks where furniture stood, inside closets and cupboards, and behind appliances that stay. Work from higher surfaces down, leaving floors until the other tasks are complete.
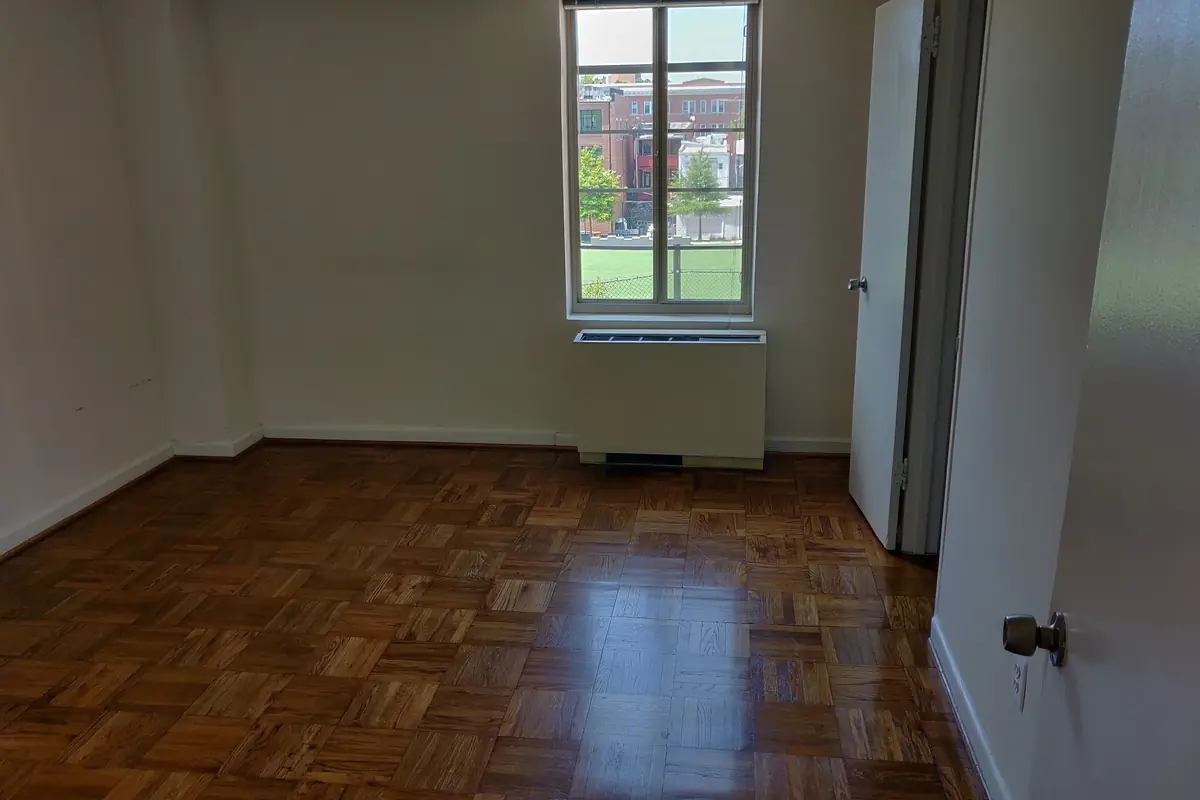
Use this order for a do-it-yourself handover clean:
- Walk through the empty rooms. Open closets and cupboards, check that belongings are gone, and identify the surfaces needing attention.
- Start above floor level. Dust reachable surfaces, then wipe door frames, window sills, vents, fans, handles and switches. Clean mirrors and glass fixtures.
- Finish the kitchen. Clean countertops, backsplash, range hood, sink and faucets. Wipe appliance and cupboard exteriors, then clean the interiors of appliances and cabinets that stay.
- Finish the bathrooms. Clean the toilet, sink, faucets, tub, mirrors, doors and cabinet exteriors. Check corners and the floor around fixtures.
- Return to cleared storage areas. Wipe inside closets and cupboards, check shelf edges, and look at the exposed areas behind appliances where accessible.
- Do floors last. Vacuum, then mop with the method appropriate to the floor’s care instructions. Work towards the exit so you do not carry supplies back across finished areas.
If you are still living there for listing photos, separate that preparation from the empty-house handover. Plan a deep clean a few days before the photographer, then the move-out clean after belongings leave. The distinction between deep and move-out cleaning helps you choose the stage you need.
For a booked clean, specify inside-oven, inside-fridge and inside-cabinet add-ons when those interiors need attention. Use your included-items list to check the appliances and fixtures being handed over, rather than assuming exterior cleaning also includes every interior.
When to bring in help
Clean the empty house yourself if you can finish after moving; book help when packing leaves little capacity. Toronto Shine Cleaning’s move-out clean covers an empty home’s kitchen, bathrooms, baseboards, vents and fans; oven, fridge and cabinet interiors are add-ons.
Move-out base rates:
- $224 before HST for Studio or 1 bedroom, 1 bath, under 600 sq ft.
- $287 before HST for 2 bedrooms, 1 bath, 600 to 1,199 sq ft.
- $367 before HST for 3 bedrooms, 2 baths, 1,200 to 1,999 sq ft.
- $458 before HST for 4 bedrooms, 3 baths, 2,000 to 2,499 sq ft.
Call (647) 424-0355.
Frequently asked questions
How can we keep track when several family members are helping?
Use a shared item list. Record the item, its room, its destination and the person arranging its departure. Add a photo for furniture or boxed collections so helpers can identify the right belongings without reopening everything.
What should I keep unpacked for the move itself?
Pack a separate essentials bag. Put the documents, chargers, clothing and everyday items you want within reach together, rather than mixing them into room boxes. Label it clearly and keep it with the belongings you are carrying yourself.
How should I label boxes for a smaller home?
Label by destination. Use the room or cupboard in the new home rather than only the room the contents came from. Add a short contents description, and mark boxes that need unpacking first so they remain easy to identify.