May 12, 2024

Luxurious white pillow and pastel duvet on a serene bed setting.

7 Easy Steps for a Pillow Deep Clean

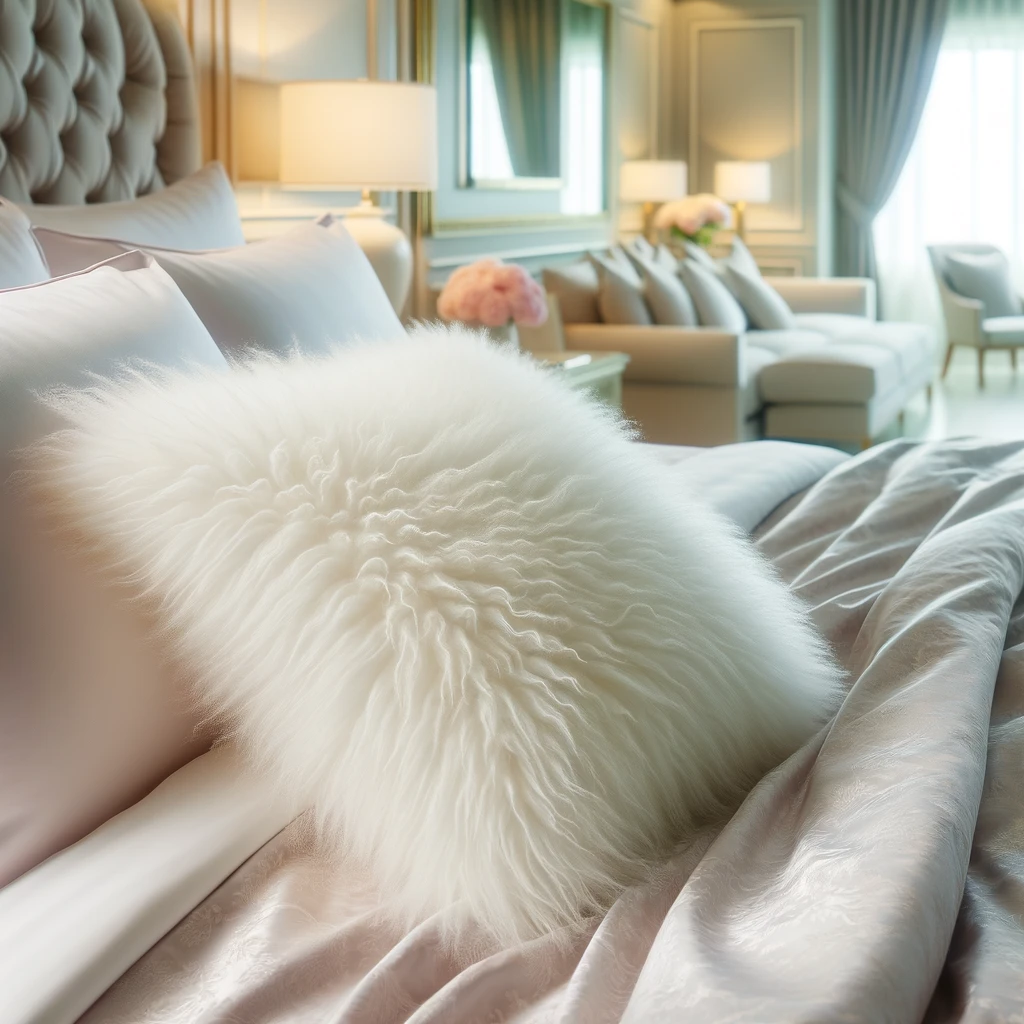
Hey there! Ever wondered if there’s a simple way to freshen up those pillows you cozy up with every night? Good news—you can give your pillows a deep clean without breaking a sweat! Regular washing not only keeps your bedding fresh but also extends the life of your pillows. Here’s a straightforward guide to getting your pillows clean, fluffy, and ready for some serious snoozing. 1. Introduction to Pillow Cleaning Keeping your pillows clean is more than just a matter of good hygiene; it’s essential for ensuring a comfortable and allergen-free sleep environment. Over time, pillows can accumulate dust, skin cells, and even dust mites, which can exacerbate allergies and disrupt your sleep. Regular cleaning not only removes these irritants but also helps maintain the structural integrity and comfort of your pillows. By adhering to a consistent cleaning schedule, you ensure that the pillows you rest your head on every night are fresh, fluffy, and conducive to a good night’s sleep. The benefits of regular pillow maintenance go beyond just cleanliness. Freshly cleaned pillows can significantly enhance the overall feel of your bedding, making your sleep environment more inviting and restful. Additionally, regular washing helps extend the lifespan of your pillows by preventing the buildup of oils and skin cells that can break down the materials over time. This means not only better sleep quality but also cost savings, as your pillows will need replacing less frequently. If the thought of deep cleaning your pillows seems daunting or if you simply don’t have the time, Toronto Shine Cleaning can help. Our professional deep cleaning services are designed to rejuvenate your bedding and other household items, ensuring they are thoroughly cleaned and refreshed. Trust us to handle the heavy lifting when it comes to maintaining your home’s cleanliness, so you can enjoy a healthier, more comfortable living environment. 2. Check the Care Label Checking the care label is the first and crucial step in your pillow cleaning journey. Before diving into the cleaning process, take a moment to locate and read the care label attached to your pillow. This tag is packed with essential information that guides you on how to properly handle and clean your pillow without causing any damage. It’s like having a mini instruction manual stitched right into your pillow! Most pillows, especially those filled with synthetic fibers or down, are generally safe to wash in a machine. This makes it convenient to keep them clean and fresh. However, if you’re dealing with specialty pillows, like those made from memory foam or latex, the care label might advise against machine washing. These materials often require more gentle care, such as spot cleaning or airing out, rather than a spin in the washer. So, always check this label first to ensure you’re taking the best care of your pillow, keeping it fresh and extending its lifespan.     3. Remove Pillow Covers When it’s time to deep clean your pillows, the first step after checking the care labels is to remove all pillowcases or protective covers. These covers often collect a majority of the oils, sweat, and dust that accumulate through regular use, acting as the first line of defense for your pillow. To ensure that both your pillow and its cover are thoroughly clean, it’s crucial to wash these covers separately. Following the specific care instructions on the tags of your pillowcases and protective covers will help maintain their quality and durability. Washing them separately also prevents any possible transfer of colors or textures that might happen if they were washed with your pillows or other laundry items. Additionally, cleaning the covers at the same time as the pillows ensures that once everything is clean and dry, you can immediately dress your pillows in fresh, clean covers, keeping your sleeping environment hygienic and inviting. 4. Prep Your Pillows Prepping your pillows before washing them is an essential step in the deep cleaning process. Start by giving your pillows a vigorous shake. This helps to fluff them up and loosen any dust particles that have settled into the fibers. Shaking not only revives the pillow’s shape but also makes the cleaning process more effective by exposing more surface area to the cleaning agents. For an added touch of freshness, lightly sprinkle baking soda across the surface of each pillow. Baking soda is a fantastic natural deodorizer that works by absorbing unpleasant odors rather than just masking them. Allow the baking soda to sit on the pillows for about 15 minutes. This brief period gives the baking soda enough time to neutralize odors and slightly pull out moisture and oils from the pillow fabric. After the time has elapsed, simply brush off the excess baking soda lightly or vacuum it with an upholstery attachment before proceeding with the wash.     5. Machine Wash If your pillow is labeled as machine washable, you’re in luck because it simplifies the cleaning process significantly. To get started, place two pillows in the washing machine to help keep the machine balanced. This ensures that the load runs smoothly without causing excessive vibration or noise during the cycle. If your washer is large enough, fitting two pillows shouldn’t be a problem, but do make sure they aren’t squeezed too tightly; they need some room to move around in order to get properly cleaned. Select a gentle cycle on your washing machine to treat your pillows with care. Use warm water combined with a mild detergent that won’t be harsh on the pillow’s fabric or filling. This combination helps to clean effectively while being gentle enough to preserve the integrity and comfort of your pillows. A pro tip to keep in mind during the drying phase is to throw a couple of tennis balls into the dryer along with your pillows. Place the tennis balls into clean socks to avoid any color transfer and add them to the dryer. As the dryer tumbles, these tennis balls will bounce around and help fluff up the

7 Easy Steps for a Pillow Deep Clean Read More »

Middle-aged person changing linens in a serene, tidy bedroom with a large white bed.

How to Clean Your Mattress: 5 Proven Methods for a Deep Clean

When it comes to keeping your home clean, one often overlooked item is your mattress. Despite being used every night, many of us don’t think to give it a proper clean. But just like any other part of your home, your mattress can accumulate dust, dirt, and allergens, and therefore benefits greatly from regular cleaning. Whether you’re dealing with dust mites, stubborn stains, or just want to freshen things up, here are five proven methods to deep clean your mattress effectively. 1. Start with Vacuuming To kick off your mattress cleaning routine, begin with a thorough vacuuming session. This step is essential for removing surface dust, dead skin cells, and other small particles that have gathered over time. The process is simple but effective and serves as an excellent foundation for deeper cleaning methods. You’ll need a reliable vacuum cleaner equipped with an upholstery attachment. This specialized tool is designed to handle the soft fabric of your mattress without causing any damage. First, remove all the bedding from your mattress, including sheets, mattress covers, and any protectors you might be using. Wash these items as recommended on their care labels to eliminate dust and allergens. Once your bedding is in the wash and your mattress is bare, attach the upholstery tool to your vacuum cleaner. Begin to vacuum the entire surface of the mattress. Make sure to go over the top and the sides thoroughly. Focus particularly on the seams and crevices, as these areas tend to trap more dirt and dust. While vacuuming might seem like a basic step, it’s incredibly effective at maintaining the cleanliness and longevity of your mattress. Regular vacuuming every couple of months will ensure that the everyday accumulation of debris doesn’t get a chance to build up, keeping your sleeping environment fresh and hygienic.     2. Spot Cleaning Stains The next step in achieving a deeply cleaned mattress involves tackling those inevitable stains that result from spills, accidents, or just general use. Spot cleaning is a targeted approach that focuses on removing these blemishes without having to clean the entire mattress. For effective spot cleaning, gather a mild dish soap or an enzyme-based cleaner, which is particularly good at breaking down organic stains like sweat or urine. You’ll also need some cold water and a clean, absorbent cloth. Begin by mixing a small amount of your chosen cleaner with cold water. The cold water helps to prevent the stain from setting further into the mattress. Dip your clean cloth into this solution, ensuring it’s damp but not overly wet. Next, press the damp cloth gently against any stains on your mattress. It’s crucial to blot these spots gently. Rubbing can push the stain deeper into the mattress fibers or cause it to spread, making it more noticeable. After you’ve successfully lifted the stain, use another dry cloth to dab the cleaned area. This helps absorb any remaining moisture, which is important for preventing mold or mildew from developing in your mattress. This method is particularly effective for removing specific stains and should be employed as soon as any spill or accident occurs. Prompt action increases the likelihood of completely removing the stain, keeping your mattress looking and smelling fresh. By maintaining a stain-free mattress, you contribute significantly to the overall cleanliness and longevity of your sleeping area. 3. Deodorize with Baking Soda An essential step in the deep cleaning process for your mattress is deodorization. Over time, mattresses can start to accumulate smells from sweat, spills, and other environmental factors. Baking soda, with its natural odor-absorbing properties, is an excellent and simple solution for refreshing your mattress and eliminating any unpleasant odors. All you need is some baking soda, which is readily available and highly effective for this purpose. To make the application easier, use a sieve or a shaker for even distribution. Start by evenly sprinkling a generous amount of baking soda across the entire surface of your mattress. Make sure you cover all areas, including the mattress sides if accessible. The baking soda works by absorbing moisture and odors from the fabric and fillings of the mattress. For the best results, leave the baking soda on the mattress for several hours, or even better, overnight. This extended exposure allows the baking soda ample time to absorb as much odor and moisture as possible. After the waiting period, thoroughly vacuum up all the baking soda from the mattress. Use the upholstery attachment of your vacuum cleaner to ensure you remove all the powder, particularly from seams and crevices where it might accumulate. This deodorization method not only leaves your mattress smelling fresh but also plays a crucial role in maintaining a clean and hygienic sleeping environment. Regular application of baking soda can significantly extend the fresh feel and overall lifespan of your mattress.     4. Steam Cleaning Steam cleaning is a highly effective and thorough method for deep cleaning your mattress. This technique not only helps in removing surface dirt and stains but also penetrates deep into the mattress fibers to eliminate dust mites and bacteria. Given the importance of maintaining a clean and allergen-free sleeping area, steam cleaning your mattress can significantly enhance the cleanliness of your bedroom. What You Need: To get started, you’ll need a garment steamer or you can opt to rent a steam cleaner if you don’t own one. Both tools are effective at producing the steam needed for this deep cleaning method. Steps to Follow: First, fill your steamer with water and allow it to heat up until steam begins to form. Then, slowly move the steamer over the entire surface of your mattress. It’s important to keep the steamer moving to avoid saturating any single area, which could inadvertently dampen the mattress too much. The steam will penetrate the mattress fibers, killing dust mites and bacteria that are residing deep within. After steaming, it’s crucial to let your mattress air dry completely. This step might take several hours, depending on the ventilation of

How to Clean Your Mattress: 5 Proven Methods for a Deep Clean Read More »