June Checklist: 5 Essential Places in Your Home That you Need to Prepare This Month
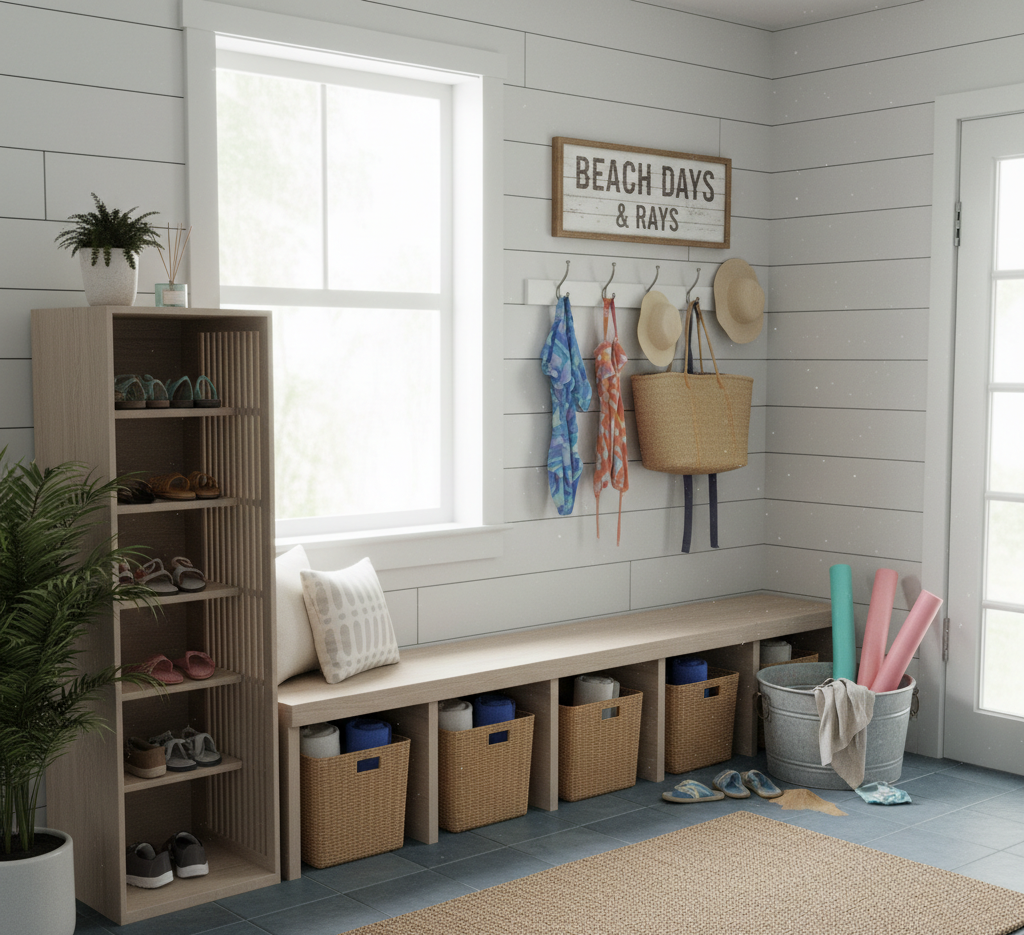
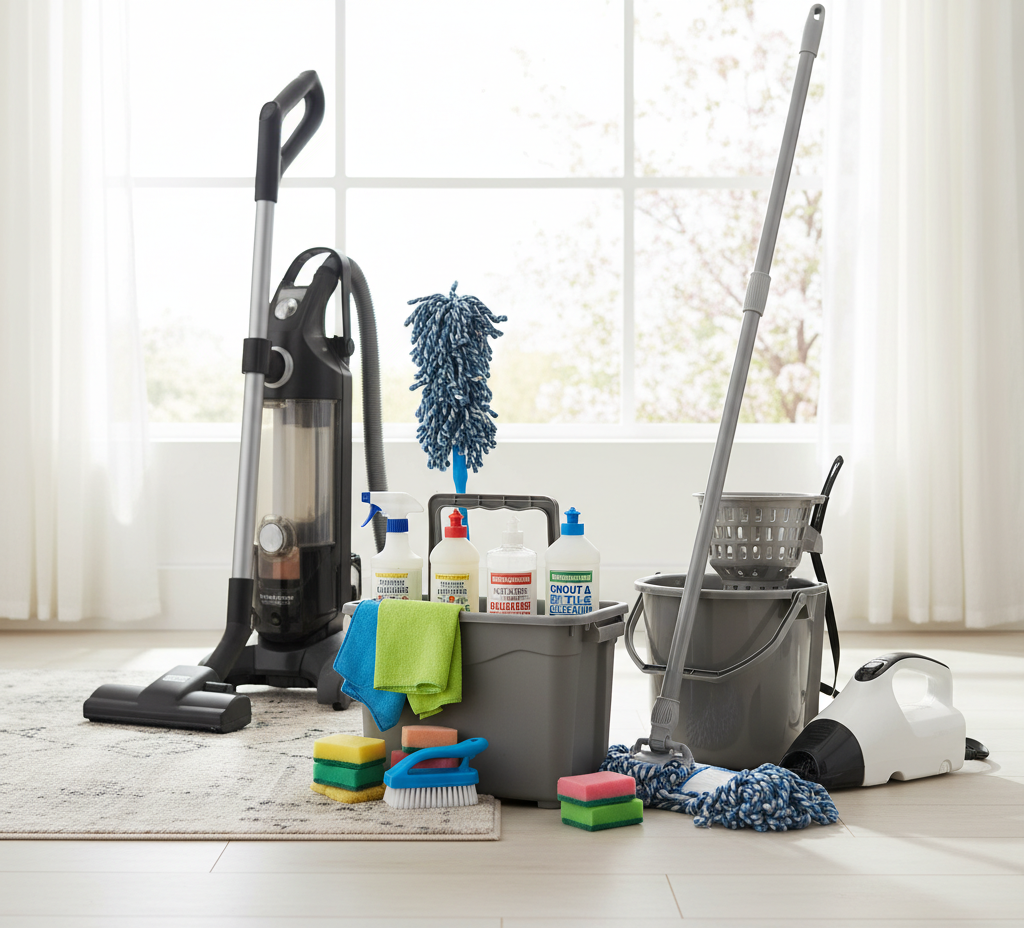
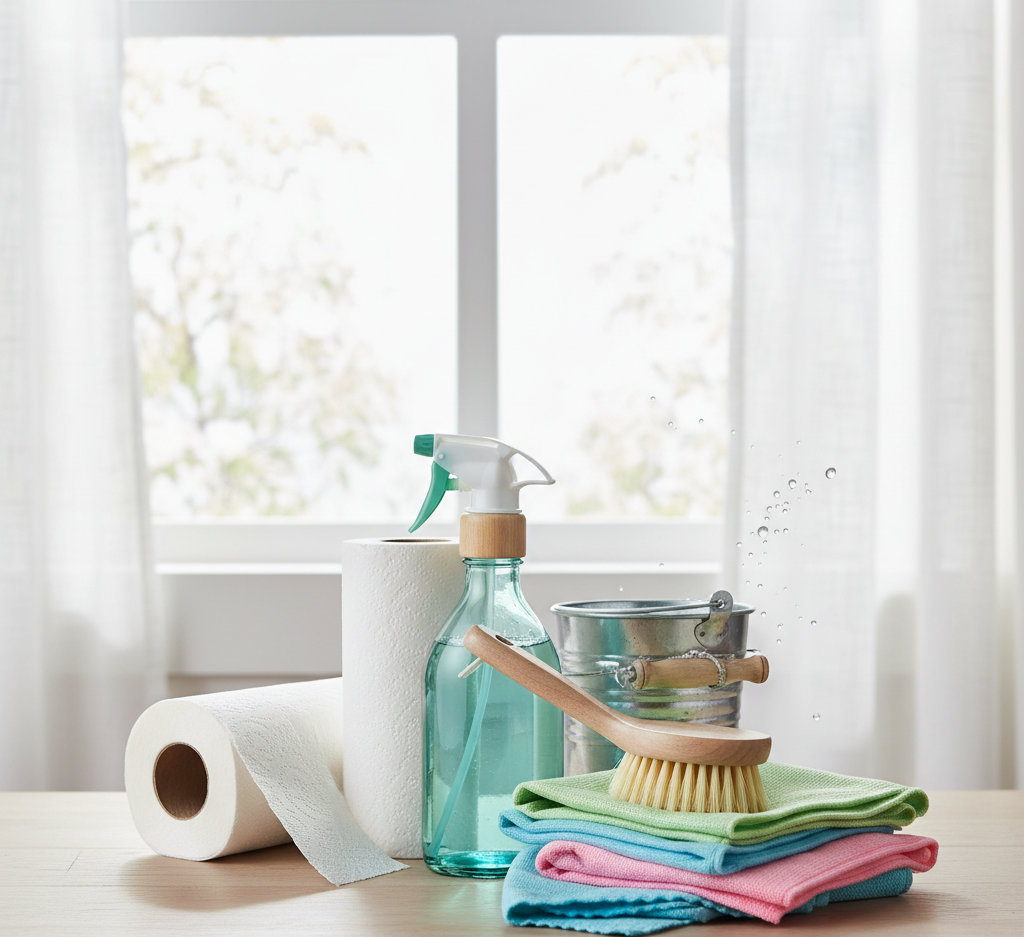
June in Canada is a glorious and transformative month, and completing a targeted June Checklist is the best way to prepare your home for the season ahead. It represents the official start of the summer season, bringing with it the longest daylight hours of the year, warm and consistent temperatures, and the anticipation of summer vacations and outdoor gatherings. As the daily routine shifts towards spending more time in the backyard, at the park, or by the water, the physical demands on our homes undergo a corresponding shift. To ensure your living space remains comfortable, energy-efficient, and easy to maintain during the busy, active months ahead, it is essential to work through a targeted home maintenance and cleaning checklist designed specifically for the month of June. Taking a systematic approach to preparing your cooling systems, securing pest barriers, cleaning windows, organizing outdoor spaces, and pest-proofing your kitchen allows you to protect your property and enjoy the beautiful Canadian summer with complete peace of mind. Refrigeration and Ventilation The absolute first priority on your June checklist must be the preparation of your home’s cooling and ventilation systems. The long heating season is well behind us, and the hot, humid days of summer are arriving. June is the critical month to service these systems to ensure they run efficiently and maintain good indoor air quality. Start by replacing your furnace filter. Even if you are not running your furnace, your central air conditioning relies on the same air handler and ductwork to circulate cool air throughout the house. A fresh filter ensures maximum airflow, allowing your air conditioning system to cool the home faster with less energy, while trapping the summer dust, pollen, and pet dander that circulate through the open windows. The outdoor central air conditioning condenser unit requires its own specific maintenance in June. Over the spring, as lawns are mowed and trees shed their seeds, the metal fins of the outdoor condenser can become clogged with grass clippings, dead leaves, and the fluffy, white seeds of cottonwood trees. This accumulation acts like an insulating blanket, trapping heat inside the unit and forcing your system to work significantly harder to cool your home, which increases energy bills and can lead to compressor failure. Turn off the power to the unit and use a garden hose with a gentle spray—never a pressure washer, which can bend the delicate aluminum fins—to wash away all the debris from the outside in. Clear away any tall weeds, shrubs, or overhanging branches within a two-foot radius of the unit to ensure unrestricted airflow. Indoors, take the time to deep clean all ceiling fans. Over the winter, a thick, furry layer of dust accumulates on the top edge of the blades. If you turn the fan on high without cleaning it first, this dust will be flung across the entire room, settling on your furniture and carpets. Wipe down each blade with a microfiber cloth dampened with a mild cleaning solution before switching the fan’s rotation to counter-clockwise for the cooling summer breeze. Windows With the cooling systems prepared, the next focus of your June checklist should be on the windows and the barriers that keep outdoor elements where they belong. June is peak season for airborne pollen, dust, and insects, and your windows are the primary entry point for these nuisances. Begin by removing all window screens. Take them outside and scrub them gently with a soft brush and a solution of warm, soapy water to remove the yellow film of pollen and dirt that has collected on them, then rinse them thoroughly with a hose. Cleaning the screens not only improves the view but also ensures that the fresh air entering your home is clean, rather than being filtered through a layer of old dirt. Next, perform a deep clean of the window tracks and sills. This is an area that is often neglected, leading to an accumulation of dirt, condensation stains, and dead insects that can cause sliding windows to stick. Vacuum out the loose debris first, then sprinkle a little baking soda into the track and spray it with white vinegar. Let the fizzing reaction sit for ten minutes to loosen the grime, then scrub the track with an old toothbrush and wipe it clean with a cloth. Inspect the weatherstripping around your windows and the door sweeps at the bottom of exterior doors. Any gaps or worn seals should be replaced immediately, as these are the primary entry points for ants, spiders, and mosquitoes seeking refuge from the summer heat. Kitchen The third area of focus on your June checklist is the transition of your kitchen into a pest-proof and efficient summer zone. Warm weather and increased indoor-outdoor traffic make the kitchen highly vulnerable to infestations of ants, fruit flies, and pantry pests. The most effective defense is a deep clean that eliminates potential food sources. Pull your stove and refrigerator away from the wall to vacuum and scrub the floors and walls behind them, where grease splatters and fallen food particles accumulate. Meticulously clean out the kitchen garbage can and recycling bins, washing them thoroughly with hot, soapy water and disinfectant to remove any sticky residues and lingering odors. Deep clean your garbage disposal by grinding ice cubes, coarse salt, and lemon peels through the unit to scour the blades and eliminate the fermenting organic sludge that attracts fruit flies. Finally, audit your pantry, transferring flour, sugar, cereal, and other dry goods from their original cardboard boxes into airtight glass or plastic containers. Exterior June is also the peak of the outdoor entertaining season, making the preparation of your deck, patio, and barbecue a major priority. Sweep away all dead leaves, twigs, and winter debris from your outdoor surfaces. If your wooden deck or stone patio has developed a layer of green algae or mold from the spring rains, scrub it with a deck brush and a gentle, non-toxic cleaner to remove the slippery residue. Inspect your patio furniture,
June Checklist: 5 Essential Places in Your Home That you Need to Prepare This Month Read More »