6 Easy Tips On How To Clean Your Dishwasher With Vinegar
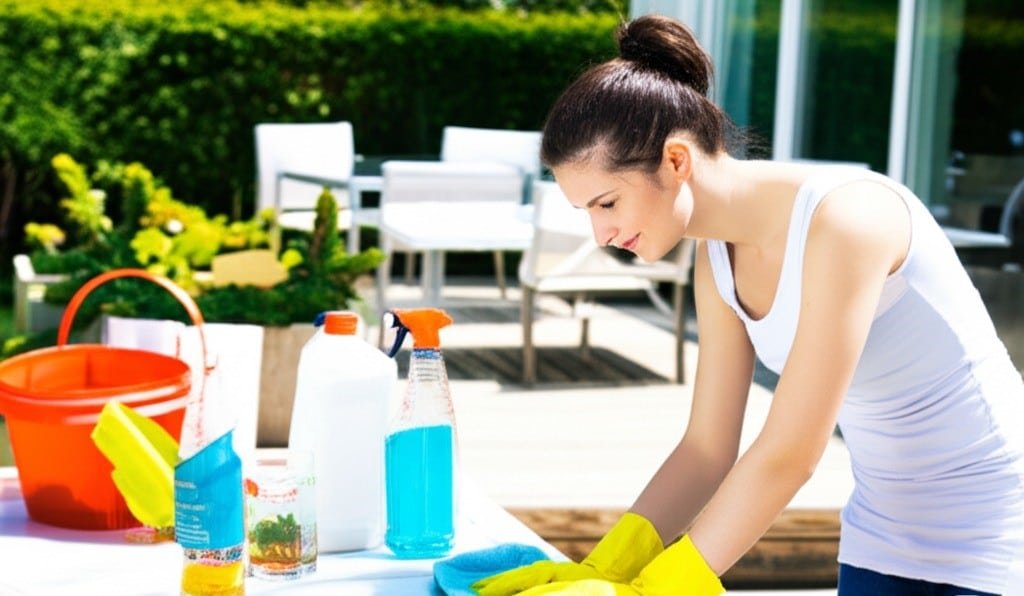
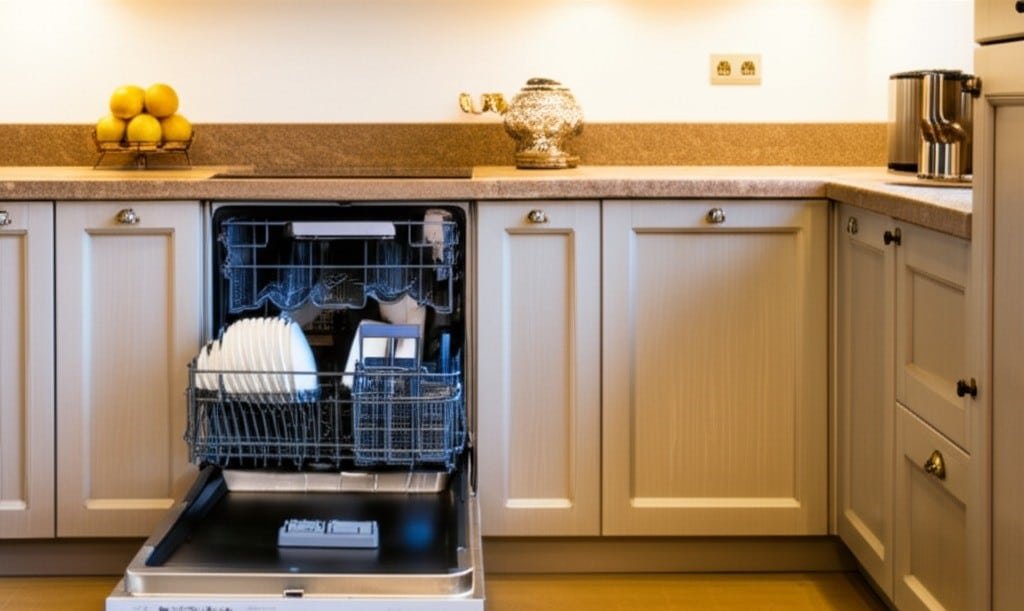
A dishwasher, in its daily work, cleans plates, glasses, and cutlery. It processes food residues, grease, and detergents. Over time, these elements do not simply vanish. They accumulate. Food particles, soap scum, and the minerals from hard water deposit themselves on the internal surfaces, within the filter, and on the spray arms. This buildup leads to several common issues: dishes emerging with cloudy spots or a film, an unpleasant odor emanating from the appliance, and a general decline in the machine’s efficiency. The very appliance designed to clean becomes a source of uncleanliness. Its performance diminishes, and its lifespan can be inadvertently shortened by neglect. Maintaining the cleanliness of the dishwasher itself is as crucial as loading it correctly. 1001 Uses For Vinegar For this internal cleaning, white distilled vinegar stands as an effective and straightforward solution. It is a natural product, widely available, and remarkably versatile for household cleaning. Its primary active component, acetic acid, is a mild acid that possesses properties invaluable for dishwasher maintenance. Acetic acid works by dissolving mineral deposits, such as limescale and hard water stains, which often manifest as a white, chalky film. It effectively cuts through grease and helps to break down stubborn soap scum, which adheres to surfaces over time. Beyond its dissolving capabilities, vinegar is also a natural deodorizer. It neutralizes rather than masks unpleasant odors, leaving the dishwasher interior smelling fresh and clean without harsh chemical fragrances. Furthermore, it offers a gentle antimicrobial action, inhibiting the growth of mold and mildew that can thrive in damp environments. Unlike many commercial chemical cleaners, white distilled vinegar is non-toxic, safe for use around food preparation areas, and poses no risk to household members or pets. It is also environmentally friendly, biodegrading without leaving harmful residues. Its non-corrosive nature ensures it is safe for the various components of a dishwasher, including stainless steel interiors, plastic parts, and rubber seals, provided it is used as directed. The combination of its cleaning power, deodorizing ability, safety, and cost-effectiveness makes white distilled vinegar an ideal choice for the regular deep cleaning of a dishwasher. 1.Remove All Items Before initiating the vinegar cleaning cycle, proper preparation is essential to maximize effectiveness. The first step is to ensure the dishwasher is completely empty. Remove all dishes, glasses, cutlery, pots, and pans. Nothing should remain inside the racks or in the utensil baskets. This allows the vinegar solution to circulate freely and access all internal surfaces without obstruction. Once emptied, the next critical step involves inspecting and manually cleaning the dishwasher’s filter and drain area. This component, typically located at the bottom of the dishwasher, traps larger food particles and debris to prevent them from recirculating or clogging the drain pump. Depending on the dishwasher model, the filter may be a single removable cylinder or a multi-part assembly. Consult your appliance’s user manual for specific instructions on how to access and remove it, as designs vary. Once removed, rinse the filter thoroughly under hot running water. You will often find accumulated food scraps, labels from containers, small bone fragments, or even broken glass shards. Use an old toothbrush or a small scrub brush to dislodge any stubbornly adhering food particles, grease, or slimy buildup. Pay close attention to the mesh screens and any crevices where debris can hide. For more tenacious grime, a small amount of dish soap can be used during this manual scrubbing. After cleaning, ensure the filter is completely clear and free of obstructions before carefully reinserting it back into its housing, ensuring it is properly seated and locked according to your dishwasher’s design. This manual pre-cleaning of the filter is vital because a clogged filter significantly impedes water circulation and can prevent the vinegar solution from effectively reaching all areas. Additionally, take a moment to manually wipe down accessible areas like the edges of the door, the rubber gaskets or seals around the door frame, and the lower spray arm if easily reachable. Food debris and greasy buildup often accumulate in these spots. A damp cloth, possibly moistened with a little diluted white vinegar, can be used for this preliminary wipe-down, addressing visible grime before the main cycle begins. This foundational cleaning ensures the vinegar cycle focuses its power on the more inaccessible internal workings. With the dishwasher prepped, it is time for the main vinegar cleaning cycle. First, select the appropriate container for the vinegar. An open, dishwasher-safe bowl or a measuring cup made of glass or ceramic is ideal. Avoid using plastic containers that might absorb odors or stain. The key is that the container should be open at the top, allowing the vinegar’s vapors to disperse throughout the dishwasher cavity as well as allowing the liquid to mix with the wash water. Pour approximately two cups of white distilled vinegar into this open container. This specific type of vinegar, clear and typically containing 5% acetic acid, is crucial. Other types, such as apple cider vinegar, should be avoided because their color can potentially stain the dishwasher’s interior, and their sugar content might leave a sticky residue. Once the vinegar is in the container, place it upright on the top rack of the empty dishwasher. The top rack placement ensures that the vinegar is introduced to the wash cycle from a higher point, allowing it to distribute effectively throughout the entire system. Next, close the dishwasher door. 2.Be Careful With the Mixtures Before starting the cycle, it is imperative to ensure that no dishwasher detergent, rinse aid, or any other cleaning product is present in their respective dispensers. The vinegar cycle must be run independently. Mixing vinegar with certain cleaning agents, particularly chlorine bleach, can produce dangerous, toxic fumes and should always be avoided. Select the hottest and longest wash cycle available on your dishwasher. Common cycle names include “Heavy Duty,” “Sanitize,” or “Pots and Pans.” The elevated water temperature significantly enhances the effectiveness of the vinegar’s acetic acid, allowing it to better dissolve mineral deposits, cut through grease, and sanitize the
6 Easy Tips On How To Clean Your Dishwasher With Vinegar Read More »