7 Best Homemade Cleaning Solutions to Make Your Home Look Like New
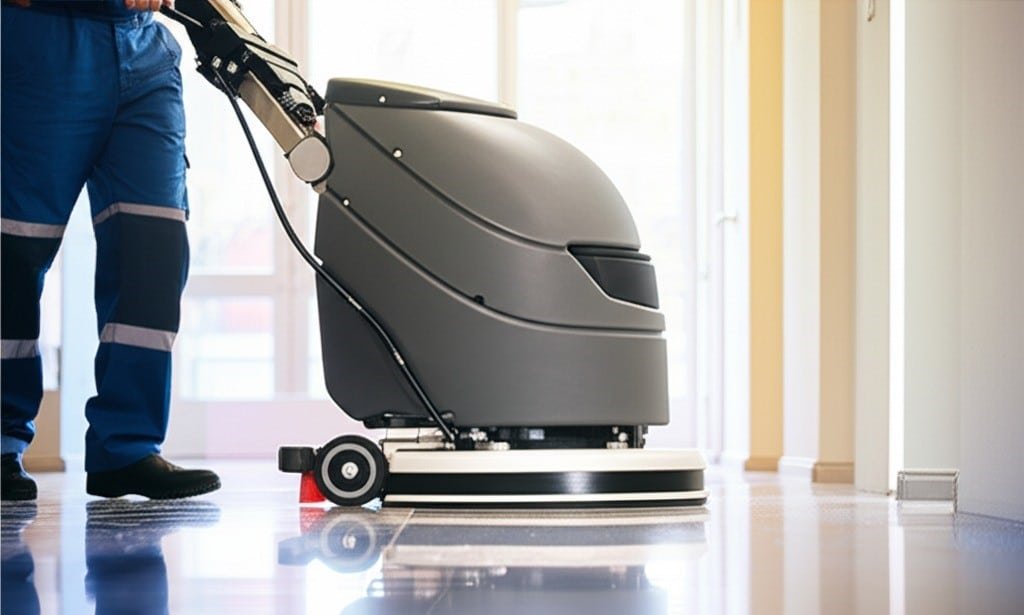
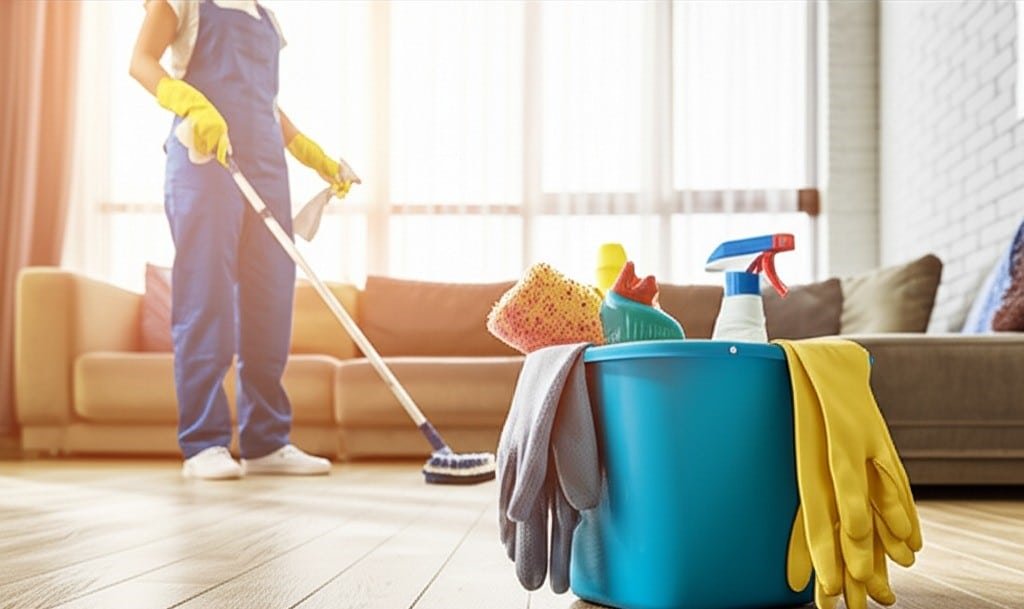
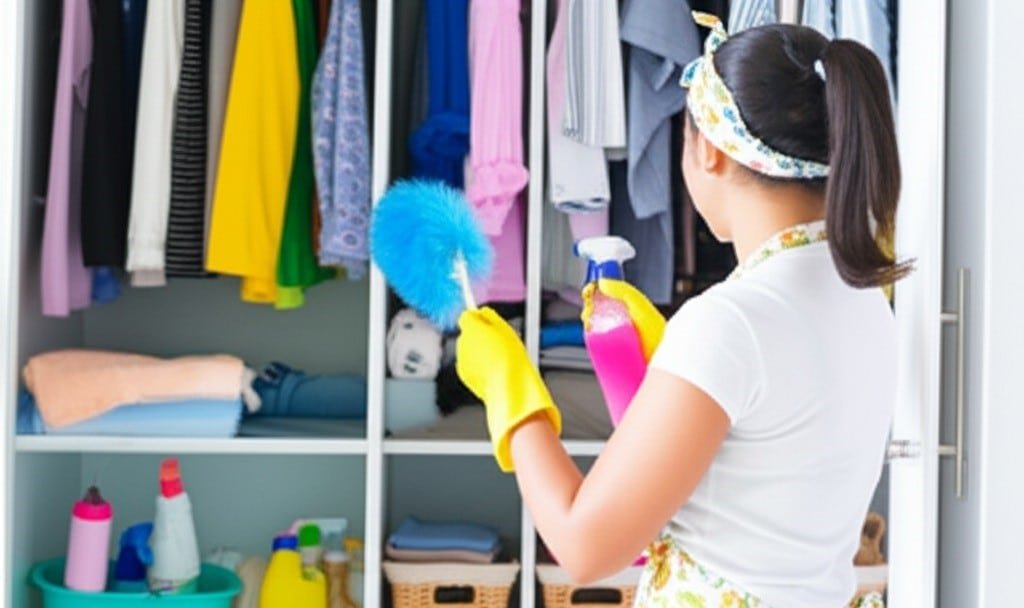
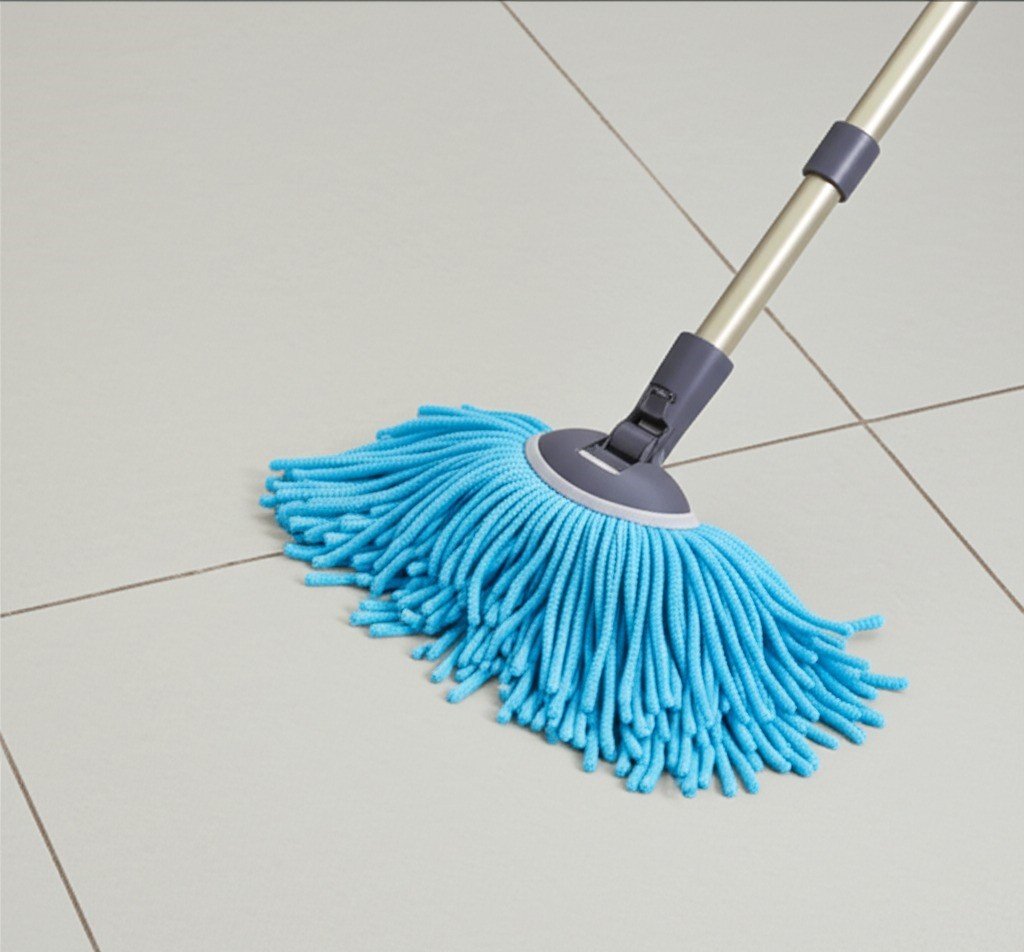
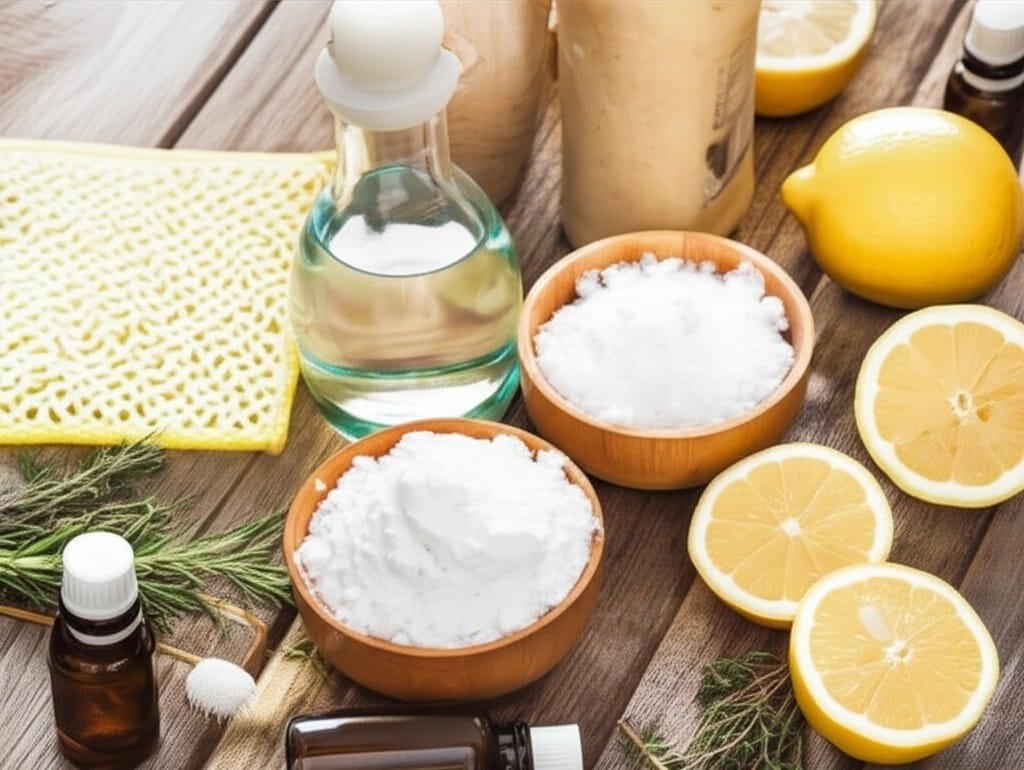
Creating your own homemade cleaning solutions is a direct approach to maintaining your home using simple, accessible ingredients. The effectiveness of these homemade cleaning solutions lies in understanding the properties of each component and how they interact with different surfaces and types of grime. There is no single magic formula; rather, a collection of recipes tailored for specific tasks. Many people turn to homemade cleaning solutions for their simplicity and cost-effectiveness. 1.White Vinegar The foundation of most homemade cleaning solutions rests on a few key ingredients. White vinegar, with its acetic acid content, is a powerful degreaser and disinfectant, capable of breaking down mineral deposits from hard water, soap scum, and everyday grime. Baking soda acts as a gentle, non-scratching abrasive, perfect for scrubbing surfaces without causing damage. It also serves as a natural deodorizer, absorbing and neutralizing unpleasant odors in refrigerators, drains, and carpets. The combination of these two ingredients creates a fizzing reaction that can help dislodge stubborn buildup, making them a dynamic duo in the world of DIY cleaning. The key to successful homemade cleaning solutions is understanding the ingredients. 2.Lemon For an all-purpose cleaner suitable for a majority of household surfaces, a simple mixture is highly effective. Combine one part white vinegar with one part water in a spray bottle. For a more pleasant scent and added antibacterial properties, add 10-15 drops of an essential oil like lemon, tea tree, or lavender. This specific homemade cleaning solution is excellent for wiping down laminate countertops, sealed granite, appliance exteriors, and painted walls. It cuts through fingerprints and light grease with ease. However, this vinegar-based homemade cleaning solution should not be used on natural stone surfaces like marble or unsealed granite, as the acid can etch and dull the finish. The versatility of this simple recipe demonstrates why so many rely on homemade cleaning solutions for daily upkeep. When it comes to glass and mirrors, achieving a streak-free shine is the primary goal. A superior homemade cleaning solution for this task involves mixing one part rubbing alcohol, one part white vinegar, and two parts water in a spray bottle. The rubbing alcohol is the key ingredient here; it evaporates quickly, preventing the water and vinegar from leaving behind streaks as they dry. Spray the solution directly onto a microfiber cloth rather than the glass surface to prevent drips. Wipe the surface clean, then use a second, dry microfiber cloth to buff it to a perfect shine. This is one of the most reliable homemade cleaning solutions for achieving crystal-clear windows and mirrors. 3.Baking Soda The kitchen presents a variety of cleaning challenges, from greasy stovetops to stained sinks. A powerful degreasing homemade cleaning solution can be made by creating a paste of baking soda and a small amount of warm water. Apply this paste directly to greasy splatters on the stovetop, backsplash, or inside the oven. Let it sit for 15-20 minutes to break down the grease, then scrub gently with a non-abrasive sponge and wipe clean with a damp cloth. For tougher, baked-on food, you can spray the baking soda paste with white vinegar to create that fizzing action, which helps lift the grime. This method showcases the targeted power of specific homemade cleaning solutions. To clean and deodorize a kitchen sink, sprinkle a generous amount of baking soda over the entire basin. Cut a lemon in half and use it to scrub the baking soda into the sink surface. The mild abrasiveness of the soda, combined with the citric acid and fresh scent of the lemon, will clean, polish, and deodorize the sink and garbage disposal simultaneously. Rinse thoroughly with hot water. This technique is a classic example of how natural, food-safe homemade cleaning solutions can be incredibly effective. 4.Natural Deodorant In the bathroom, soap scum and mildew are the primary adversaries. For tubs, showers, and tile, a highly effective homemade cleaning solution involves mixing one cup of baking soda with about a quarter-cup of liquid castile soap to form a thick, scrubby paste. Apply this paste to the surfaces and scrub with a brush or sponge. The baking soda provides the scrubbing power, while the castile soap helps lift and wash away the grime and soap scum. For tough mildew stains, a spray made of equal parts white vinegar and water can be used. Spray it on the affected areas, let it sit for at least 30 minutes, and then scrub away. It’s important to have good ventilation when working with these homemade cleaning solutions, particularly vinegar. Toilet bowls can be cleaned and sanitized without harsh chemicals. Pour about one cup of white vinegar into the toilet bowl and let it sit for at least an hour, or even overnight. The acid will work to dissolve mineral rings and stains. Afterward, sprinkle baking soda into the bowl, scrub with a toilet brush, and flush. The fizzing action provides an extra cleaning boost. This is a straightforward yet potent homemade cleaning solution for a task many people dislike. The power of homemade cleaning solutions extends to every corner of the house. 5.Dilute Floors require different approaches based on their material. For tile, vinyl, or linoleum floors, a simple and effective homemade cleaning solution consists of a gallon of warm water mixed with a half-cup of white vinegar and a few drops of castile soap. The vinegar disinfects and cuts through dirt, while the soap helps to lift it. Be careful not to use too much soap, as it can leave a sticky residue. For hardwood floors, the approach must be much more delicate. A heavily diluted homemade cleaning solution is necessary to prevent damage to the wood’s finish. Mix a gallon of warm water with just a quarter-cup of white vinegar. Wring the mop out until it is barely damp before applying it to the floor. Never let water pool on a hardwood surface. The development of specialized homemade cleaning solutions for different floor types is crucial for proper care. 6.Sprinkle Even carpets can
7 Best Homemade Cleaning Solutions to Make Your Home Look Like New Read More »