Making Your Small Office a Pleasant Place to Work – 5 Expert Tips
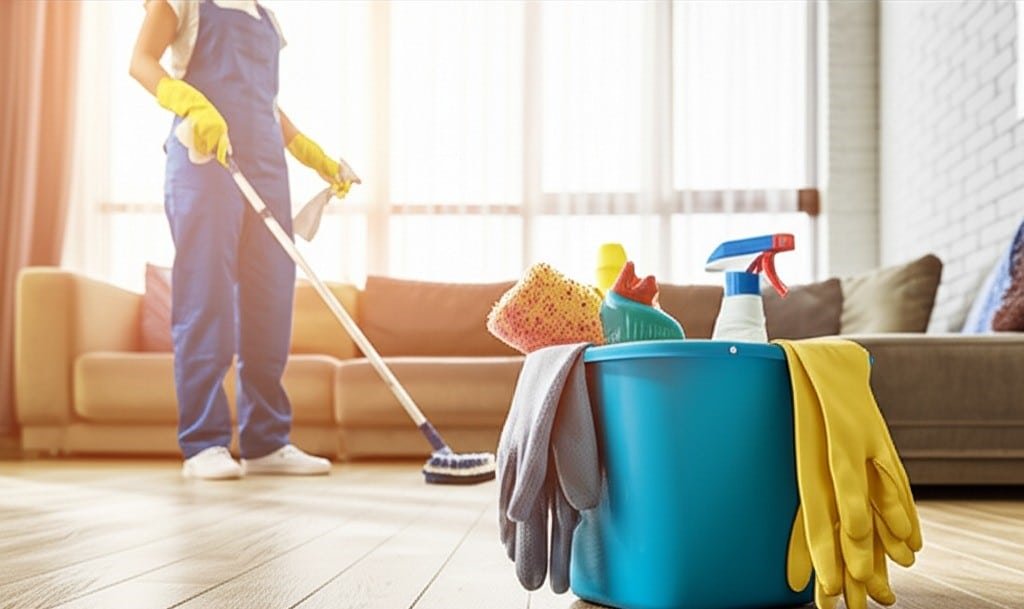
Maintaining a clean and professional small office is a non-negotiable, foundational aspect of a successful business. The evaluation of your company begins before a single word is spoken, starting the moment a client, partner, or potential employee approaches the entrance. The glass on the front door must be pristine, free of the daily accumulation of fingerprints, smudges, and environmental grime. A clear door signals transparency and attention to detail. The handle, the first physical point of contact with your business, requires rigorous daily disinfection. In the tight-knit environment of a small office, this single step is a powerful measure against the transmission of germs. The entryway floor, whether it’s a branded mat or hard flooring, serves as the first line of defense against dirt, salt, and moisture being tracked throughout the space. It must be meticulously vacuumed or swept and mopped daily, ensuring that the outside world’s mess is contained at the threshold. 1.Reception The reception desk is the centerpiece of this initial impression and the command center of a welcoming small office. Its surface should be completely cleared of unnecessary items, thoroughly dusted, and then wiped down with a cleaner that leaves a streak-free, non-greasy finish. The telephone, keyboard, and computer mouse at this station are high-touch vectors for bacteria and require sanitization. Any promotional literature or magazines should be neatly arranged. Guest seating in the reception area must also be addressed with equal care; chairs should be wiped down, including legs and armrests, and any upholstery must be vacuumed to remove dust, hair, and crumbs. This initial zone of cleanliness doesn’t just welcome visitors; it sets the standard of professionalism for the entire small office. 2.Main Workspace Moving from the reception area into the main workspace, the focus shifts to the environment where your team spends the majority of their day. The condition of this space directly impacts morale, health, and productivity. Individual workstations or cubicles are personal domains, but they are part of the collective professional environment of the small office. A systematic cleaning approach is crucial here. The process begins with emptying all trash and recycling bins, replacing the liners with fresh ones to immediately eliminate waste and potential odors. Next is dusting, which must always be performed from high to low to work with gravity. Bookshelves, the tops of filing cabinets, picture frames, and partition ledges are dusted first, allowing any dislodged particles to settle on surfaces below before they are cleaned. Computer monitors and screens are then carefully wiped with a dry microfiber cloth to avoid scratches or damage from harsh chemicals. The desk surface itself is the next priority. All items organizers, phones, monitors are carefully moved, and the entire surface is wiped with a pH-neutral cleaner that is safe for various materials, from wood laminate to glass. Special, focused attention is paid to disinfecting the items that are touched most frequently throughout the workday: the telephone handset and keypad, the computer mouse, and the keyboard. Compressed air is an effective tool for dislodging crumbs and debris from between the keys of a keyboard before it is gently wiped with a suitable disinfectant solution. The often-neglected office chair also requires attention. The armrests, adjustment levers, and chair base are wiped down to remove dust, spills, and fingerprints. For fabric chairs, a thorough vacuuming of the seat and backrest removes crumbs and dust. Finally, the floor area around each workstation is meticulously vacuumed, reaching under the desk and around the chair base to ensure a completely clean personal workspace that promotes focus and well-being. This detailed cleaning of each workstation is a direct investment in the health of any small office, reducing the presence of allergens and germs that contribute to sick days. 3.Kitchen The office kitchen or breakroom is frequently the epicenter of office life and, consequently, the most challenging area to maintain. As a high-traffic zone used by everyone for food and drink preparation, it is a hotspot for germs, sticky spills, and persistent odors. A thorough, consistent cleaning of this space is non-negotiable for the hygiene and morale of a small office. The countertops must be completely cleared of items, then sprayed with a food-safe disinfectant and wiped clean, ensuring no crumbs or sticky residues from coffee or food are left behind. The sink requires a deep scrub with a non-abrasive cleaner to remove coffee stains and food particles, followed by a complete disinfection of the basin, faucet, and handles. The microwave is another critical appliance that demands daily service. The exterior, including the handle and keypad, should be wiped and disinfected. The interior needs to be cleaned of all food splatters and greasy buildup. A simple, effective method is to heat a bowl of water with lemon inside for a few minutes; the resulting steam loosens dried-on food, making it easy to wipe away without harsh scrubbing. The refrigerator is another area of concern. The exterior door and handle must be wiped and sanitized. On a regular basis, the interior should be checked for expired food, spills must be wiped up from shelves and drawers, and the door seals cleaned of grime. The coffee maker, a daily workhorse, needs its exterior wiped down, and its carafe and filter basket should be washed. The tables and chairs in the breakroom are wiped clean and disinfected, just like workstations. The final step in the kitchen is the floor. It needs to be swept to pick up all crumbs and debris, then thoroughly mopped with a degreasing disinfectant cleaner to tackle any spills and leave the floor sanitized and safe. A pristine breakroom signals to employees in a small office that their comfort and health are valued. 4.Restrooms Restrooms are another area where cleanliness is paramount for health, comfort, and the overall perception of the business. A clean, well-stocked restroom is an unambiguous sign of a well-managed facility, a standard every small office should strive for. The cleaning process here is rigorous and methodical to ensure proper sanitation and prevent cross-contamination. The
Making Your Small Office a Pleasant Place to Work – 5 Expert Tips Read More »