The Best Ways to Store and Organize Shoes in Small Spaces
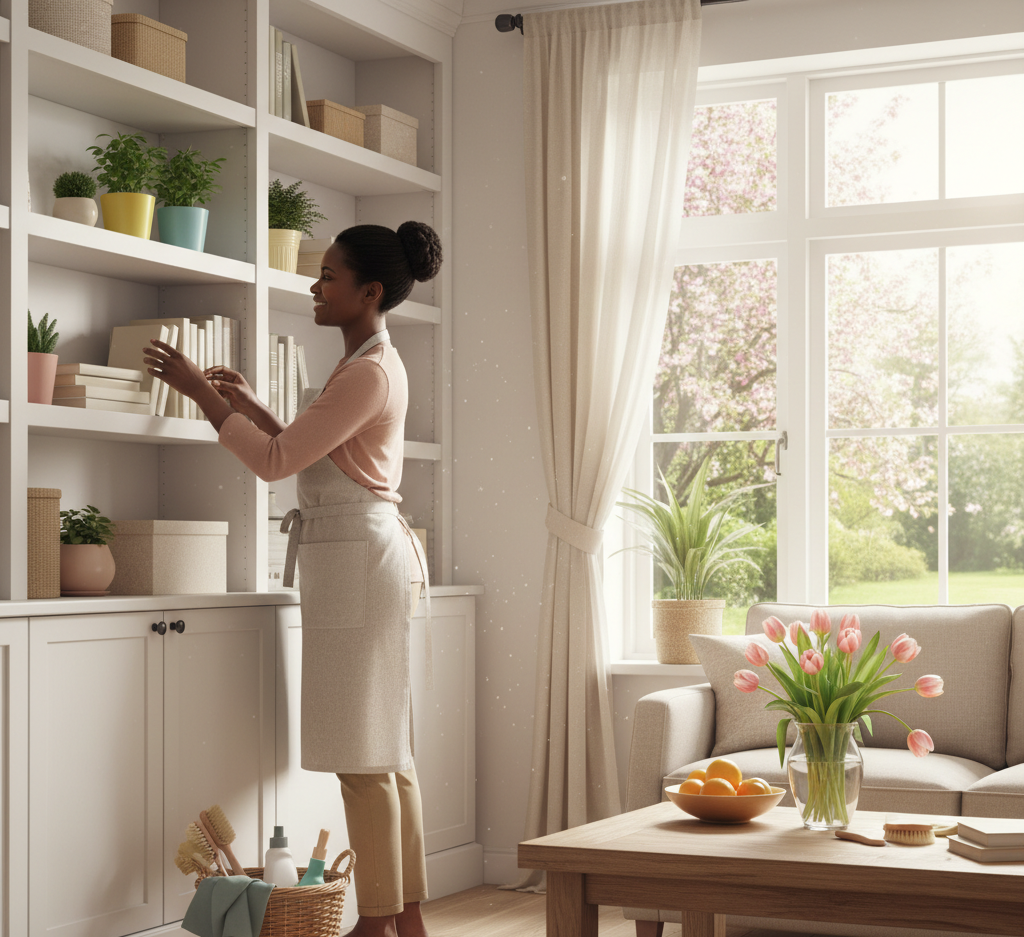
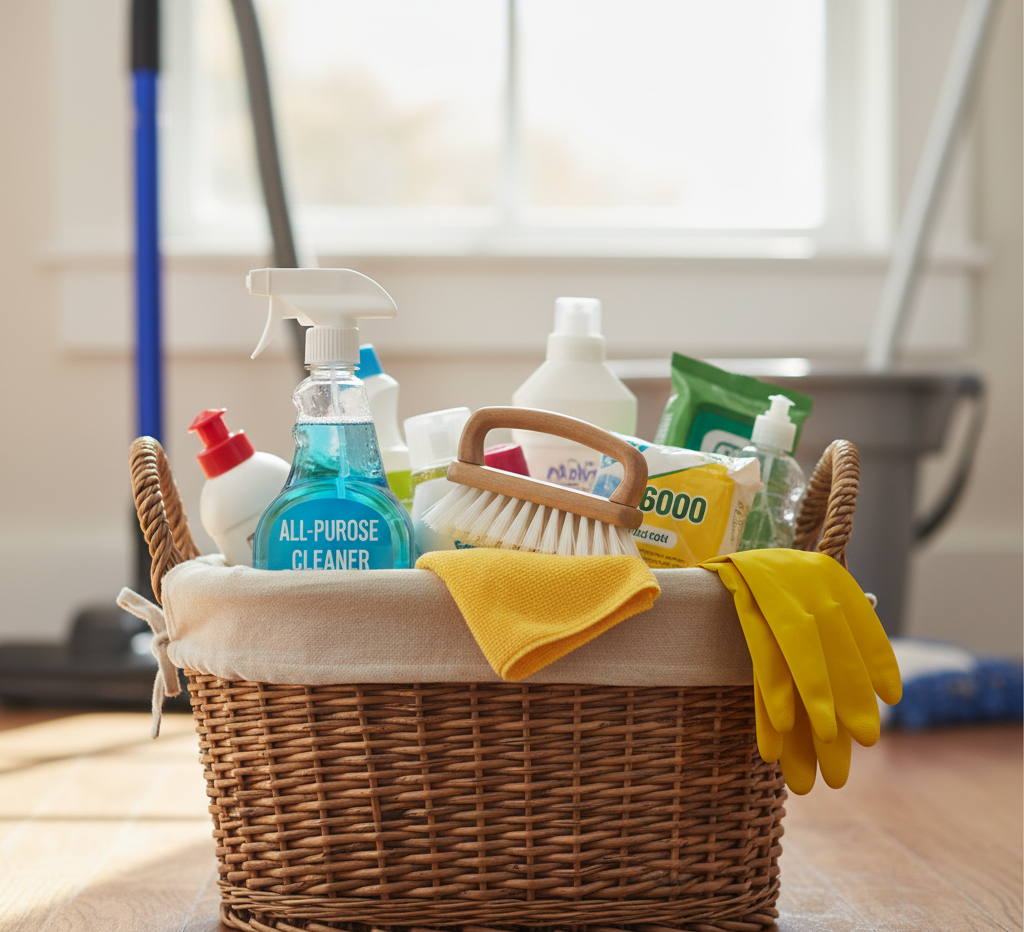
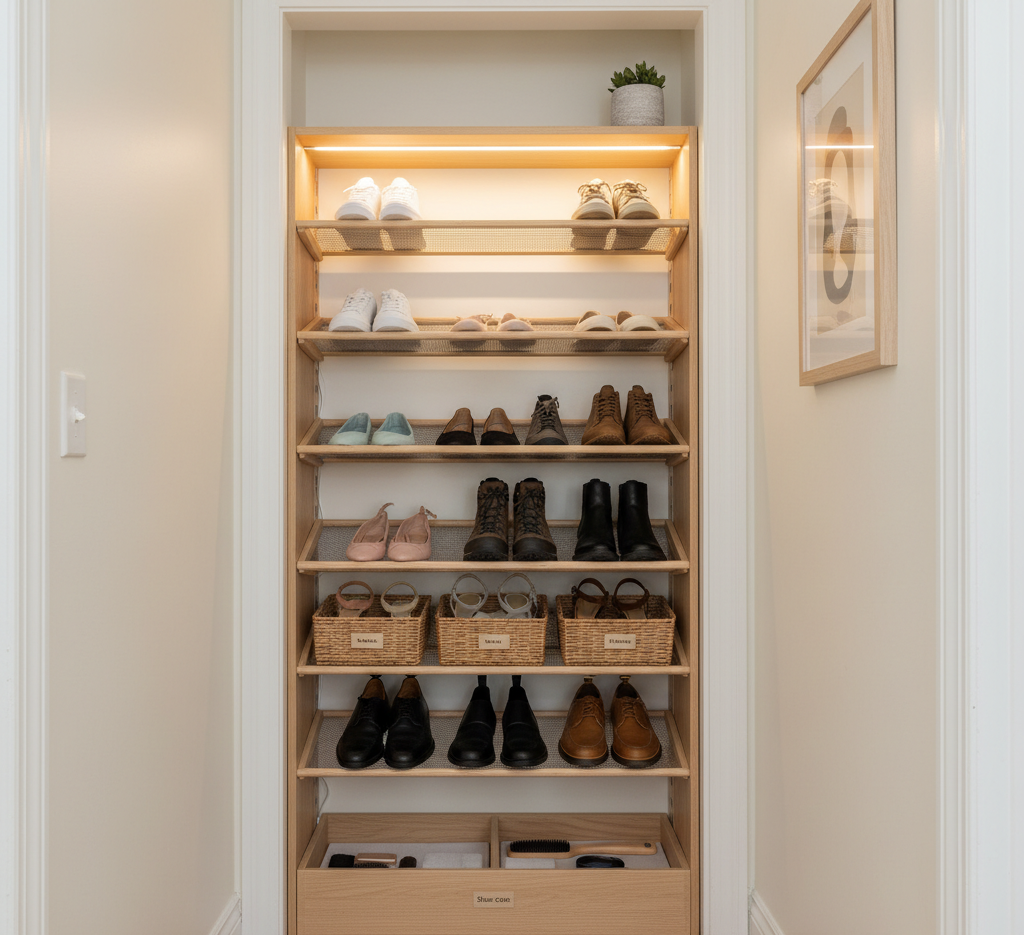
Managing a household involves keeping various objects in order, but few collections present as persistent a challenge as our shoes. For many families, these items accumulate silently in entranceways, migrate under beds, and pile up in dark closet corners. Because we wear different types of footwear for various activities, seasons, and social occasions, our personal collection can grow rapidly, easily outstripping the storage space we have available. An unorganized collection of footwear is more than just a visual distraction; it is a source of daily friction, leading to frantic searches for a missing left boot in the morning, dust-covered heels in the closet, and the tracking of outdoor dirt and allergens throughout the living spaces. Taking the time to systematically organize your shoes is a transformative act of home maintenance. It protects your investment in high-quality items, simplifies your daily routine, and creates a more hygienic, peaceful environment. Gather all the Shoes The process of organizing your collection must begin with a complete and honest assessment of every pair. This requires a total empty-out. Gather every single pair of shoes from across your home—from the front door, the bedroom closets, the mudroom, the back porch, and under the beds—and lay them out in a single, well-lit area. This physical consolidation is a crucial first step, as it forces you to confront the true scale of what you own. It is common to discover duplicate styles you had forgotten about, pairs that no longer fit, or boots that have become too worn to wear. Seeing everything in one place provides a psychological reset, allowing you to transition from a mindset of accumulation to one of deliberate curation. With the entire collection laid bare, the editing and sorting phase begins. This is where you must be practical and sometimes ruthless. Pick up each pair of shoes and evaluate its condition, comfort, and utility. Assess the structural integrity: are the soles worn thin, are the heels wobbly, or are the straps frayed beyond repair? If an item is damaged, decide if it is truly worth the cost of a professional repair; if not, it should be discarded. Next, evaluate comfort and fit. Many closets are filled with “aspirational” items—painfully high heels, stiff boots, or running gear that is slightly too small—kept out of a sense of guilt or the hope that they will eventually become comfortable. If a shoe causes blisters or pain, it is occupying valuable real estate without providing any value. Sort your items into distinct piles: keep, donate, repair, or discard. This purging process edits your collection down to only the footwear that serves your current lifestyle and comfort needs, making the subsequent storage phase much more manageable. Cleaning Before any items are placed into their new organized homes, they must be thoroughly cleaned. Storing dirty shoes is a critical mistake that can lead to permanent damage and unpleasant odors. Footwear accumulates a layer of grit, moisture, and organic matter from the ground, which, if left on the material in a closed closet, can degrade leathers and synthetics, creating an environment where mold and mildew can thrive. Wipe down the uppers of your boots and sneakers with a damp cloth and a mild soap solution, and use a stiff brush to scrub the outsoles clean of any packed-on dirt or mud. For leather items, apply a quality conditioner to keep the material supple and prevent cracking. Suede items should be dry-brushed with a specialized brush to restore the nap. Most importantly, allow all shoes to air dry completely in a well-ventilated area before putting them away. To address odors, sprinkle a small amount of baking soda inside each pair and let it sit overnight to absorb moisture and neutralize bacteria, shaking it out before storage. Once your edited collection is clean and dry, the strategic planning of your shoes storage spaces can begin. The most effective systems are based on the principle of zoning, which means storing your items based on how often you wear them. This creates a logical flow and prevents high-traffic areas from becoming overwhelmed. Organization 1.Entryway The entryway is your home’s transition zone, and it is the most valuable and vulnerable real estate in the home organization system. It should be reserved strictly for the footwear you wear every single day. A common mistake is allowing the entryway to become a storage locker for the entire family’s boots and sneakers, leading to a chaotic pile right inside the front door. Limit this zone to one or two pairs of immediate-use shoes per person. To contain these pairs neatly, utilize a low, open rack, a durable boot tray, or a storage bench with built-in cubbies. This keeps daily footwear off the floor, allows wet or dirty items to dry safely, and creates a clear, welcoming entry to your home. 2.Bedroom Closet The primary bedroom closet is the zone for your active, seasonal wardrobe. This is where you should store the items you wear regularly but not necessarily every day—your work shoes, casual sneakers, and current-season options. Within the closet, organize the collection by category: group all your sneakers together, then your work footwear, and then your casual flats or boots. This categorization makes finding the right pair for an outfit an intuitive, effortless task. Within each category, arrange the items by color, working from light to dark, which creates a visually calming and orderly display that reduces morning decision fatigue. 3.Deep Storage Deep storage is reserved for out-of-season footwear, formal wear, and specialty sports gear that you only access occasionally. Swapping your shoes seasonally is a highly effective way to maximize space in your primary closet. As the weather warms in the spring, clean and prep your heavy winter boots and move them to deep storage, bringing your summer sandals and lightweight footwear to the front. Conversely, in the fall, perform the reverse switch. Deep storage areas can include the high, hard-to-reach top shelves of your closet, the space under your bed, or even a dry, organized storage closet in another part of the house. By removing out-of-season footwear
The Best Ways to Store and Organize Shoes in Small Spaces Read More »