The Pan Care Guide: The Best Tips For Cleaning 7 Different Types of Pans
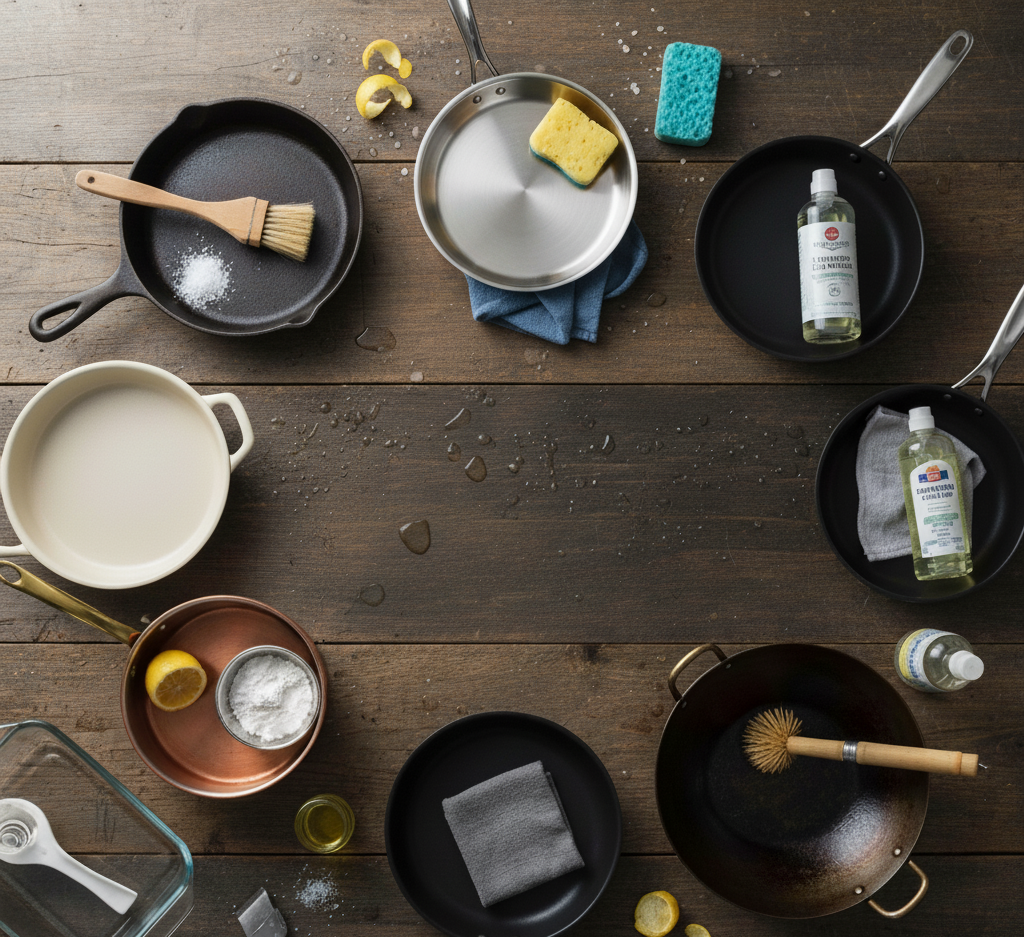
A well-cared-for pan is an essential tool in any kitchen, a reliable partner in countless meals. Yet, the path to a long and productive life for your cookware is paved with proper cleaning, a process that varies dramatically from one material to another. Using the wrong technique can lead to scratched surfaces, stripped seasoning, or permanent stains, effectively ruining a perfectly good piece of equipment. Understanding the unique needs of each type of pan is not just about aesthetics; it’s about performance, longevity, and even the taste of your food 1.The Non-Stick Let’s begin with the most common pan in modern kitchens: the non-stick. Whether it’s a traditional PTFE-based coating or a newer ceramic one, the guiding principle is gentleness. The non-stick surface is a delicate layer applied over a metal base, and its integrity is paramount. After cooking, always allow the pan to cool down for at least a few minutes. Plunging a hot pan into cold water can cause thermal shock, which may lead to warping over time and can degrade the non-stick coating. Once it’s cool enough to handle, use a soft sponge or a cloth with a small amount of mild dish soap and warm water. Never use steel wool, abrasive scouring pads, or harsh cleaners like comet, as these will scratch and erode the surface, rendering the non-stick properties useless. For stubborn, stuck-on food particles, resist the urge to scrape with a metal utensil. Instead, fill the pan with an inch of water, add a drop of dish soap, and gently heat it on the stove for a few minutes. This will loosen the residue, which can then be easily wiped away. A common issue with non-stick pans is the gradual buildup of a brownish, sticky film from cooking oils and sprays. To tackle this, create a paste of baking soda and water. Apply this paste to the affected areas, let it sit for about twenty minutes, and then gently scrub with a non-abrasive sponge. Rinse thoroughly. To preserve your non-stick cookware, always use wooden, silicone, or nylon utensils, avoid excessively high heat which can release fumes and break down the coating, and consider hand washing even if the pan is labeled “dishwasher safe,” as the high heat and harsh detergents in a dishwasher can shorten its lifespan significantly. 2.Stainless Steel Stainless steel pans are the workhorses of many kitchens, prized for their durability and even heat distribution. They can withstand more vigorous cleaning than non-stick pans, but they have their own set of challenges, namely burnt-on food and a peculiar rainbow-like discoloration. For daily cleaning, soap, water, and a standard kitchen sponge are perfectly adequate. If you have food firmly stuck to the bottom right after cooking, you can deglaze the pan while it’s still hot. Carefully pour in a small amount of water or broth; it will sizzle and steam, lifting most of the browned bits right off the surface. For more serious, burnt-on messes, fill the pan with enough water to cover the grime, add a tablespoon of baking soda, and bring it to a boil. Let it simmer for several minutes, then turn off the heat and let it cool. The burnt food should soften and become much easier to scrape off with a wooden spoon or a spatula. For the most stubborn, blackened-on carbon, a powdered cleanser like Bar Keepers Friend is invaluable. Create a paste with the powder and a little water, apply it to the pan, and scrub with a sponge or a non-scratch scouring pad. The oxalic acid in the cleanser is remarkably effective at breaking down these tough stains. The other common issue is heat tint, that iridescent, rainbow-like pattern that appears on the surface. This is a harmless oxidation layer caused by overheating. To remove it, you need a mild acid. Pour a small amount of white vinegar into the pan, just enough to cover the bottom, and let it sit for about ten to fifteen minutes. You can also gently heat the vinegar for a more potent effect. Afterwards, simply wash the pan as usual with soap and water, and the rainbow stains should be gone, restoring the steel’s brilliant shine. 3.Cast Iron The cast iron skillet is a cherished heirloom in many families, and its care is more a ritual than a chore. The goal with cast iron is not to achieve a sterile, gleaming surface but to build and maintain a layer of “seasoning.” This seasoning is simply oil that has been baked onto the pan, creating a natural, rust-resistant, and remarkably non-stick surface. After cooking, the best practice is to clean the pan while it is still warm. Use hot water and a stiff-bristled brush or a dedicated pan scraper to remove any food particles. For truly stubborn bits, a chainmail scrubber is an excellent tool that removes debris without harming the seasoning. A common point of debate is the use of soap. On a very well-seasoned pan, a tiny drop of mild dish soap is generally acceptable, but many purists avoid it entirely as it can begin to break down the precious oil layer. The most critical step in cast iron care is drying. Never let a cast iron pan air dry, as this will inevitably lead to rust. After rinsing, place the pan back on the stove over low heat for a few minutes until every last drop of moisture has evaporated. Once it’s bone dry, pour a half-teaspoon of a neutral oil—like canola, grapeseed, or flaxseed oil—into the pan. Use a paper towel to rub this thin layer of oil all over the entire interior surface. Continue to heat the pan until the oil just begins to smoke, then turn off the heat and let it cool completely. This process of a “maintenance season” after each wash reinforces the protective layer. If you do encounter rust, do not despair. It is completely fixable. Scrub the rust away with steel wool and some soapy water until you are
The Pan Care Guide: The Best Tips For Cleaning 7 Different Types of Pans Read More »