Feather Dusters vs Microfibre: Which Cleans Better?
On this page
- Do dusters actually work?
- Which duster is most efficient: feather, microfibre or electrostatic?
- Do you vacuum or dust first?
- How do you dust blinds, electronics and delicate items?
- How often should you dust your house?
- How do you clean a duster?
- When to leave the dusting to a pro
- Frequently asked questions
No, feather dusters are not more efficient than microfibre: a microfibre head captures and holds dust in its fibres, while a feather duster mostly flicks dust into the air to settle somewhere else.
Do dusters actually work?
Yes, but only dusters whose fibres hold dust. Microfibre, lambswool and electrostatic heads lift dust off a surface and keep it in the tool until you shake or wash it out. A feather duster dislodges more than it holds, so a good share of the dust drifts onto the next surface. Working means the dust comes off and stays in the head, not relocated.
You can test your own duster in a minute. Make one pass over a dusty dark shelf, then wipe the same strip with a barely damp cloth and inspect it. A microfibre head comes away visibly grey and the damp cloth stays close to clean; after feathers, the cloth picks up a haze they left behind. Run the same test when a head is loaded: once the fibres are full, the duster smears dust instead of lifting it, so shake it out or swap heads partway through the room.
Match the tool to the dust load, too. A dry duster suits the light film that builds up between cleans. Thicker buildup, or a sticky grey film, needs a lightly damp microfibre cloth instead, because it holds dust better than any dry duster. And dust keeps coming back because it is made of fabric fibres, skin cells, pollen, pet dander and soil tracked in from outside; the test is not eliminating it, it is capturing it.
Which duster is most efficient: feather, microfibre or electrostatic?
The verdict: microfibre captures the most dust per pass; feathers rank last for capture. Microfibre works dry, with no spray, because its split fibres build static that traps dust in the strands. The heads are washable and last for years, so a microfibre duster also costs least over time. One exception to dry dusting: a sticky, greasy film on kitchen cabinets and shelves comes off far more easily with a barely damp microfibre cloth than with any dry head.
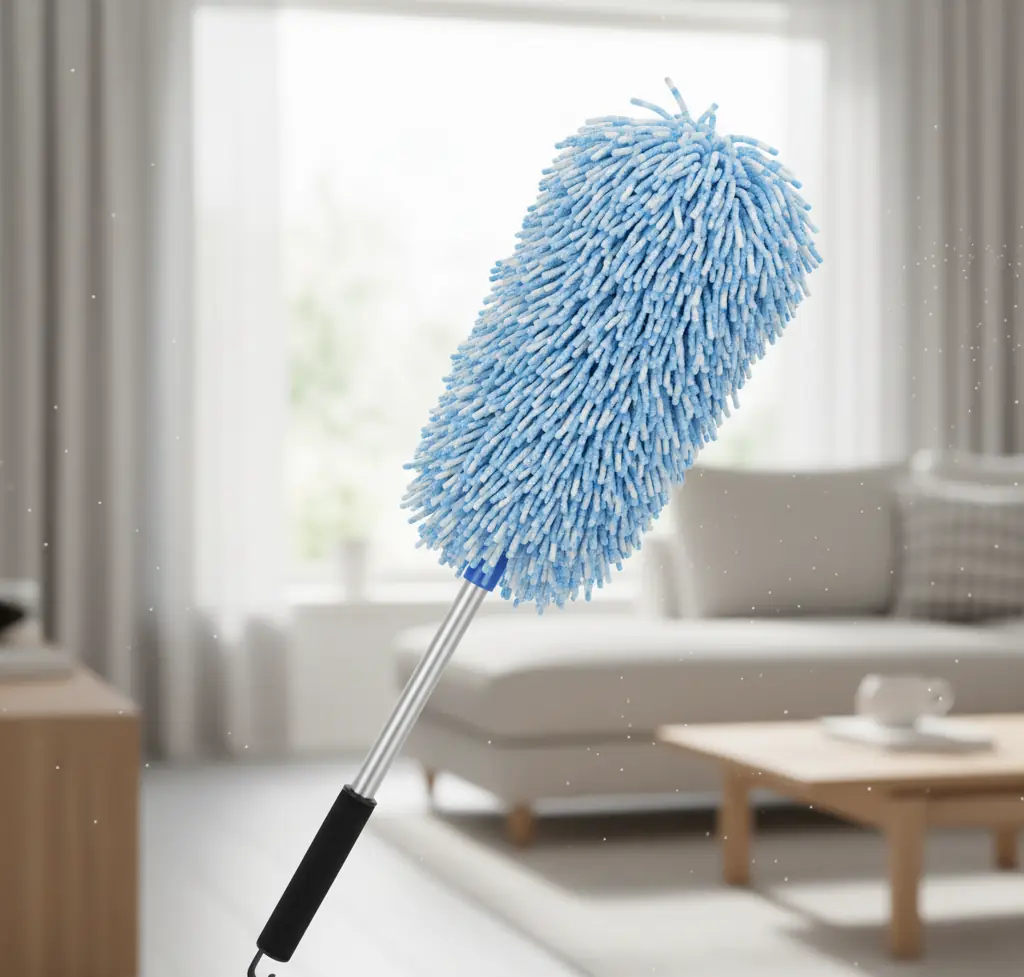
Feather dusters, whether ostrich, turkey or chicken, are soft and gentle on delicate objects and slip into awkward nooks, which is where they still earn a place. Used right, they call for light flicks with no pressure, so the dust falls floorward where the vacuum will catch it. Pressing down or swiping hard sends it airborne.
Lambswool sits between the two: natural lanolin plus the static the wool builds attracts and holds dust, which makes it a good pick for large flat runs like tabletops and shelves. Electrostatic disposable dusters, the fluffy synthetic heads on a reusable handle, also trap dust with static and simply get tossed when full. They are convenient, but refills cost more over a year and the used heads are waste.
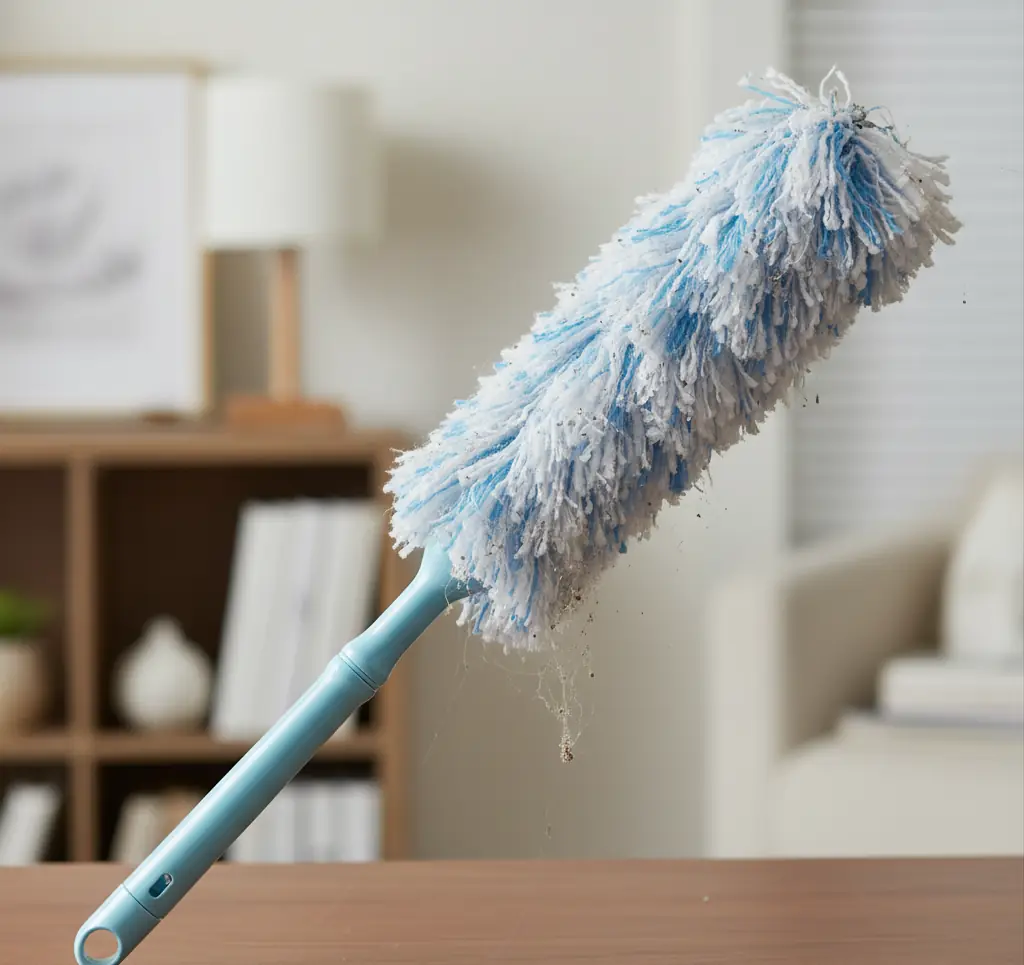
Pick the shape for the job: a flat microfibre pad for large flat surfaces, a fluffy sleeve for spindles and shaped trim, and an extendable pole with a bendable head for fan blades, cabinet tops and ceiling corners.
Do you vacuum or dust first?
Dust first, vacuum last. A duster knocks dust loose and gravity brings it to the floor, where the vacuum removes it for good. Vacuum first and you will have to vacuum again after dusting. The same top-to-bottom order is what makes speed cleaning your whole home work, too.
Work top to bottom in one circuit:
- Ceiling corners and light fixtures
- Fan blades and cabinet tops
- Picture frames and window sills
- Tables and desks
- Baseboards
- The floor, last of all
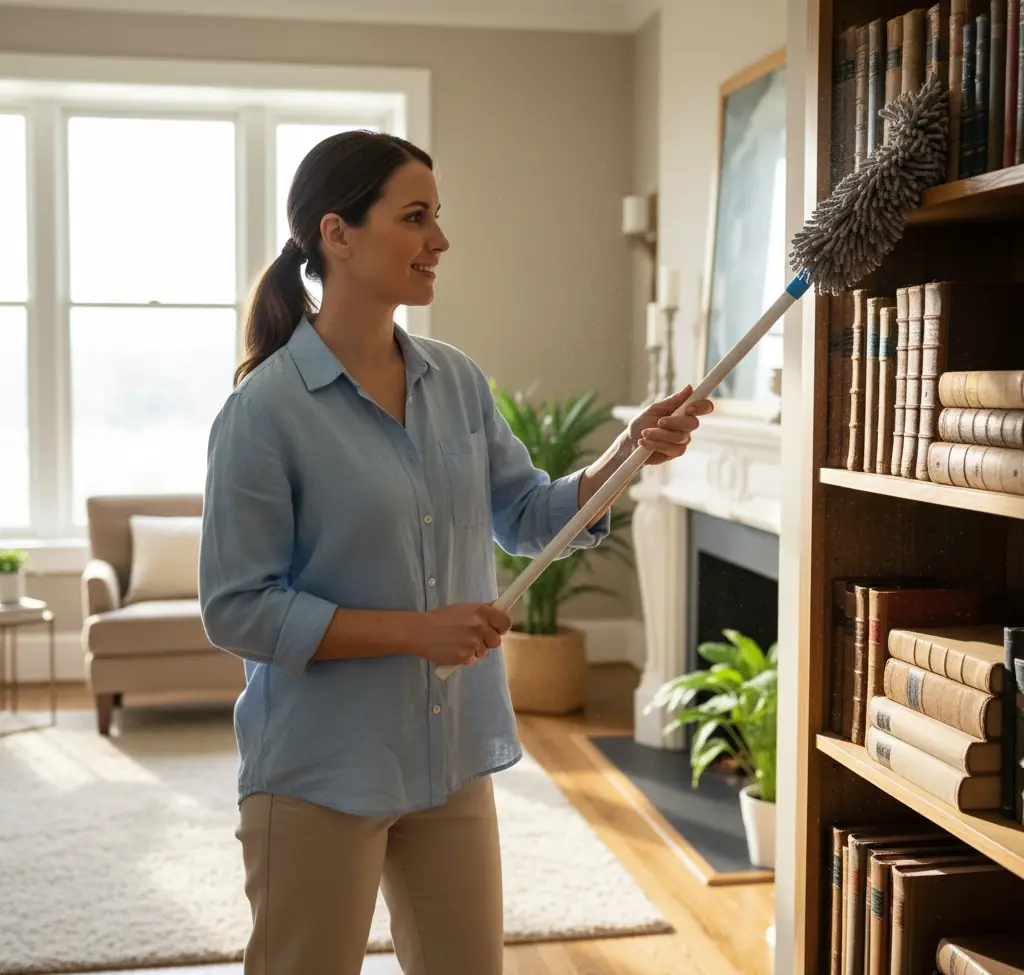
Use slow, single-direction strokes. Rapid swiping throws dust into the air instead of loading it into the fibres. Reach high spots with an extendable microfibre duster rather than a stepladder; a bendable head cleans the tops of fan blades without a ladder at all.
One exception: if shelves or upholstery are littered with crumbs, pet hair or debris, vacuum those surfaces first with the brush attachment, then dust. Wiping loose debris around with a duster only spreads it, and suction clears the way for the duster to reach the actual film underneath.
How do you dust blinds, electronics and delicate items?
Blinds: close the slats and dust the full face with a microfibre duster, then flip the slats and do the other side. A multi-pronged blind duster cleans several slats at once if you have a house full of them.
Ceiling fans: slip an old pillowcase over each blade and slide it off, so the dust drops into the case instead of the room, or use a long-reach duster blade by blade.
Electronics: turn the device off and unplug it first. Screens get a dry microfibre cloth only, with no sprays and no damp wiping. Blow dust from keyboards and vents with compressed air, then wipe the casings.
Delicate pieces call for different tools again. A clean, soft paintbrush or makeup brush lifts dust from chandelier detail, collectibles, artificial plants and bookshelf carving that a duster head cannot reach. The vacuum’s soft brush attachment suits lampshades, curtains, books and radiator fins better than any duster. Dust around knick-knacks on the weekly pass, wash the pieces themselves occasionally, and know that every object you retire from a shelf makes the next dusting faster. A slim, flat duster slides under and beside the fridge, oven and washer, where dust and lint pile up unseen.
How often should you dust your house?
One thorough dusting a week keeps visible dust under control. Surfaces that show dust first, like TV screens, coffee tables and electronics, deserve a short pass every couple of days. Go to twice a week or more in the main rooms if you have shedding pets, allergy sufferers at home, windows open in pollen season, or construction nearby.
For a sense of what nearby construction means, a Vaughan condo beside an active building site does well on weekly or bi-weekly cleaning, with homes in Vaughan served on that rhythm through the dusty stretch. High spots like fan blades, door frames and cabinet tops can drop to about once a month without the room looking dirty.
Once a season, add a deep-dust pass: walls, closet shelves, crown moulding and the floor behind furniture all hold dust the weekly circuit skips. The City of Toronto also notes that household dust can carry small amounts of chemicals, dust mites, mould and pet dander, and suggests cleaning with a damp cloth instead of dry dusting when fine particles are the concern, and taking shoes off indoors; Health Canada adds the same advice on shoes at the door, since footwear tracks in dirt and chemicals. Mats at every entry, a shoes-off rule and a fresh furnace filter all slow the dust before it lands.
How do you clean a duster?
Between washes, take microfibre and lambswool heads outside and tap or vacuum the dust out. Wash microfibre heads after every few uses, not just when they look grey: a loaded head smears old dust onto the next room.
Machine-wash removable microfibre heads with regular detergent and never fabric softener, which coats the fibres and kills their static grip. Air dry or tumble on low. Retire a head when the fibres stay flat, slick and grip-free no matter how you wash it; dead fibres do not come back.
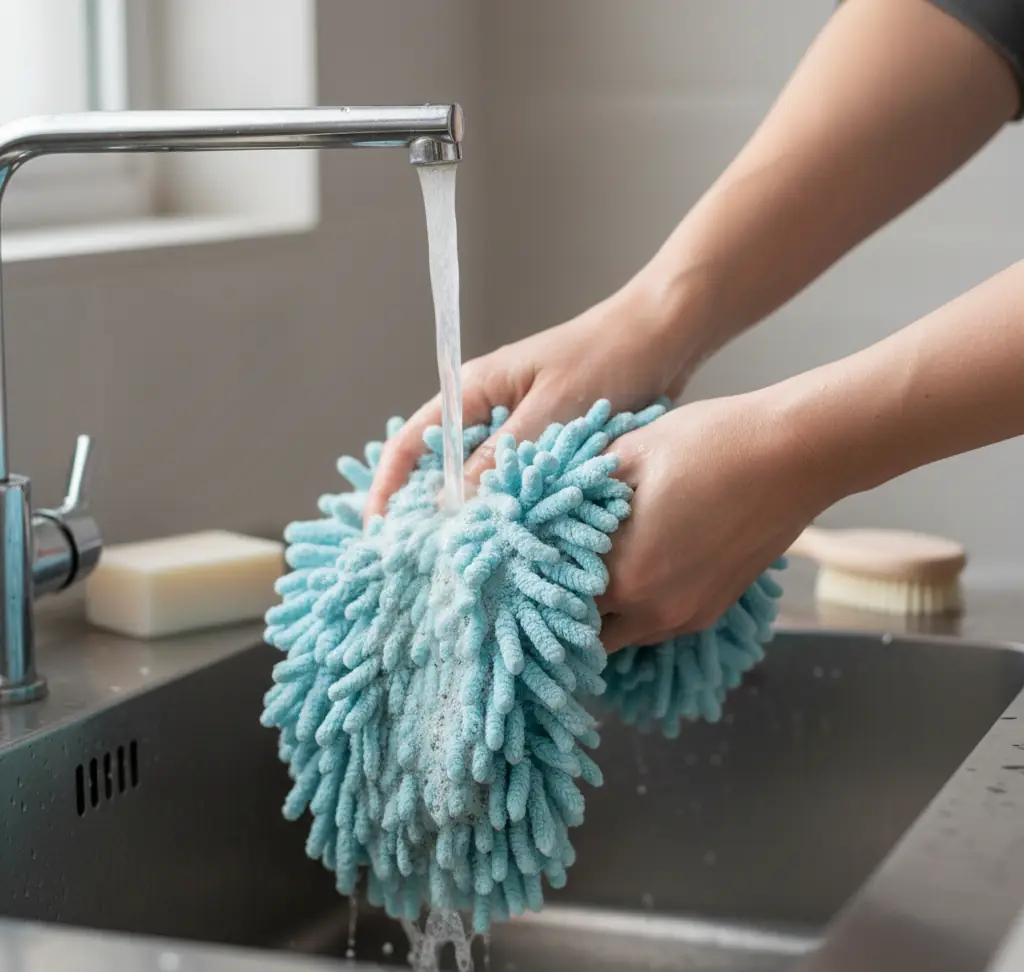
Lambswool: spin the head between your hands outdoors to fling the dust out. For a deeper clean, hand-wash it in lukewarm water with a mild detergent, rinse well and hang it to dry. Feathers wash the same way: mild soap in cool water, a gentle swish, air dry away from heat, then fluff the feathers back into shape with your fingers. Disposable electrostatic heads do not wash at all; swap the refill as soon as the fluff looks matted.
When to leave the dusting to a pro
If the weekly dusting keeps sliding off your to-do list, handing the routine dusting to a house cleaning service puts it on a fixed schedule with the rest of the housework. A professional pass covers the spots people skip, like fan blades, cabinet tops and the tops of door frames, in one top-to-bottom visit through regular house cleaning. Toronto Shine Cleaning handles recurring dusting for homes across Toronto and the GTA. To talk it through, call (647) 424-0355.
Frequently asked questions
Should I wash microfibre duster heads with my towels?
Wash them separately or with other lint-free items. Cotton towels and clothing shed lint in the machine, and that lint sticks to the split fibres, taking up the space meant for dust. A small mesh bag keeps the heads from tangling with larger items, and shaking each head out before it goes in helps the wash do its job.
Is an ostrich feather duster better than other feather dusters?
Slightly, yes. Top-quality ostrich feathers have fine, interlocking barbules that hold a bit more dust than turkey or chicken feathers, but even a top-quality ostrich duster still captures less than microfibre. If you keep one, treat it as a tool for delicate objects rather than your main duster.
Can I use the same microfibre duster wet and dry?
You can, but let the head dry fully between uses. A damp head left bunched in a cupboard can develop a musty smell that transfers to surfaces, and fibres that stay crushed lose their grip. Having two heads, one kept dry for dusting and one for damp work, keeps both jobs simpler.
Where should I store a duster between cleans?
Somewhere dry and uncovered, or in a closed cupboard away from the dust of the room itself. A duster left out on a shelf collects the very dust it is meant to remove, and a head stored while still damp can mat. Hang it by its handle or stand it head-up in a cleaning caddy.