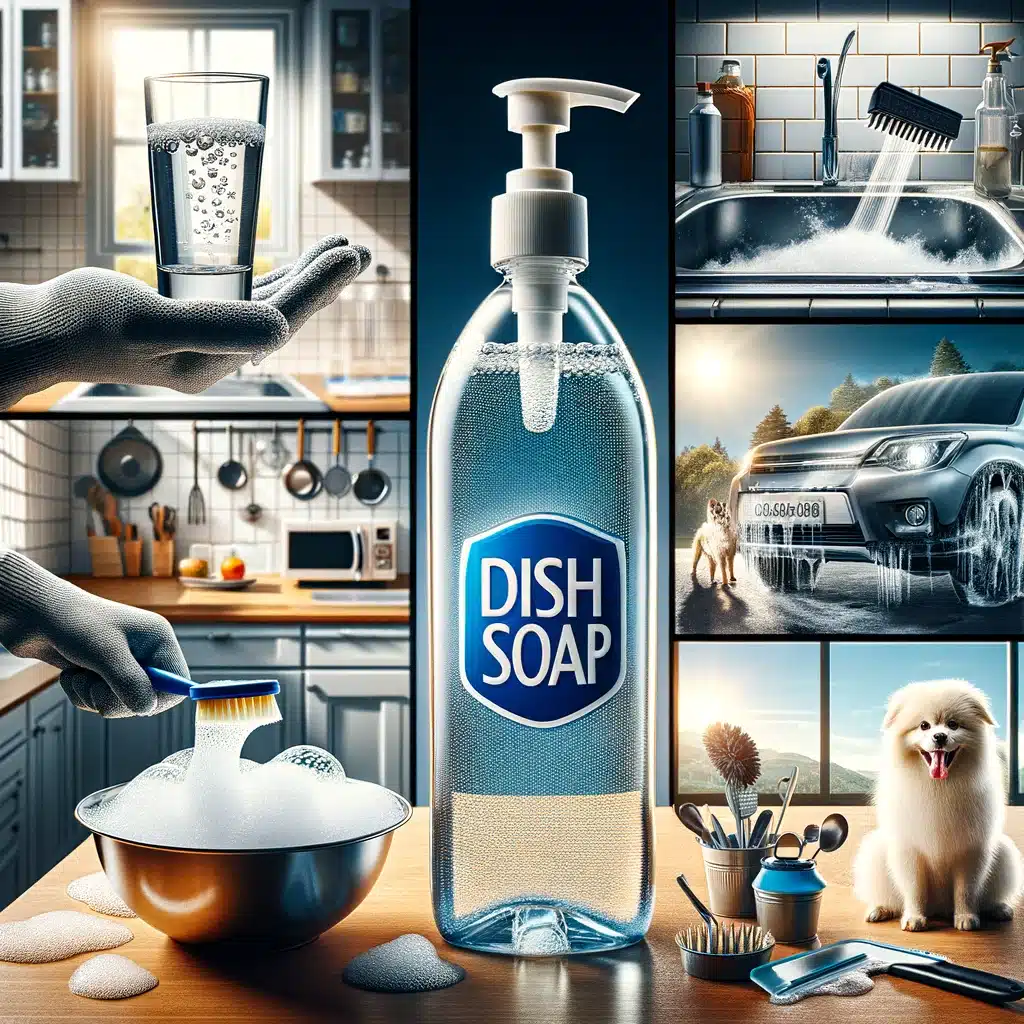
How Dish Soap Can Transform Your Cleaning Routine: Top 8 Tips
Hey there! Ever thought dish soap could be the unsung hero of your cleaning arsenal? Well, buckle up because I’m about to show you how this kitchen staple can totally transform your cleaning routine. Dish soap, with its grease-fighting power, isn’t just for dishes anymore. Here are the top 10 tips to make the most out of dish soap and keep your home sparkling clean. 1. Make an All-Purpose Cleaner To create this cleaner, start with filling a spray bottle most of the way with water, then add a few drops of dish soap. The precise amount of dish soap doesn’t need to be exact, but aiming for about a teaspoon per cup of water is a good starting point. This ratio ensures that the solution has enough cleaning power to tackle dirt and grime without leaving surfaces covered in soap residue. After adding the dish soap to the water, tightly close the spray bottle and give it a gentle shake. This mixing action disperses the soap throughout the water, creating a uniform cleaning solution. Now, your all-purpose cleaner is ready to tackle a multitude of cleaning tasks. When using your homemade all-purpose cleaner, simply spray a light mist onto the surface you’re cleaning. Then, with a clean cloth or sponge, gently wipe the surface clean. The beauty of this cleaner lies in its versatility. It’s safe and effective on most surfaces, including countertops, appliances, cabinets, and even walls. Its gentle formula ensures that it won’t damage or discolor the surfaces it’s used on, making it ideal for daily use. For tougher stains or grime, let the solution sit on the surface for a minute or two before wiping it away. This brief dwell time allows the dish soap to penetrate and break down the grime, making it easier to wipe clean. 2. Revive Your Jewelry When using dish soap to clean your jewelry, the key is to create a solution that’s strong enough to tackle the grime but gentle enough not to damage the jewelry. Start by mixing a few drops of mild dish soap into a bowl of warm (not hot) water. The warmth of the water helps to loosen any dirt or oils clinging to the surface of your jewelry, making it easier to clean. Submerge your jewelry in the solution and let it sit for 15 to 30 minutes. This soaking time allows the soapy mixture to penetrate and break down the buildup of everyday pollutants, skin oils, and any products you’ve used that might have dulled the jewelry’s surface. After the soak, take a soft-bristle toothbrush, like a baby toothbrush or a soft jewelry cleaning brush, and gently scrub the jewelry. Pay special attention to crevices and intricate designs where dirt can easily accumulate. The bristles should be soft enough not to scratch the metal or stones but firm enough to remove the dirt. Rinse your jewelry thoroughly under running lukewarm water to wash away any remaining soap residue. It’s important to ensure the water flow isn’t too strong to avoid washing your jewelry down the drain. A strainer can be used during this process for extra safety. Finally, dry your jewelry with a soft, lint-free cloth. This step not only removes any water spots but also helps to buff the metal and stones back to their original shine. If necessary, you can use a hairdryer on the lowest setting to ensure no moisture is left in hard-to-reach areas, but keep the dryer at a safe distance to avoid heat damage. 3. Spot Treat Stains on Fabric To begin the treatment, identify the stained area on your garment. Applying a small amount of dish soap directly onto the stain is your first step. There’s no need for a large quantity; a dab roughly the size of a coin should suffice, depending on the size and severity of the stain. The concentrated power of the dish soap is typically strong enough to tackle the grease without the need for excessive amounts. Once you’ve applied the soap, the next step involves gently rubbing it into the fabric. This can be done using your fingertips or a soft-bristled brush, such as an old toothbrush, to work the soap into the fibers of the fabric. The goal here is to allow the soap to penetrate the stain thoroughly. However, it’s essential to perform this action gently to avoid damaging the fabric, especially if it’s delicate. After the dish soap has been adequately massaged into the stain, it’s crucial to let it sit for a few minutes. This waiting period allows the soap to break down the oils and grease, making the stain easier to remove during the washing process. Depending on the stain’s stubbornness, you may let the soap sit on the fabric for anywhere from five to thirty minutes. Before proceeding with this method, it’s wise to conduct a spot test on an inconspicuous area of the fabric. This precautionary step ensures that the dish soap won’t cause any discoloration or damage to the material. Some fabrics may react differently to dish soap, especially those with delicate dyes or compositions, so this step is crucial for avoiding unintended damage. Finally, wash the garment as you normally would, following the care instructions on the label. After the wash, inspect the stain area before drying. If the stain persists, you may repeat the treatment process before drying, as drying can set the stain further into the fabric. 4. Clean Your Tools and Outdoor Furniture Start by filling a bucket with warm water. The warmth of the water aids in dissolving the soap and loosening grime. Add a generous squirt of dish soap to the water, aiming for a ratio that creates a visibly soapy solution without being overly sudsy. This mixture strikes the perfect balance for effective cleaning without leaving a sticky residue. Submerge a scrub brush in this soapy water and begin to scrub your garden tools and outdoor furniture. The scrub brush’s bristles are firm
How Dish Soap Can Transform Your Cleaning Routine: Top 8 Tips Read More »