Hey there! Ever thought dish soap could be the unsung hero of your cleaning arsenal? Well, buckle up because I’m about to show you how this kitchen staple can totally transform your cleaning routine. Dish soap, with its grease-fighting power, isn’t just for dishes anymore. Here are the top 10 tips to make the most out of dish soap and keep your home sparkling clean.
1. Make an All-Purpose Cleaner
To create this cleaner, start with filling a spray bottle most of the way with water, then add a few drops of dish soap. The precise amount of dish soap doesn’t need to be exact, but aiming for about a teaspoon per cup of water is a good starting point. This ratio ensures that the solution has enough cleaning power to tackle dirt and grime without leaving surfaces covered in soap residue.
After adding the dish soap to the water, tightly close the spray bottle and give it a gentle shake. This mixing action disperses the soap throughout the water, creating a uniform cleaning solution. Now, your all-purpose cleaner is ready to tackle a multitude of cleaning tasks.
When using your homemade all-purpose cleaner, simply spray a light mist onto the surface you’re cleaning. Then, with a clean cloth or sponge, gently wipe the surface clean. The beauty of this cleaner lies in its versatility. It’s safe and effective on most surfaces, including countertops, appliances, cabinets, and even walls. Its gentle formula ensures that it won’t damage or discolor the surfaces it’s used on, making it ideal for daily use.
For tougher stains or grime, let the solution sit on the surface for a minute or two before wiping it away. This brief dwell time allows the dish soap to penetrate and break down the grime, making it easier to wipe clean.
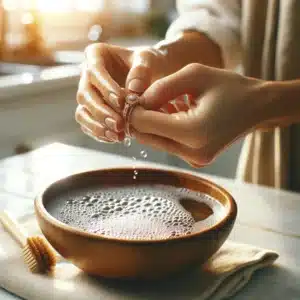
2. Revive Your Jewelry
When using dish soap to clean your jewelry, the key is to create a solution that’s strong enough to tackle the grime but gentle enough not to damage the jewelry. Start by mixing a few drops of mild dish soap into a bowl of warm (not hot) water. The warmth of the water helps to loosen any dirt or oils clinging to the surface of your jewelry, making it easier to clean.
Submerge your jewelry in the solution and let it sit for 15 to 30 minutes. This soaking time allows the soapy mixture to penetrate and break down the buildup of everyday pollutants, skin oils, and any products you’ve used that might have dulled the jewelry’s surface.
After the soak, take a soft-bristle toothbrush, like a baby toothbrush or a soft jewelry cleaning brush, and gently scrub the jewelry. Pay special attention to crevices and intricate designs where dirt can easily accumulate. The bristles should be soft enough not to scratch the metal or stones but firm enough to remove the dirt.
Rinse your jewelry thoroughly under running lukewarm water to wash away any remaining soap residue. It’s important to ensure the water flow isn’t too strong to avoid washing your jewelry down the drain. A strainer can be used during this process for extra safety.
Finally, dry your jewelry with a soft, lint-free cloth. This step not only removes any water spots but also helps to buff the metal and stones back to their original shine. If necessary, you can use a hairdryer on the lowest setting to ensure no moisture is left in hard-to-reach areas, but keep the dryer at a safe distance to avoid heat damage.
3. Spot Treat Stains on Fabric
To begin the treatment, identify the stained area on your garment. Applying a small amount of dish soap directly onto the stain is your first step. There’s no need for a large quantity; a dab roughly the size of a coin should suffice, depending on the size and severity of the stain. The concentrated power of the dish soap is typically strong enough to tackle the grease without the need for excessive amounts.
Once you’ve applied the soap, the next step involves gently rubbing it into the fabric. This can be done using your fingertips or a soft-bristled brush, such as an old toothbrush, to work the soap into the fibers of the fabric. The goal here is to allow the soap to penetrate the stain thoroughly. However, it’s essential to perform this action gently to avoid damaging the fabric, especially if it’s delicate.
After the dish soap has been adequately massaged into the stain, it’s crucial to let it sit for a few minutes. This waiting period allows the soap to break down the oils and grease, making the stain easier to remove during the washing process. Depending on the stain’s stubbornness, you may let the soap sit on the fabric for anywhere from five to thirty minutes.
Before proceeding with this method, it’s wise to conduct a spot test on an inconspicuous area of the fabric. This precautionary step ensures that the dish soap won’t cause any discoloration or damage to the material. Some fabrics may react differently to dish soap, especially those with delicate dyes or compositions, so this step is crucial for avoiding unintended damage.
Finally, wash the garment as you normally would, following the care instructions on the label. After the wash, inspect the stain area before drying. If the stain persists, you may repeat the treatment process before drying, as drying can set the stain further into the fabric.
4. Clean Your Tools and Outdoor Furniture
Start by filling a bucket with warm water. The warmth of the water aids in dissolving the soap and loosening grime. Add a generous squirt of dish soap to the water, aiming for a ratio that creates a visibly soapy solution without being overly sudsy. This mixture strikes the perfect balance for effective cleaning without leaving a sticky residue.
Submerge a scrub brush in this soapy water and begin to scrub your garden tools and outdoor furniture. The scrub brush’s bristles are firm enough to scour away tough grime and dirt but gentle enough to avoid scratching surfaces. For garden tools, focus on removing any soil, sap, or rust from the metal parts, and don’t overlook the handles, where sweat and dirt often accumulate.
When it comes to outdoor furniture, the approach is much the same. However, pay special attention to the crevices and joints, where dirt and moisture can hide, leading to mold and mildew growth. The soapy solution can penetrate these areas, ensuring a thorough clean. If your furniture has cushions or fabric, check the care instructions, as some may allow for a mild dish soap cleaning solution to remove stains and freshen up the fabric.
After scrubbing, rinse your tools and furniture with clean water. For garden tools, it’s beneficial to dry them thoroughly to prevent rust. You can use a clean, dry cloth or let them air dry in the sun if weather permits. For outdoor furniture, wiping down with a dry cloth after rinsing will prevent water spots and streaks, leaving your furniture ready for your next outdoor gathering.
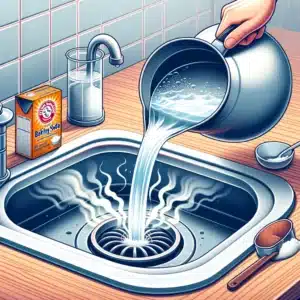
5. Unclog Drains
Start by boiling a kettle or pot of water. The hot water will serve as a catalyst, enhancing the soap’s ability to cut through the grease. While the water is heating, squirt a generous amount of dish soap directly into the drain. The exact amount doesn’t have to be precise, but aim for about a quarter to half a cup to ensure there’s enough soap to coat the sides of the pipe and reach the blockage.
Once the water has reached a boil, carefully pour it down the drain. The combination of hot water and dish soap works to soften, dissolve, and dislodge the greasy buildup that’s causing the blockage. The soap acts as a lubricant, helping to ease the movement of the clog through the pipes, while the hot water flushes the dislodged material away, clearing the path for water to flow smoothly.
It may be necessary to repeat this process a couple of times for tougher blockages. The first application often loosens the clog, and subsequent treatments help to fully clear it. For persistent clogs, allowing the dish soap to sit in the drain for a few minutes before adding the hot water can provide extra cleaning power, giving the soap more time to work its way into the grease and grime.
6. Refresh Your Fridge
Once the fridge is empty, remove any removable shelves, drawers, and bins. These components can often be washed more thoroughly outside of the fridge, either in the sink or bathtub, depending on their size.
Prepare a cleaning solution by mixing a small amount of dish soap with warm water in a bowl or bucket. The exact proportions don’t need to be precise—a squirt or two of dish soap in a gallon of water should suffice to create a mild, soapy solution. The warm water helps to dissolve the soap and makes it easier to wipe away food spills and stains.
Using a clean sponge or cloth, dip it into the soapy water and wring it out so it’s damp, not dripping. Wipe down the interior surfaces of the refrigerator, including the walls, the ceiling, and the floor. Pay special attention to any sticky spots or areas with spilled food. The dish soap’s grease-fighting properties are excellent for cutting through these messes without leaving a residue.
For tougher stains or dried-on food, let the soapy water sit on the area for a few minutes to loosen the grime before wiping it away. A soft-bristled brush can be used for stubborn areas, but be gentle to avoid scratching the surfaces.
Once you’ve cleaned the interior with the soapy solution, go over the surfaces once more with a clean cloth dampened with just water. This rinse step helps to remove any remaining soap residue. Finally, dry the surfaces with a clean towel or let them air dry with the refrigerator door open for a bit.
7. Shine Up Your Windows
Prepare your cleaning solution by adding a few drops of dish soap to a bucket of warm water. The amount of dish soap doesn’t need to be excessive; a little goes a long way in creating a solution that’s powerful enough to break down grime without leaving a soapy residue. Warm water helps to dissolve the soap evenly and enhances its cleaning effectiveness.
Dip a sponge or a soft cloth into the soapy water, wringing out the excess liquid to avoid dripping. Apply the damp sponge to the window, starting at the top and working your way down in a zigzag pattern. This initial clean helps to remove the majority of the surface dirt and prepares the window for a more thorough clean with the squeegee.
Next, take your squeegee and place it at the top of the window. With steady pressure, pull the squeegee down in a straight line. Wipe the squeegee blade with a clean, dry cloth after each stroke to prevent transferring dirt from one part of the window to another. Continue this process, overlapping each stroke slightly, until you’ve covered the entire window. The squeegee effectively removes the cleaning solution and dirt, leaving a clean, streak-free surface.
For corners and edges where the squeegee might not reach, use a clean, dry microfiber cloth or a small squeegee to remove any remaining moisture. These areas are often where streaks can form if left damp.
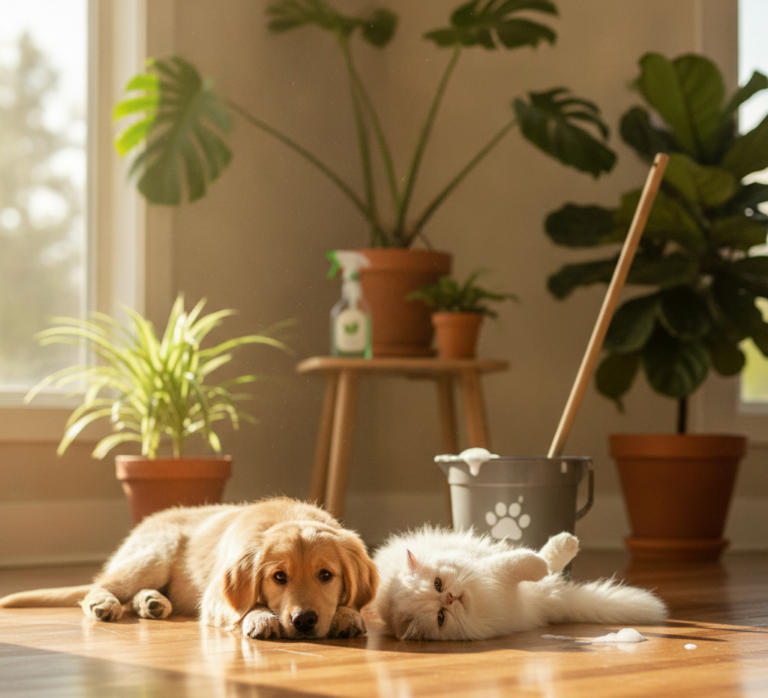
8. Treat Your Pets
When opting for dish soap as a pet shampoo, the first step is to ensure the soap is as gentle and natural as possible, free from harsh chemicals and fragrances that could irritate your pet’s skin or cause allergic reactions. A small amount of soap goes a long way, so there’s no need to use more than a few drops.
Before applying the soap, thoroughly wet your pet’s coat with lukewarm water. This will help spread the dish soap more easily and prevent it from concentrating too much in one area. Apply a small amount of dish soap to your hands and gently lather it into your pet’s fur, being careful to avoid sensitive areas such as the eyes, ears, and mouth. The goal is to cleanse the coat and skin gently, not to scrub vigorously as this can lead to irritation.
For pets with fleas, the dish soap acts as a mild insecticide. While it won’t prevent future infestations, it can help to kill fleas currently on your pet. Leave the soap on for a few minutes to maximize its flea-killing power before rinsing.
Rinsing your pet thoroughly after washing is perhaps the most critical step. Any residue left in the coat can attract dirt and may lead to skin irritation or dryness. Use plenty of clean, lukewarm water to wash all the soap out of your pet’s fur, ensuring the water runs clear before you finish.
After the bath, gently towel dry your pet to remove excess water, followed by a thorough blow-drying if your pet tolerates it. This helps prevent any chills and ensures that the coat is completely dry. Pay extra attention to undercoats and dense fur, which can hold moisture and potentially lead to skin issues if not dried properly.
It’s essential to note that while dish soap can be a useful alternative in a pinch, it’s not meant for regular use as a pet shampoo. Frequent use can strip natural oils from your pet’s skin, leading to dryness and irritation. For routine baths, it’s best to use shampoos formulated specifically for pets, tailored to their skin’s pH and designed to be gentle and moisturizing.
How Dish Soap for the Win
Incorporating dish soap into your cleaning routine is a game-changer for those looking to simplify their household chores while being mindful of the environment and their wallet. This humble kitchen staple proves time and again that you don’t need a cabinet full of specialized cleaners to keep your home in pristine condition. From shining windows to reviving jewelry, the versatility of dish soap makes it an indispensable tool in your cleaning arsenal. Its effectiveness against grease and grime, combined with its gentle impact on surfaces, ensures that your cleaning routine is not only efficient but also safe for your family and pets.
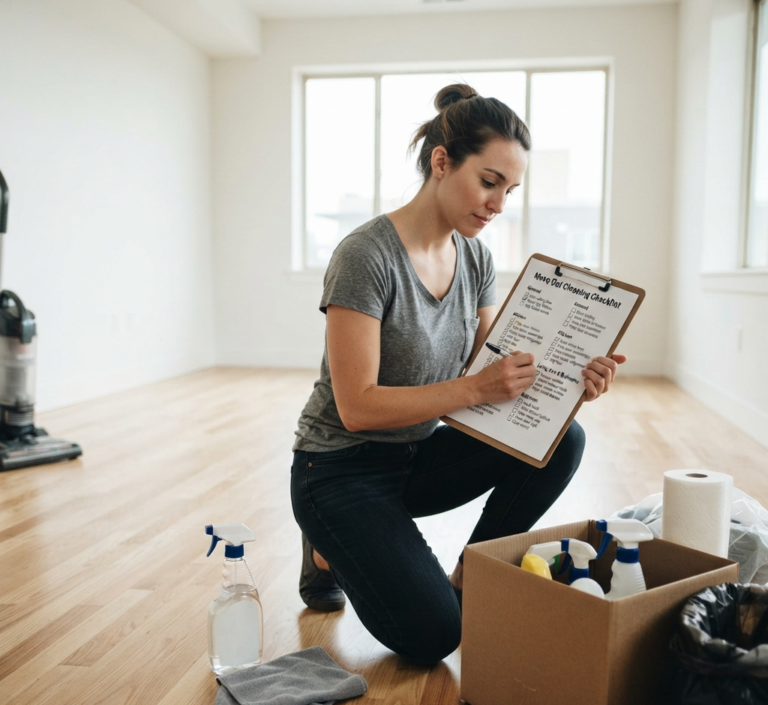
However, even with dish soap’s impressive cleaning capabilities, there are times when professional help is needed, especially for those deep-cleaning tasks that require a bit more expertise and elbow grease. This is where Toronto Shine Cleaning comes in. Offering a wide range of services from general household cleaning to more specialized tasks like deep-cleaning, move-in/move-out cleaning, and even post-construction cleaning, they have the expertise to tackle any cleaning challenge. Their team of professionals uses eco-friendly cleaning solutions and techniques to ensure your home is not just clean but also healthy and welcoming.
So, while stocking up on dish soap on your next grocery run, remember that for those tasks that might be a bit too daunting or time-consuming, Toronto Shine Cleaning is ready to lend a professional hand. Their services provide the perfect complement to your daily cleaning routine, ensuring your home is always at its best.