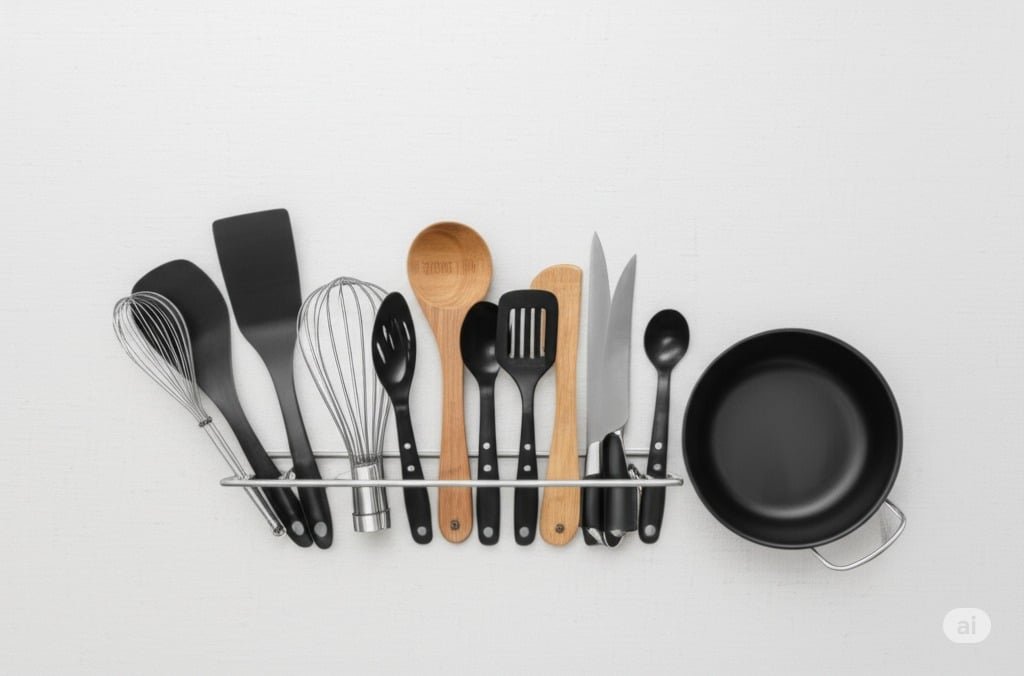
7 Tips On How To Clean Kitchen Utensils Made Of Different Materials That You Should Know
The first step to cleaning your kitchen utensils properly is to always act immediately after use. Scrape any food residue into the compost bin or trash can. This simple act prevents food from drying and hardening, which is one of the main culprits for difficult cleaning sessions. For items with particularly stubborn, stuck-on grime – such as casseroles or pots after a long simmer – a pre-wash in warm water with a little dish soap can work wonders. This allows the soapy water to start breaking down food particles, making subsequent scrubbing much less tiring. Always opt for hot water when washing, as it is significantly more effective at dissolving grease and sanitizing surfaces. A good quality detergent that can cut through grease without being overly harsh is essential. Finally, having a variety of cleaning aids on hand – a non-scratch sponge for most tasks, a sturdier brush for tougher jobs and a soft cloth for delicate items – will prepare you for any cleaning challenge. Cutlery, Plates, and Bowls Let’s start with the most commonly used kitchen utensils: our daily cutlery, including forks, spoons, and knives, alongside our standard plates and bowls, typically crafted from materials like ceramic, porcelain, or durable stoneware. These kitchen utensils are generally quite robust, but attention to detail is key for a truly thorough clean. When washing forks, it’s crucial to clean between the tines, as this is a common hiding spot for food particles. A small, stiff-bristled brush can be invaluable for this. For spoons, ensure both the concave bowl and the handle are meticulously scrubbed. Plates and bowls require cleaning on all surfaces – not just the food-contact side, but also the exterior and the rim. While many of these items are designed to be dishwasher-safe, handwashing often allows for a more focused clean, ensuring that every nook and cranny is addressed, preventing any build-up over time. Caring for Glassware Next, we turn our attention to glassware, encompassing everything from sturdy everyday drinking glasses to more delicate wine glasses or decorative glass bowls that double as kitchen utensils. The primary objective when cleaning glassware is to achieve a sparkling, streak-free finish. It’s generally advisable to wash glassware early in your washing process, while the water is at its hottest and cleanest. Use a soft sponge or a dedicated glass-cleaning cloth to avoid any risk of scratching. If you are washing stemmed wine glasses, try to hold them gently by the bowl rather than the stem, as stems can be surprisingly fragile and prone to snapping under pressure. A thorough rinse under hot, clean water is paramount, as lingering soap residue is the main cause of cloudy or streaky glassware. For an exceptionally brilliant shine, some find that a final rinse with a splash of white vinegar diluted in the water can make a difference, followed by allowing them to air dry on a rack or carefully polishing them with a lint-free linen cloth. Pots and Pans Our collection of pots and pans that are also considered kitchen utensils often present a variety of cleaning challenges, due to the different materials used in their construction and the nature of cooked-on food. Stainless Steel Cookware is a common and durable choice. It can generally withstand more vigorous scrubbing if food has become particularly adherent. For tough spots, a non-scratch scouring pad is usually safe, or you can create a paste from baking soda and a little water to act as a gentle abrasive. Remember to clean both the interior and exterior surfaces, including the base and handles. Rinsing well and drying promptly will help to prevent water spots and maintain its characteristic shine.Non-Stick Pans and Cookware require a more delicate approach to preserve their specialized coating. It is crucial to avoid abrasive scrubbers, steel wool, or harsh chemical cleaners, as these can easily scratch and degrade the non-stick surface. This not only reduces its effectiveness but can also lead to particles of the coating flaking off into your food. Instead, use a soft sponge or cloth with mild dish soap. If food is stubbornly stuck, allow the pan to soak in warm, soapy water for a period to loosen the residue. Alternatively, gently simmering a small amount of water in the pan on the stovetop for a few minutes can also help to dislodge baked-on food before washing.Cast Iron Cookware is highly prized for its excellent heat retention and the natural non-stick patina it develops over time through proper seasoning. The cardinal rule for cleaning cast iron is generally to avoid using harsh soaps or detergents, as these can strip away that valuable seasoning. For most routine cleaning, hot water and a stiff brush or a specialized cast iron scraper are all that’s needed. If you encounter particularly stubborn food, you can use a little coarse salt as a gentle abrasive along with your brush. After washing, it is absolutely essential to dry cast iron cookware immediately and thoroughly to prevent rust from forming. Many enthusiasts then apply a very thin, even layer of cooking oil while the pan is still warm to help maintain and build up the seasoning. Never leave cast iron to soak for extended periods. Wooden Utensils and Boards Wooden items such as spoons, spatulas, and cutting boards bring a natural warmth to the kitchen but require specific care. Wood is a porous material and does not react well to prolonged exposure to water. Soaking wooden kitchen utensils can cause them to swell, warp, or even crack over time. Therefore, it’s best to wash them promptly after each use with hot, soapy water and a soft brush or sponge. Rinse them quickly under running water and, most importantly, dry them thoroughly with a towel straight away. Do not leave them to air dry if possible, and they should never be placed in a dishwasher. Periodically treating your wooden kitchen utensils and cutting boards with a food-grade mineral oil will help to keep them conditioned, prevent them from drying
7 Tips On How To Clean Kitchen Utensils Made Of Different Materials That You Should Know Read More »