Facing a dirty oven can feel like gearing up for battle, right? That baked-on grime and mysterious splatters can seem invincible. But trust me, with a clear plan, you can conquer that oven and get it sparkling again. It’s not just about looks; a clean oven cooks better and keeps your kitchen smelling fresh. So, roll up your sleeves, and let’s walk through five straightforward steps to make this chore totally manageable.
1. Prep Work
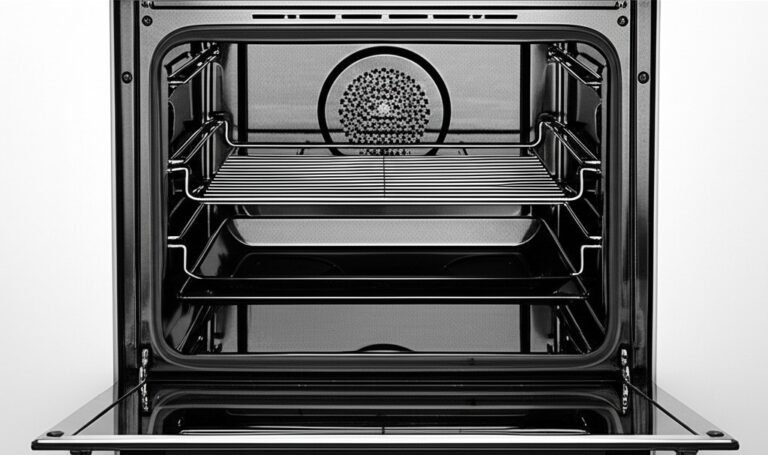
First things first: safety and setup are key to a successful oven clean. Make absolutely sure your oven is completely cold before you begin – no exceptions! Attempting to clean a warm or hot oven is a recipe for burns and can cause cleaning fumes to become more intense. Now, carefully pull out those oven racks. They often carry a lot of grime and will need their own cleaning session, so set them aside for now, perhaps in your sink or even in a bathtub lined with an old towel to prevent scratches. Next, grab anything else that might be lurking inside your oven – think pizza stones, oven thermometers, or that forgotten baking tray. With the oven empty, it’s time to tackle the loose bits and pieces. Use a small brush and dustpan, or even your vacuum cleaner’s crevice tool attachment, to gently sweep or suck up all those crumbs, ash, and charred food particles from the oven floor. Getting rid of this loose debris now prevents you from simply making a muddy mess when you apply your cleaner later. Finally, protect your kitchen floor by laying down some newspaper or old towels in front of and beneath the oven door to catch any potential drips or spills. Don’t forget to ensure good ventilation by cracking open a window or switching on your kitchen’s extractor fan. Good preparation really does make the whole job smoother and safer.
2. Apply the Cleaner
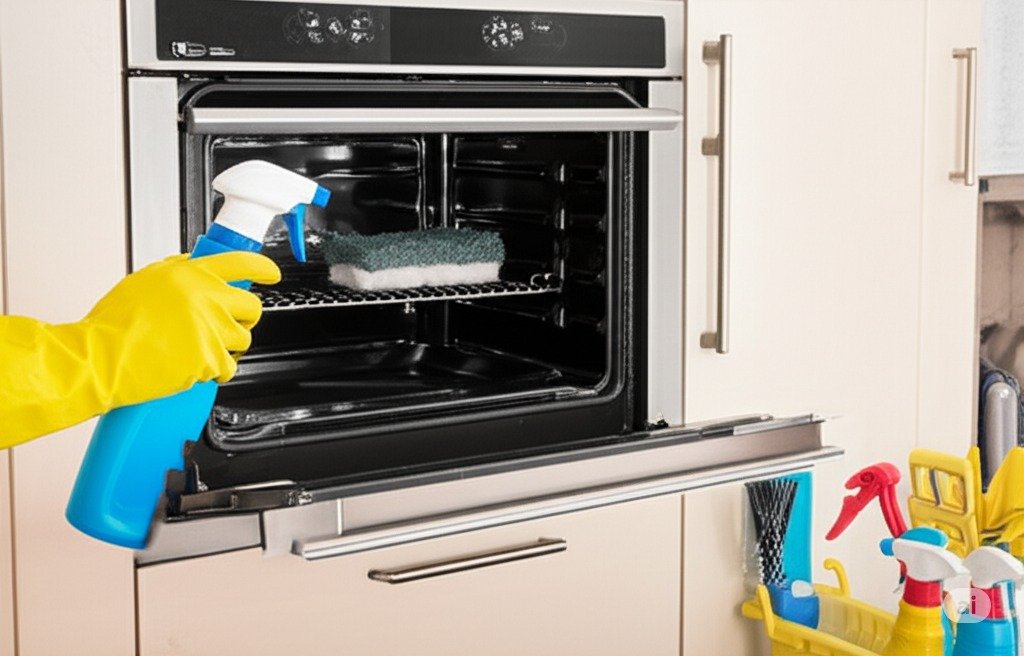
With your oven prepped like a pro, it’s time to bring in your chosen cleaning solution. Whether you’re using a heavy-duty commercial oven spray specifically formulated for tough grease, or a homemade paste perhaps made from baking soda and water, the main goal here is to achieve an even and thorough coat. Before you start, pop on some sturdy rubber gloves to protect your skin – and consider safety glasses, especially if you’re using a strong chemical spray – because some cleaning agents can be quite potent. Carefully apply your chosen solution to all the interior surfaces of the oven: this means the sides, the back panel, the bottom surface, and the inside of the oven door. Try to avoid spraying or applying the cleaner directly onto any visible heating elements or internal fans, as these components can be sensitive. Don’t be shy with the product, particularly on those really stubborn, baked-on spots that look like they’ve been there for ages. A thorough and even coating of cleaner now means significantly less elbow grease will be required from you later on. Ensure you get the cleaner everywhere the grime is hiding!
3.The Waiting Game
Now for the part of the process that requires a little patience: allowing your cleaner adequate time to work its magic. This isn’t wasted time; in fact, it’s when the really tough de-greasing action happens! Your cleaning solution is busy penetrating and breaking down all that stubborn, caked-on grease and food residue. It’s crucial to check your product’s label for the manufacturer’s recommended dwell time – this could be anything from 30 minutes for a lighter clean to several hours, or even overnight for exceptionally dirty ovens or if you’re using a gentler homemade paste like baking soda. Whatever the recommendation, don’t rush this stage. While you’re waiting for the cleaner to do its thing inside the oven, you can productively turn your attention to those oven racks you removed earlier. Soaking them in hot, soapy water in your sink or bathtub can help loosen the grime on them too. Giving your cleaner the full, uninterrupted time it needs to work inside the oven is absolutely key to making the next step of scrubbing and wiping much, much easier. Think of this waiting period as your secret weapon against excessive scrubbing.
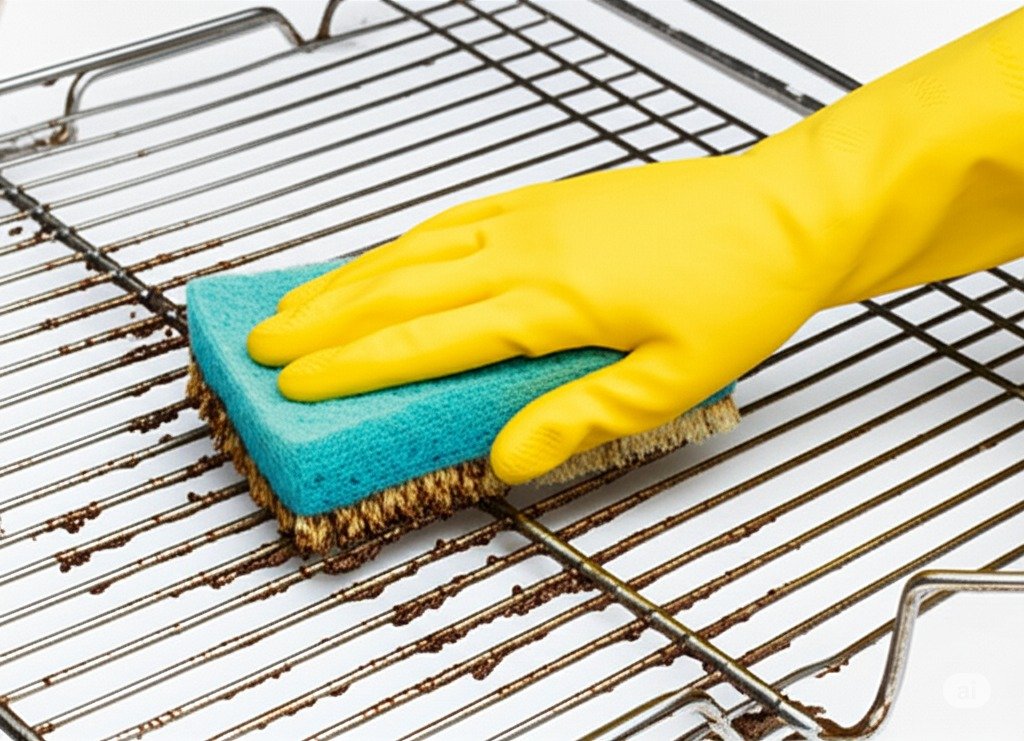
4. Scrub and Wipe
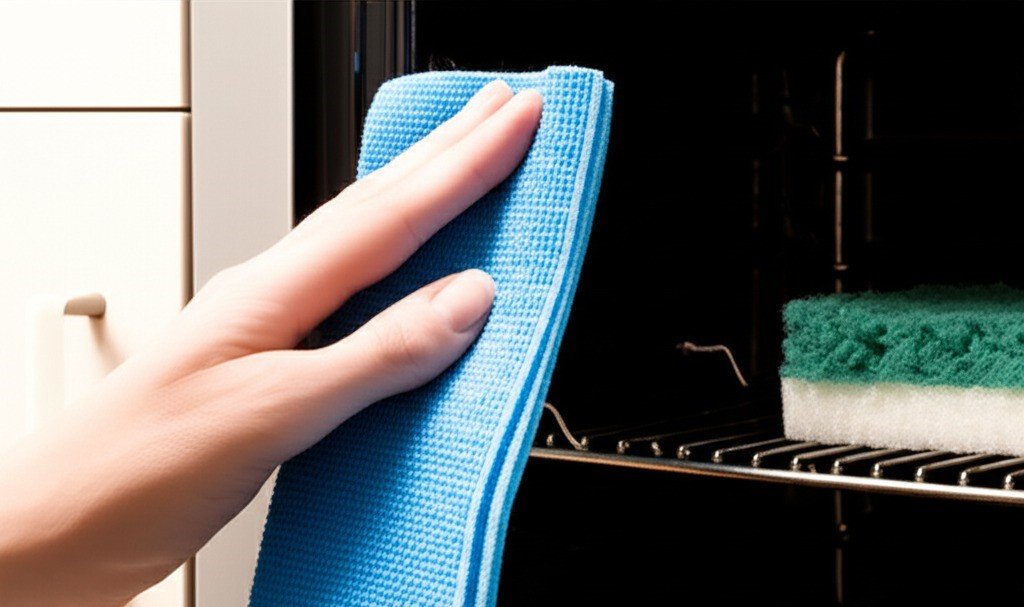
Okay, the wait is over and it’s time to get to work – the big clean! Your cleaning solution has probably done the heavy lifting, so the built-up grime should be significantly looser and easier to remove. Gather your tools: a non-scratch abrasive pad, a heavy-duty sponge, and a few clean rags are essential. For those super stubborn, caked-on spots that refuse to come off easily, a plastic scraper (even an old credit card will work in a pinch, if used carefully) can come in handy. Start wiping and scrubbing the interior surfaces. It’s often helpful to work systematically – perhaps starting at the top of the oven and working your way down, or tackling one section at a time, don’t forget to clean the glass panes too. You’ll find that the dirt, grease, and food deposits come off much more easily now than if you tried to scrub them with cold water. Remember to rinse the sponge or rag in a bucket of clean water frequently. This prevents you from simply spreading loose dirt around the oven. Pay special attention to the corners, crevices and around any recesses where grease and dirt love to hide. This is when you’ll really see the transformation taking place and your oven starting to shine again!
5. Rinse, Dry, Reassemble
We’re on the home stretch now! The fifth and final step is to meticulously rinse away all traces of the cleaning product, thoroughly dry the oven’s interior, and then put everything back together. It’s super important to remove every last bit of cleaning product; any residue left behind can create nasty fumes or affect your food’s taste the next time you bake. Take a clean, damp cloth (you’ll likely need several, or rinse one very often) and wipe down all the interior surfaces multiple times. Your goal is to leave no soapy or slippery feel. For an effective final rinse, many find that wiping all surfaces with a cloth dampened with a bit of white vinegar mixed with water helps to neutralize any remaining cleaner residues and can add a nice sparkle. Now, you can either let the oven air dry completely by leaving the door open for a few hours, or you can dry it thoroughly with a clean, dry towel or microfiber cloth. Don’t forget to give those cleaned oven racks a final rinse if you haven’t already, dry them completely, and then slide them back into their positions inside the oven. Remove your floor protection, and take a moment to admire your work.
Tackling grease is vital for a clean home, but it’s often a time-consuming task. Toronto Shine Cleaning provides the expert help you need. We specialize in advanced degreasing techniques and use professional-grade products to make your home shine, eliminating the usual hassle. From kitchen surfaces to garage floors and range hoods, no greasy challenge is too much for our skilled team. Reclaim your time and enjoy a pristine home by booking Toronto Shine Cleaning today.”