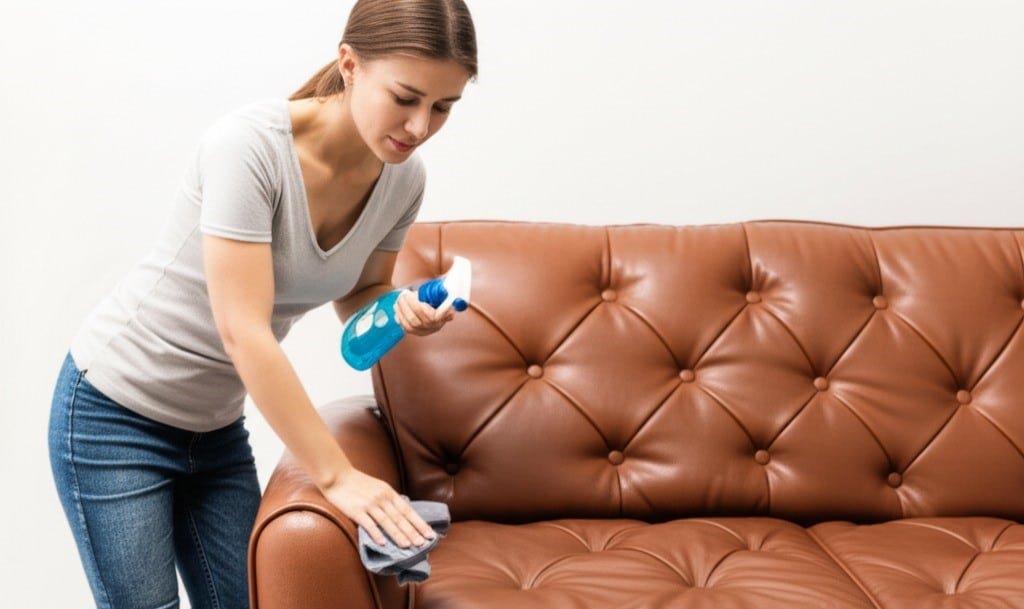
Cleaning Leather Couch: How to Make Them Look Like New In 6 Steps
To properly clean a leather couch, you must first understand the material you are working with. The approach is not one-size-fits-all, and using the wrong method can cause permanent damage. Begin by identifying the type of leather. Most furniture is made from protected, aniline, or nubuck leather. The manufacturer’s tag is the best source for this information. If no tag is available, perform a water drop test on a hidden area, like under a cushion or on a back flap. If a drop of water beads on the surface and doesn’t soak in, you have protected leather. This is the most common and durable type, featuring a protective polymer coating that resists stains. If the water drop soaks in quickly and darkens the spot, it is aniline or semi-aniline leather. This type is very porous and delicate. If the material feels velvety and absorbs the water, it is nubuck or suede, which requires a completely different, water-free cleaning method. This guide will focus on the cleaning process for a protected or aniline leather couch, as they are the most prevalent. 1.Necessary For Cleaning Before starting, gather the correct supplies. You will need a vacuum with a soft brush attachment, several clean microfiber cloths, two buckets, distilled water, a pH-neutral, non-alkaline soap like castile soap or a dedicated leather cleaner, and a high-quality leather conditioner. Using the soft brush attachment is crucial to avoid scratching the surface of your leather couch. Microfiber cloths are essential because they trap dirt effectively without being abrasive. Distilled water is non-negotiable; the minerals in tap water can leave white, chalky residue on the material. A pH-neutral cleaner is vital because harsh chemicals will strip the natural oils from your leather couch, leading to dryness and cracking. 2.Dry Cleaning The first active step is a thorough dry cleaning. Attach the soft brush to your vacuum cleaner and meticulously go over the entire leather couch. Start from the top and work your way down, paying special attention to the seams, crevices, and the areas between and under the cushions. This is where dust, crumbs, pet hair, and other debris collect. The goal is to remove all loose particles before introducing any moisture. Wiping a dusty surface with a damp cloth creates a grime that gets pushed into the leather’s grain, making it harder to clean. After vacuuming, take a dry microfiber cloth and give the entire leather couch a final wipe-down to catch any remaining dust particles. This preparation ensures you are cleaning the leather itself, not just moving dirt around. A clean-from-the-start approach is the best way to care for your leather couch. 3.Solution Now, prepare your cleaning solution. Fill one bucket with lukewarm distilled water and the second bucket with clean, lukewarm distilled water for rinsing. In the first bucket, add a very small amount of your pH-neutral soap and agitate the water to create a generous amount of suds. You will be cleaning with the foam, not the saturated water, to minimize moisture exposure on the leather couch. Before applying this solution to the main surfaces, you must perform a patch test. Choose the same hidden spot you used for the water test. Dip a microfiber cloth into the sudsy foam, wringing it out until it is almost dry. The cloth should be damp, not wet. Gently rub the test area. Next, dip a separate clean cloth into the rinse bucket, wring it out thoroughly, and wipe the soap from the test spot. At the end, use a third, dry cloth to buff the area dry. Wait for the spot to dry completely and inspect it for any discoloration, stiffening, or texture changes. If the area looks perfect, you can proceed with cleaning the rest of the leather couch. To clean the leather couch, work in small, manageable sections, about two feet by two feet at a time. This methodical approach ensures you can rinse and dry each section before the cleaning solution has a chance to sit for too long. Always start from the top of the leather couch and work your way down. This prevents dirty suds from dripping onto already cleaned areas. Dip your cleaning cloth into the foam, wring it out aggressively, and then gently wipe down one section using light, circular motions. Do not scrub harshly. The goal is to lift the dirt from the surface. For a more durable protected leather couch, you can apply slightly more pressure, but for a delicate aniline leather couch, the touch should be exceptionally light. 4.Rinse Immediately after washing a section, take your dedicated rinse cloth. Dip it in the plain distilled water, wring it out until it is just damp, and wipe away all the soap residue from the area you just cleaned. It is imperative to remove all traces of the cleaner. Leftover soap will attract new dirt and can degrade the finish of your leather couch over time. After rinsing, take your third, completely dry microfiber cloth and immediately buff the section dry. This step is critical for preventing water spots and streaks, which can be particularly noticeable on aniline leather. Continue this three-step process—wash, rinse, dry—section by section until the entire surface of the leather couch is clean. Remember to change your rinse water if it becomes cloudy or dirty to avoid reapplying grime. After the general cleaning, you might find some stubborn stains still present on the leather couch. Addressing these requires specific techniques and caution. Always test any stain removal agent on your hidden spot first. For common grease or oil stains from food or hair products, sprinkle a generous amount of baking soda or cornstarch onto the spot. Let it sit for several hours; the powder will absorb the oil from the leather’s pores. Afterward, gently vacuum the powder away using the soft brush attachment. For ink stains on a protected leather couch, you can very carefully use a cotton swab dipped in isopropyl alcohol. Dab the stain gently, never rub, working from the
Cleaning Leather Couch: How to Make Them Look Like New In 6 Steps Read More »