End-of-Lease Cleaning in Ontario: What Tenants Must Leave Behind
On this page
Moving is one of the busiest weeks most tenants go through: packing, booking the truck, changing addresses and handing back the keys. The last job on the list is the end-of-lease clean, and in Ontario the standard is simpler than many online guides suggest.
In Ontario the tenant must leave the unit in “ordinary cleanliness” (Residential Tenancies Act, s.33). A greasy oven or soap scum in the shower is what usually starts an end-of-lease disagreement.
This guide explains what that standard means in practice, which deposits a landlord can and can’t hold, and how to work through each room so the handover is short. It is general information, not legal advice: for your own situation, read the Government of Ontario’s Renting in Ontario: your rights or contact the Landlord and Tenant Board.
What Exactly Is an End-of-Lease Clean?
A common mix-up is treating an end-of-lease clean like a weekly clean. Regular chores are maintenance: vacuuming the open floor, wiping the kitchen counters and dusting the coffee table.
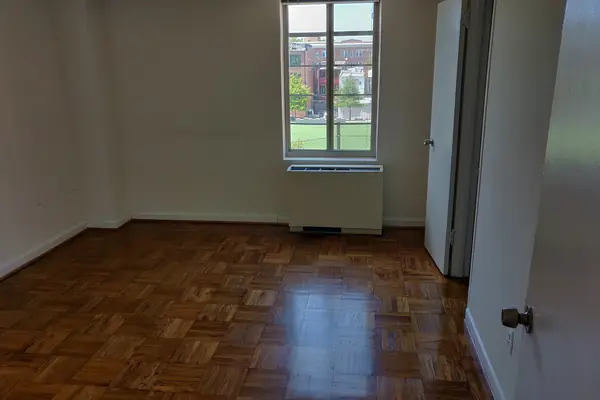
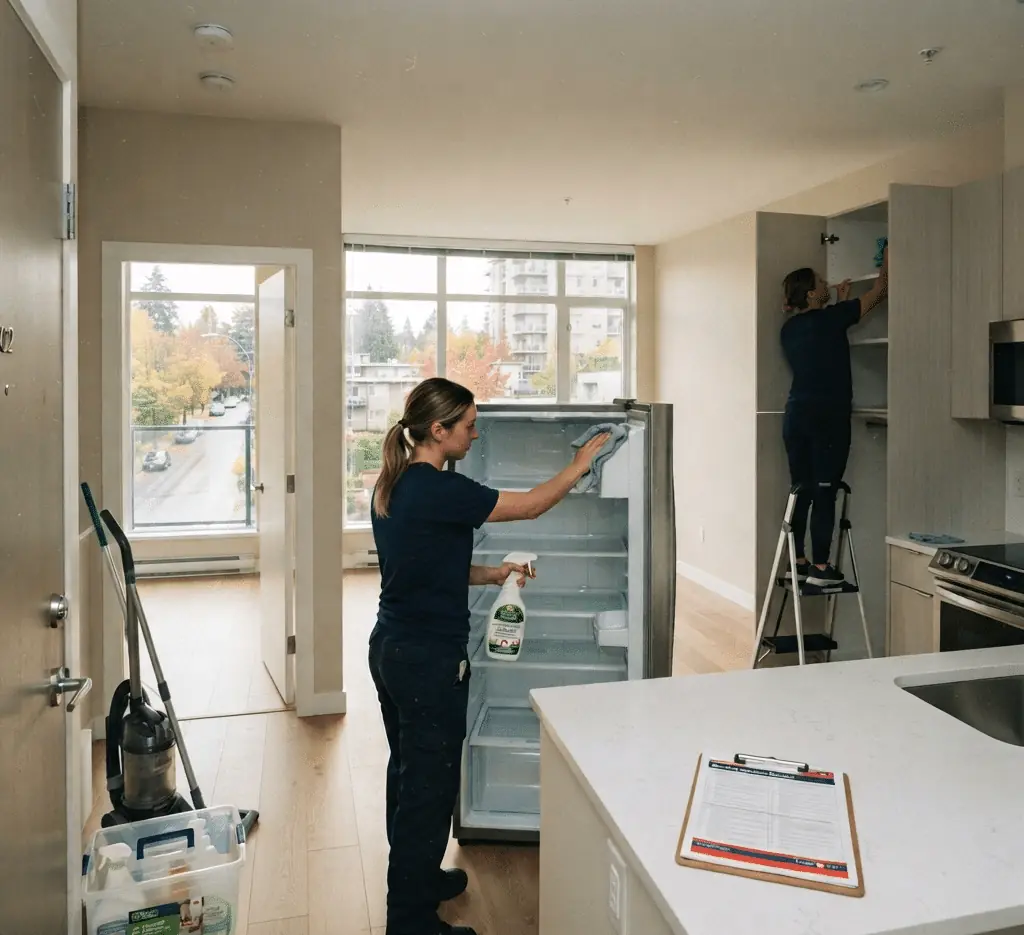
An end-of-lease clean, often called a move-out clean or end-of-tenancy clean, is a top-to-bottom clean of the empty unit. The aim is a unit that is clean to an ordinary standard, room by room, not one restored to the day you moved in: normal wear and tear is not the tenant’s to fix. With the furniture gone, every scuff, stain and cobweb is suddenly in view, so plan time for the hard-to-reach areas that rarely see the light of day during a normal tenancy.
Deposits in Ontario: What a Landlord Can and Can’t Hold
Ontario landlords can only collect a rent deposit (up to one month’s rent, used for your last month) and a refundable key deposit. Damage, security, cleaning and pet deposits are not allowed (see ontario.ca).
Normal wear and tear (faded paint, worn carpet paths) is not the tenant’s responsibility; built-up grime is part of ordinary cleanliness.
There is no damage deposit to deduct from in Ontario. A landlord who believes a former tenant caused undue damage can apply to the Landlord and Tenant Board within one year of move-out. A clean handover simply keeps that conversation from starting.
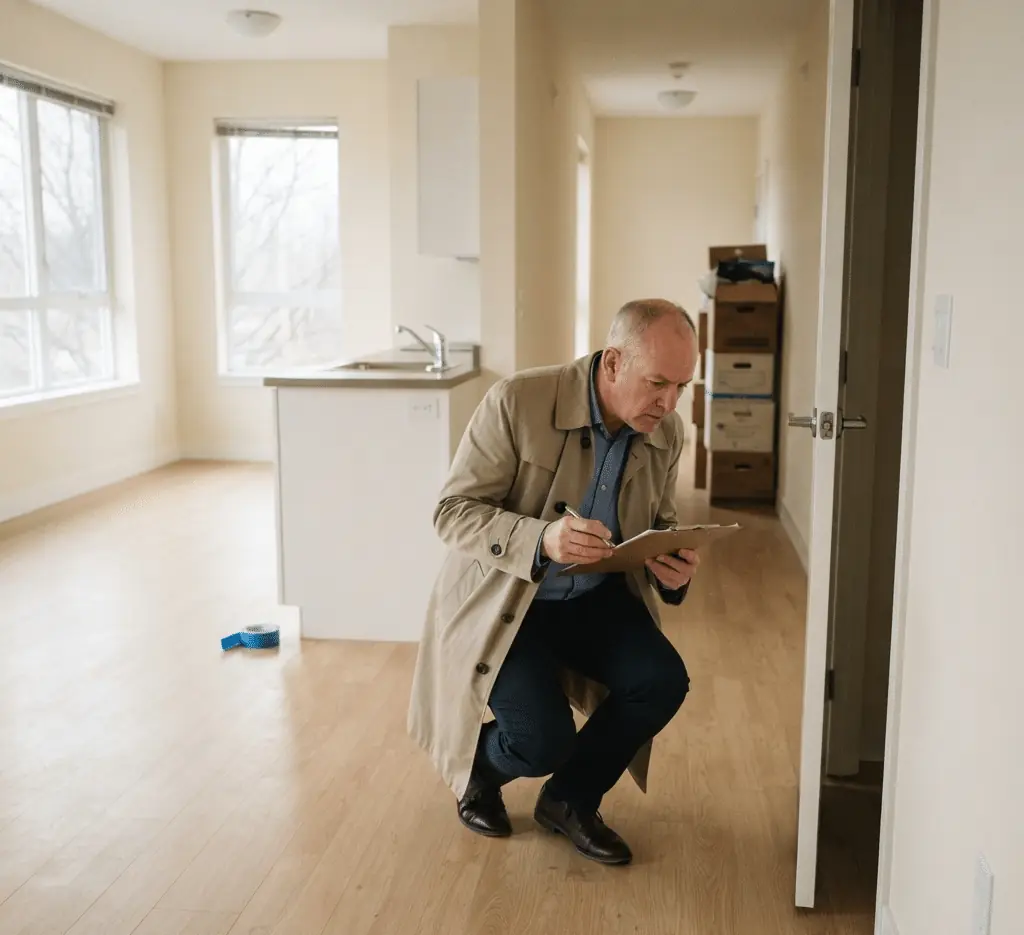
End-of-Lease Cleaning Checklist
Work through the unit room by room. These are the areas that need the most attention in a residential end-of-lease clean.
The Kitchen
The kitchen collects the most stubborn, sticky buildup, and it is usually the first room anyone looks at during the walkthrough.
The Oven and Stovetop: Usually the hardest job. Degrease the inside of the oven and lift baked-on food. The stovetop, drip pans, and the range hood filter must be scrubbed until they shine.
The Refrigerator: It must be entirely emptied, defrosted, and cleaned from the inside out. Every shelf and crisper drawer should be removed, washed, sanitized, and dried to prevent mold and odors. Don’t forget to pull the fridge forward to clean the floor beneath it and dust the cooling coils.
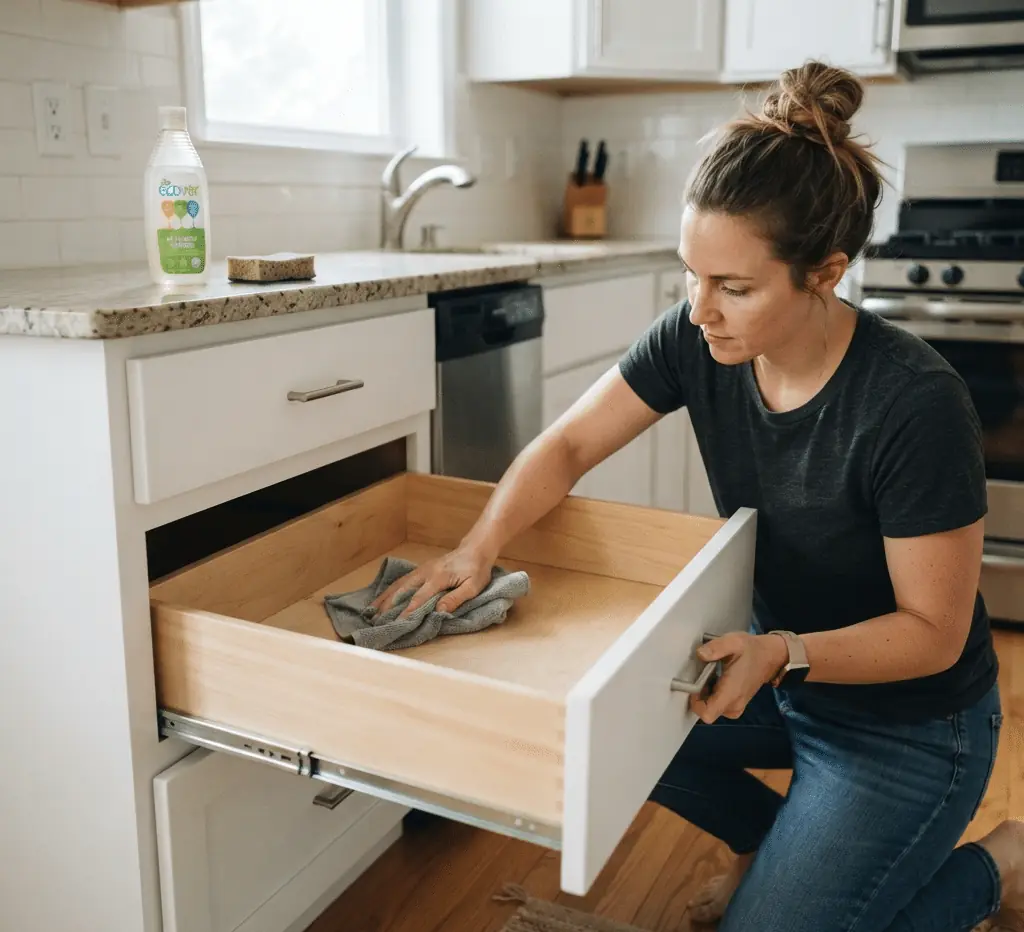
Cabinetry: Every single kitchen cabinet and drawer must be vacuumed out to remove crumbs, and wiped down with a mild cleaner to remove the sticky film of cooking grease that coats surfaces over time.
Sinks and Backsplashes: Scrub the sink to remove food stains and polish the faucet. Degrease the backsplash, paying special attention to the grout lines directly behind the stove.
The Bathrooms
Bathrooms are high-humidity rooms that collect mould, mildew and hard-water deposits, so they need a full reset.
Showers and Tubs: Remove all soap scum and hard water etching from glass shower doors and ceramic tiles. The grout must be scrubbed white, and the drain cleared of any hair.
The Toilet: Clean the bowl thoroughly, but also scrub the base where it meets the floor, the exterior of the tank, and the hinges of the seat, the spots that are easiest to miss.
Vanities and Exhaust Fans: Wipe out the inside of the vanity drawers. Critically, take a vacuum to the bathroom exhaust fan; a dust-clogged fan is easy to spot once the room is empty.
Living Areas and Bedrooms
Once the furniture is gone, dust and pet hair show up on the bare floors and walls.
Baseboards and Trim: Hand-wipe every inch of the baseboards, door frames, and window casings.
Windows and Blinds: Wash the interior of all windows to a streak-free shine. Wipe down the window tracks (where dead insects and dirt accumulate) and dust every slat of the window blinds.
Floors: Vacuum all carpets meticulously, paying attention to the edges where the carpet meets the baseboard. For hard floors, vacuum thoroughly before mopping with a pH-neutral cleaner. If carpets need more than a vacuum, check your lease and ask the landlord what they expect: in Ontario, a lease term that conflicts with the Residential Tenancies Act is void.
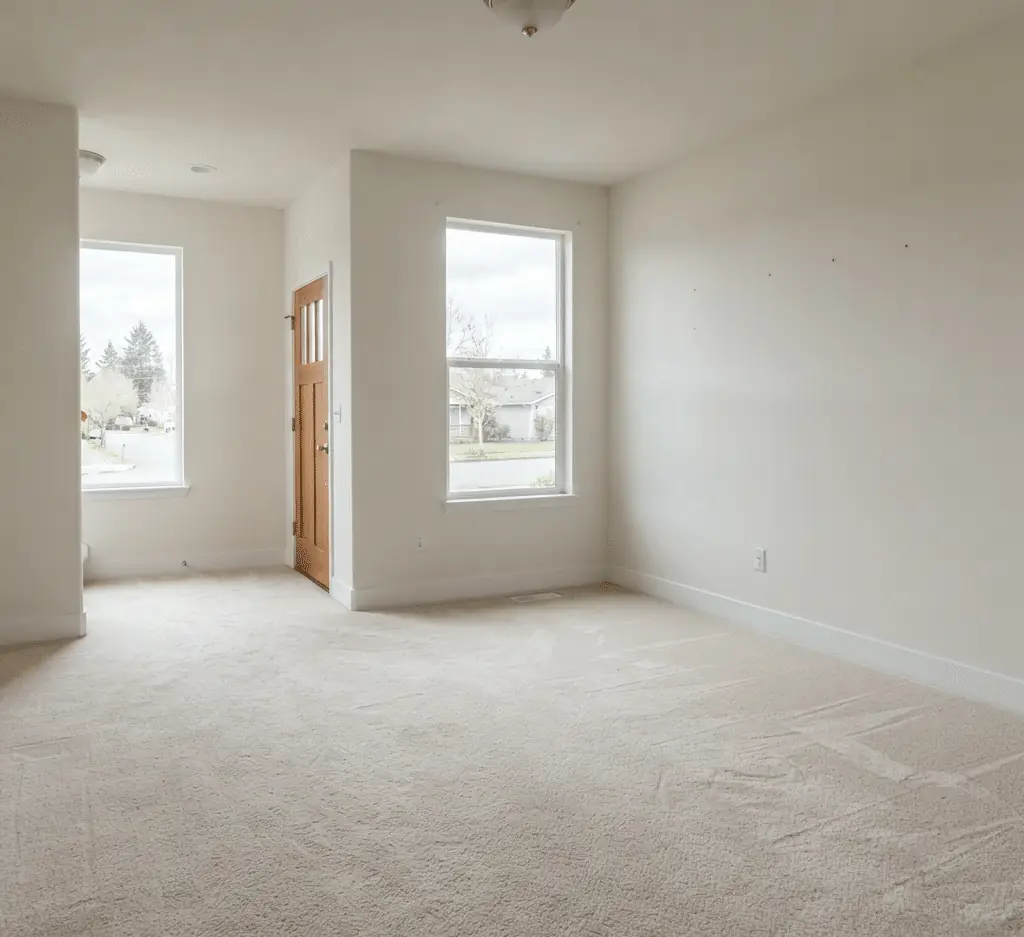
Moving Out of an Office?
Commercial leases follow the Commercial Tenancies Act and the lease itself, not the Residential Tenancies Act, so the end-of-term cleaning your business owes is whatever your lease says. For offices of any size, see our office cleaning service.
Practical Tips for a Smooth End-of-Lease Clean
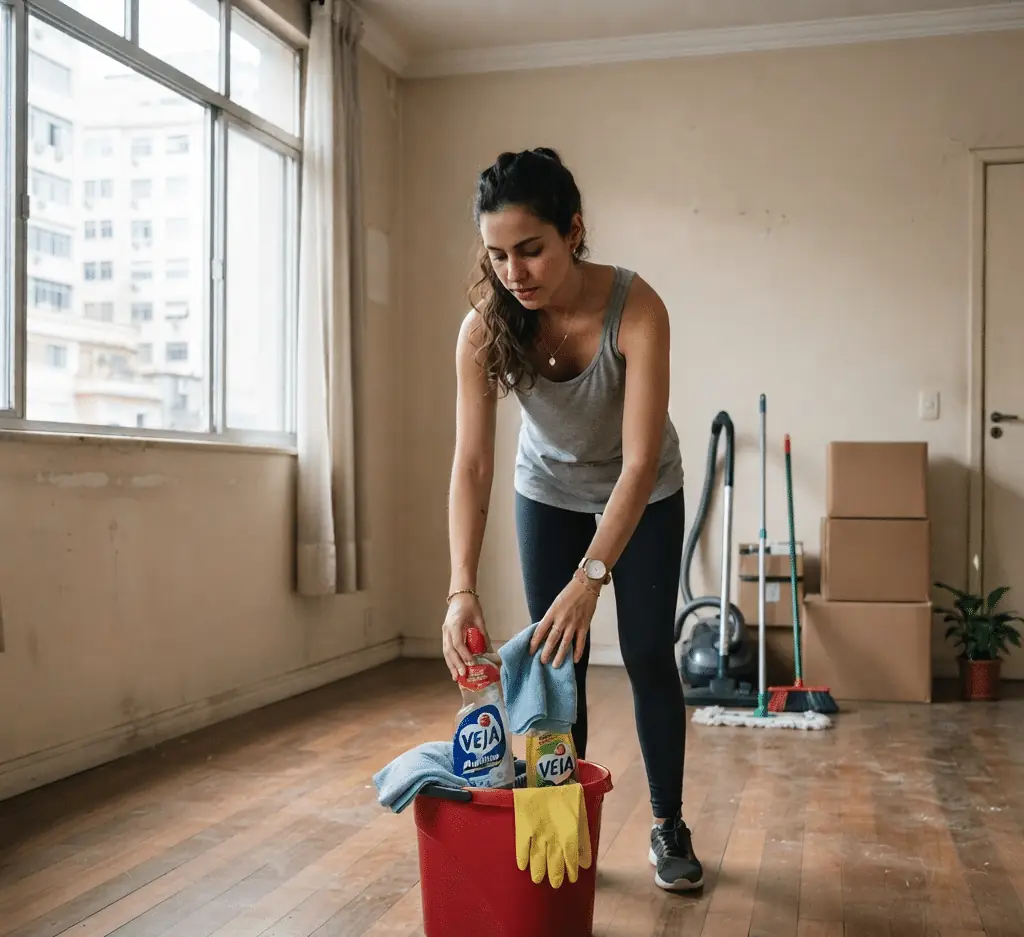
If you clean the unit yourself, a plan saves hours. These tips keep the last day manageable:
Empty the Space First: Never try to perform an end of lease cleaning while boxes and furniture are still in the property. Wait until the moving truck has departed. A completely empty canvas is much faster and easier to deep clean.
Follow the Top-to-Bottom Rule: Always begin at the highest point in the room (dusting ceiling fans, cobwebs in corners, and light fixtures) and work your way down to the countertops, and finally, the floors. This ensures you never knock dust onto a surface you have already cleaned.
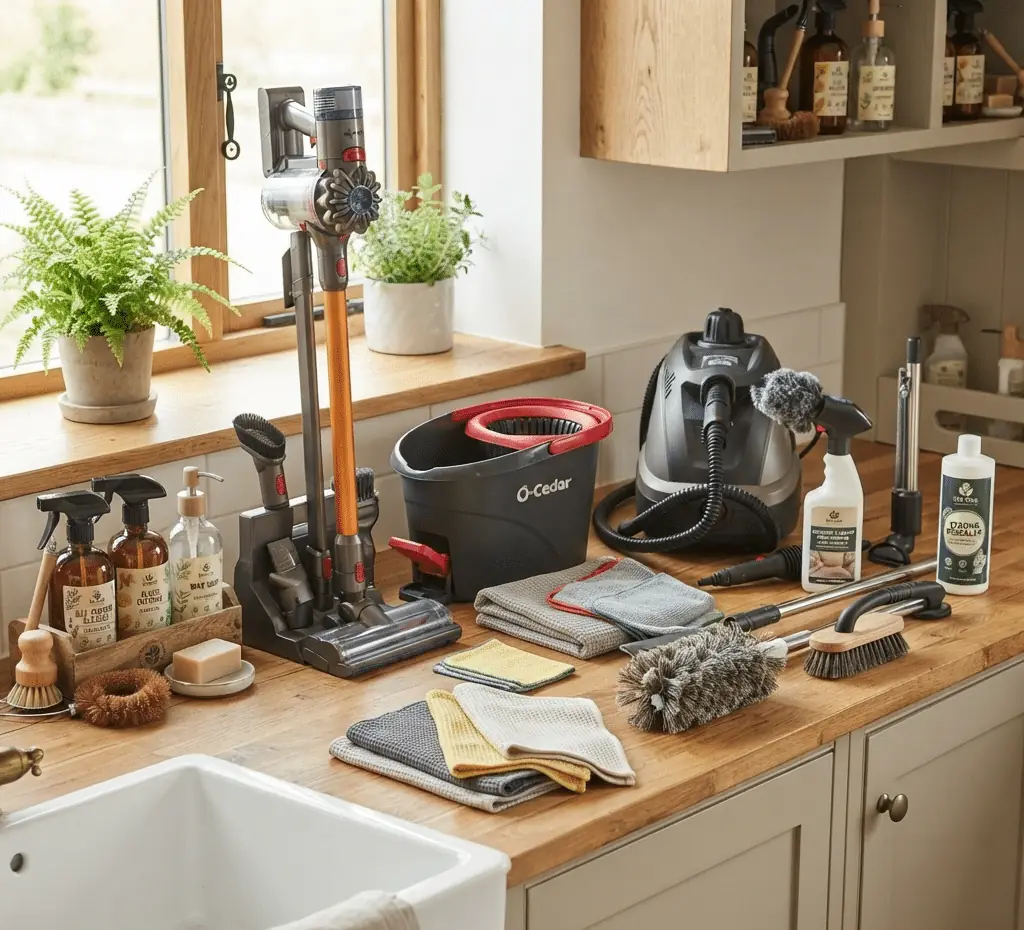
Assemble the Right Toolkit: Ditch the cheap paper towels. Invest in a large stack of high-quality microfiber cloths, which trap dust rather than pushing it around. Ensure you have non-scratch scrub sponges, a heavy-duty degreaser, a glass cleaner, a grout brush, and a vacuum with brush attachments.
Don’t Forget the Exterior: If your apartment has a balcony, or your house has a porch, these must be swept and washed. Clean the exterior of the front door and sweep away any accumulated leaves or debris.
Use Good Lighting: If you are cleaning in the evening after moving all day, ensure the power is still connected and use bright lights. Dim lighting hides smears on glass and dust on baseboards that show up clearly in daylight.
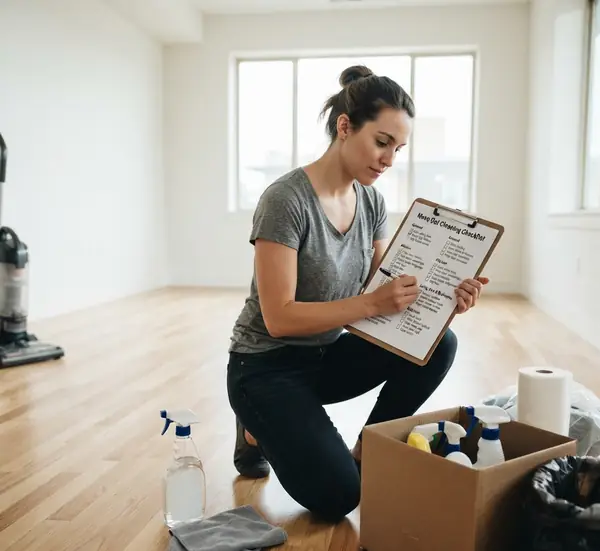
Photograph Each Room at Handover: Once the clean is done, take a quick photo of every room, the inside of the appliances and the bathroom fixtures. Dated photos settle most questions about the state of the unit.
Use the Landlord’s Checklist: If your landlord or property manager gave you a move-out checklist, work through it item by item and keep a copy.
Why Hire a Professional Cleaning Company?
While doing it yourself is possible, the reality is that moving is physically and emotionally draining. After spending weeks packing and a full day carrying heavy furniture, the thought of spending another day scrubbing an oven and washing baseboards is hard to face. That is when a professional end-of-lease clean earns its place.
Professional cleaners bring the right products and equipment and a trained eye for the details that show in an empty unit. They know how to lift hard-water marks without scratching the glass, and they finish the floors while you deal with the move. To see what a move-out clean costs for your home, see the prices on our move-in and move-out cleaning page.
Conclusion
Leave the unit in ordinary cleanliness, photograph each room at handover, and keep the landlord’s checklist if there is one. That is the whole standard, and a room-by-room plan is the quickest way to meet it.
Cleaning the unit yourself is possible, but after a week of packing and a day of carrying furniture, many tenants would rather hand the job over. Toronto Shine Cleaning’s move-in and move-out cleaning covers the kitchen, the bathrooms, the floors and the baseboards, vents and fans of the empty unit. Add your landlord’s checklist to your booking notes and your cleaners will work from it, so you can focus on your new home.