How to Clean Your Oven Quickly and Efficiently: A Step-by-Step Guide
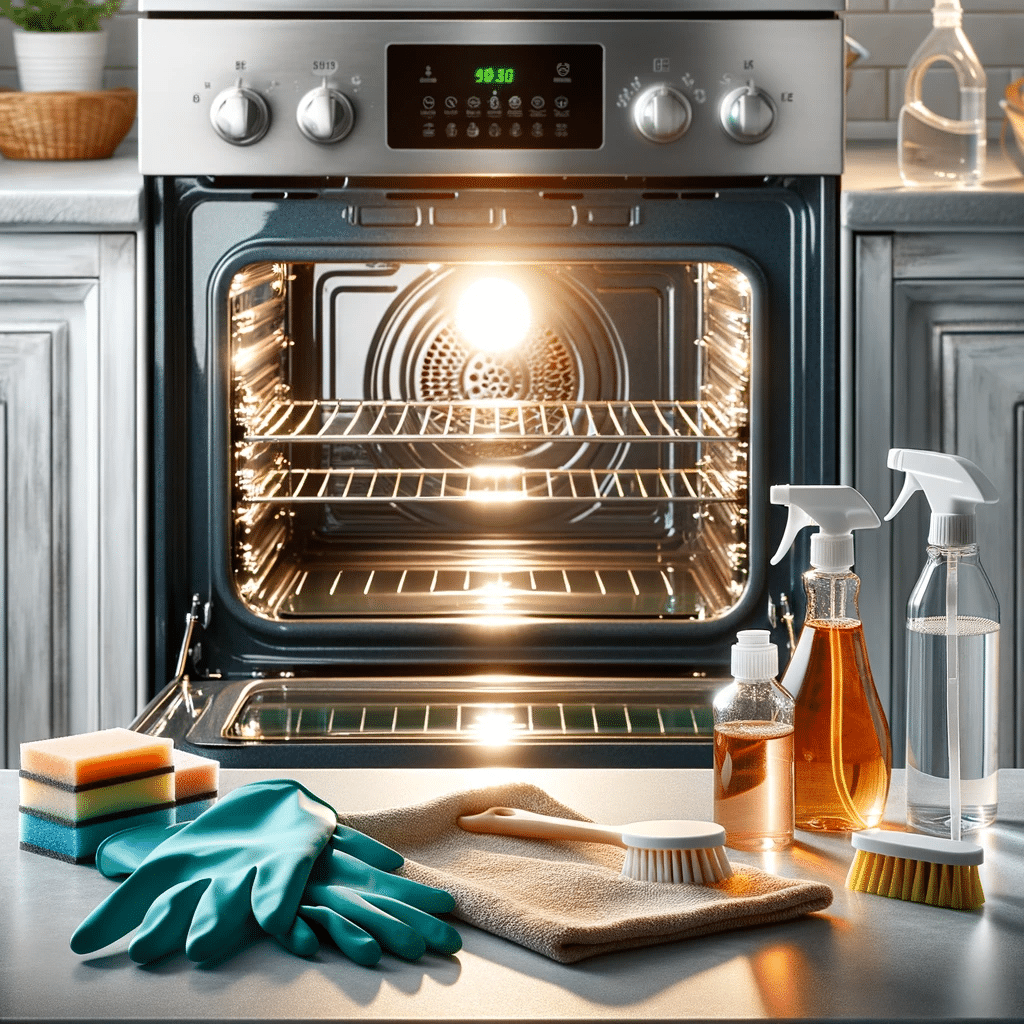
Hey there, fellow clean-freaks! Today, we’re tackling a task that might make some of you cringe just thinking about it – Clean Your Oven Quickly. But fear not! I’ve got a step-by-step guide that’ll make this daunting task quicker and more efficient. Let’s turn that grime into shine! Step 1: Gather Your Supplies First things first, let’s talk tools and supplies. You’ll need: Baking soda White vinegar A spray bottle A damp dishcloth A plastic or silicone spatula A pair of rubber gloves (trust me, you’ll want these) Step 2: Empty the Oven Access to Every Nook and Cranny: When your oven is chock-full of racks, pizza stones, and other accessories, it’s like trying to clean a room full of furniture without moving anything – nearly impossible! Clearing everything out gives you unrestricted access to all those hard-to-reach areas, ensuring a more thorough clean. Individual Attention to Each Item: Each item in your oven has its own cleaning needs. Oven racks might require soaking and scrubbing, while a pizza stone might need a gentler approach. Cleaning them separately ensures they get the care they need without damaging them. Safety and Ease of Cleaning: Let’s face it, oven racks can be heavy and awkward. Removing them makes it safer and easier to clean the oven’s interior. You don’t want to be twisting and turning in odd angles to reach around them, do you? Spot Potential Issues: With everything out of the oven, you can inspect the interior for any maintenance issues that might need addressing, like a faulty heating element or wear and tear. How to Do It Oven Racks: Gently slide them out and set them aside. If they’re grimy, consider soaking them in soapy water while you clean the oven. Pizza Stones or Baking Sheets: Carefully remove these. Remember, pizza stones are porous and require special cleaning methods, like brushing off crumbs and baking on a high heat to sanitize. Thermometers and Other Gadgets: Take these out too. They’re delicate and could be damaged by cleaning agents or scrubbing. Check for Loose Debris: Before you start cleaning, do a quick sweep for any loose crumbs or food particles. These can be wiped out with a dry cloth or a handheld vacuum. Step 3: Make Your Cleaning Paste The heart of this cleaning method lies in baking soda, a humble kitchen staple that doubles as a powerful cleaning agent. Baking soda, or sodium bicarbonate, is mildly abrasive, which makes it perfect for scrubbing off tough stains without scratching surfaces. Plus, it’s a natural deodorizer, so it helps to eliminate any unpleasant smells. When you mix baking soda with water, you create a paste. This paste is the perfect consistency for cleaning – it’s thick enough to cling to vertical surfaces (like the walls of your oven) and gritty enough to scrub away grime. The beauty of making a paste is that it stays where you put it, targeting the dirt directly and giving it a chance to break down the baked-on spills and splatters. Crafting the Perfect Paste Creating this paste is more art than science. Start with half a cup of baking soda and add water gradually. You’re aiming for a spreadable consistency, similar to frosting. Too runny, and it won’t stick to the oven walls; too thick, and it won’t spread easily or penetrate the grime. Adjust the ratio as you mix. If it’s too thick, add a bit more water. If it’s too runny, sprinkle in a bit more baking soda. You’ll know you’ve got it right when it spreads easily but doesn’t drip. Why Baking Soda and Not Something Else? You might wonder, “Why not just use a commercial oven cleaner?” Well, those products often contain harsh chemicals that can be abrasive, toxic, and leave a strong chemical odor. Baking soda, on the other hand, is non-toxic, inexpensive, and widely available. It’s a safer choice, especially for households with pets, children, or anyone sensitive to harsh chemicals. Plus, there’s a certain satisfaction in using a natural, DIY solution – it’s kinder to the environment and gentle on your wallet! Step 4: Coat the Oven When you’re ready to coat the oven, first slip on those rubber gloves. They aren’t just for keeping your hands clean; they also protect your skin from the grime and grease you’re about to tackle. Now, take the baking soda paste you’ve prepared. Start spreading it around the interior surfaces of your oven. You’ll want to cover every nook and cranny, but be careful to avoid the heating elements. Why? Well, baking soda can have a corrosive effect on these elements, potentially causing damage. Plus, it’s just unnecessary to put paste there as these areas don’t usually get dirty. As you apply the paste, you’ll notice something interesting – it might start turning brown. Don’t worry, this is a good sign! It means the baking soda is reacting with the dirt and grease. This discoloration is the baking soda lifting all that baked-on gunk off the surfaces. It’s sort of like a science experiment happening right in your kitchen. The paste adheres to the grime, and as it sits, it breaks down the tough, burnt-on residues, making them much easier to wipe away later. This coating step is crucial because it’s where the majority of the cleaning action happens. The abrasive nature of the baking soda works against the grime, while its alkaline properties help break down organic substances like grease and food particles. This is why baking soda is such a champion in cleaning – it tackles various types of dirt and stains all at once. Step 5: Let It Sit When you’ve finished spreading the paste, it’s time to step back and let patience play its part. The recommendation to let the paste sit for at least 12 hours, or overnight, isn’t arbitrary. This duration is essential for the baking soda to effectively break down and lift the grime from your oven’s surfaces. So, why the long
How to Clean Your Oven Quickly and Efficiently: A Step-by-Step Guide Read More »