









Organizing a Small Kitchen in 5 Easy Steps
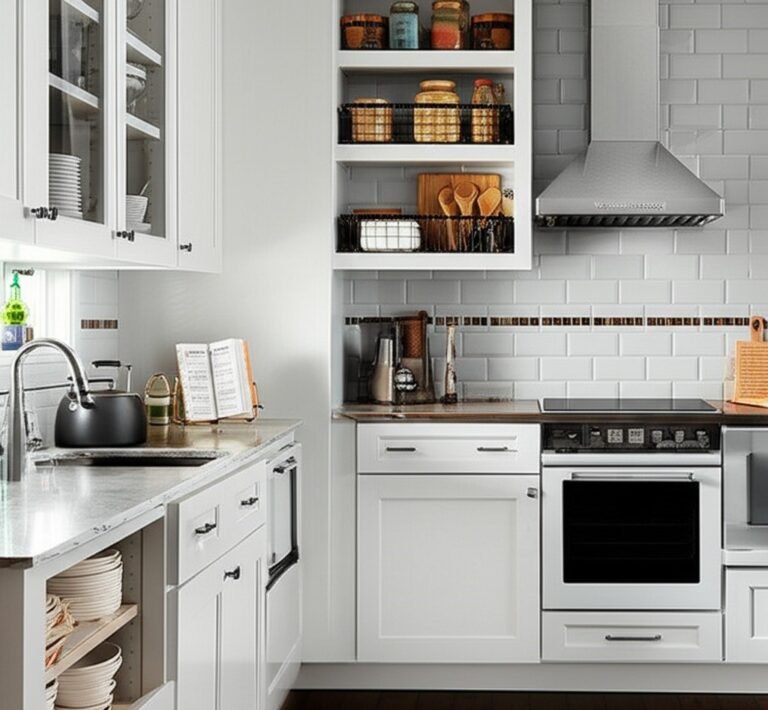
A small kitchen is not a problem to solve so much as a space to design. When every item has a logical home and the counters stay clear, even a tiny galley feels roomy and works fast. The secret is a five-step sequence: clear, purge, zone, store vertically, and maintain. Follow it once and your kitchen will stay organized for years.
Step 1: Clear the Counters
Counter space is the most valuable real estate in a small kitchen, so it cannot double as storage. Remove every appliance, crock, and decoration, then wash the surfaces thoroughly. Only items used multiple times a day earn their spot back: for most households that means a coffee maker or electric kettle and possibly a knife block. The toaster, blender, and stand mixer, used weekly, belong in an easy-to-reach cabinet, while monthly or occasional appliances go on a higher shelf or out of the kitchen entirely. A clear counter becomes your baseline, and returning to it after every cooking session keeps the kitchen feeling open.
Step 2: Purge Cabinet by Cabinet
Empty one cabinet completely onto the counter and sort everything by type, all the mugs together, all the glasses together, all the plates together. The duplicates become obvious fast: with two or three people in the home, twenty mugs make no sense, so keep the best six to eight and donate the rest. Apply the same logic to plates, bowls, and glassware, and discard anything chipped, cracked, or stained, because every item in a small kitchen must earn its space. In the drawers, keep one or two of each essential tool and let go of single-purpose gadgets you have not touched in six months.
Then work through the pantry the same way. Check every expiry date and toss anything past it, and donate unopened in-date food you know you will never eat. Decant grains, pasta, cereal, sugar, and flour into clear, airtight, stackable containers with labels showing contents and dates. You will see your inventory at a glance, keep food fresher, and free up the bulky packaging space. The CDC’s food safety basics reinforce why checking dates and storing dry goods properly protects your household, and the CDC’s handwashing guidance is a good reminder to wash up before handling food in your newly organized kitchen.
Step 3: Create Workflow Zones
With the purge done, arrange cabinets by how you cook rather than by habit. The cabinets beside the stove hold pots, pans, baking sheets, oils, and the spices you reach for daily: that is the cooking zone. Under the sink, the cleaning zone, live dish soap, sponges, dishwasher detergent, and trash bags. The longest clear stretch of counter becomes the preparation zone, so the drawers and cabinets beneath it should hold cutting boards, mixing bowls, measuring cups, and knives. Finally, keep everyday dishes and cutlery closest to the dishwasher or draining board so putting them away takes seconds. A kitchen arranged this way feels intuitive because everything sits where you use it.
| Zone | Where it lives | What it stores |
|---|---|---|
| Cooking | Cabinets beside the stove | Pots, pans, oils, daily spices |
| Cleaning | Under the sink | Dish soap, sponges, trash bags |
| Preparation | Near the open counter | Boards, bowls, knives, measures |
| Everyday dishes | Near dishwasher or drying rack | Plates, glasses, cutlery |
Step 4: Think Vertically and Use Every Gap
Small kitchens win by stacking. Inside cabinets, these tricks multiply every shelf and drawer:
- Under-shelf baskets create a second tier, and shelf risers double the usable height of each shelf
- A multi-tier lazy Susan rescues deep corner cabinets, and pull-out sliding shelves make the back row visible
- Vertical file sorters or tension rods store baking sheets, muffin tins, and cutting boards on their side, easy to grab
- On the walls, a magnetic knife strip empties a whole drawer, a rail with S-hooks holds utensils and mugs, and floating shelves display everyday dishes
- Under the sink, a tension rod across the cabinet top hangs spray bottles by their triggers and frees the floor for stackable bins
- The refrigerator sides take magnetic hooks, a paper towel holder, or a spice rack, and a slim rolling cart slides into the gap beside the fridge for bulk paper goods
Step 5: Maintain the System Daily
Organization lasts only as long as the return habit. After every use, wash an item and put it straight back in its designated home; never let clean dishes or appliances rest on the counter overnight. Keep the under-sink bin and pantry labels current, and once a month do a quick sweep for items that crept in without a home. This five-minute daily discipline is what keeps a small kitchen feeling dramatically larger and keeps you from ever needing a full reorganization again.
Small Kitchen Organization FAQs
How do I organize a small kitchen with no pantry? Convert one tall cabinet into pantry space using pull-out shelves or risers, decant dry goods into uniform clear containers, and store rarely used appliances elsewhere in the home. A slim rolling cart adds pantry storage in any gap.
What should I keep on a small kitchen counter? Only items used several times a day, typically a coffee maker or kettle and a knife block. Everything else, including toasters and mixers, belongs in cabinets so the counter stays clear and the room feels larger.
How many dishes does a small kitchen need? Keep six to eight of each everyday item when two or three people live in the home, plus a few serving pieces. Excess dishes and mugs are the fastest way to fill limited cabinets, so donate what you do not genuinely use.
How do I keep my small kitchen organized once it is done? Return every item to its home immediately after use, clear the counters each evening, and label pantry containers. A few minutes of daily maintenance prevents the slow buildup that forces another full reorganization.
A Sparkling Kitchen, Minus the Grime
Once your small kitchen is organized, professional cleaning lifts the buildup from every newly exposed surface and makes the whole space feel brand new. Toronto Shine Cleaning’s deep cleaning service handles the grime, regular cleanings keep it that way, and you can see all rates on the pricing page. Call (647) 424-0355 to book your visit.