May 25, 2024

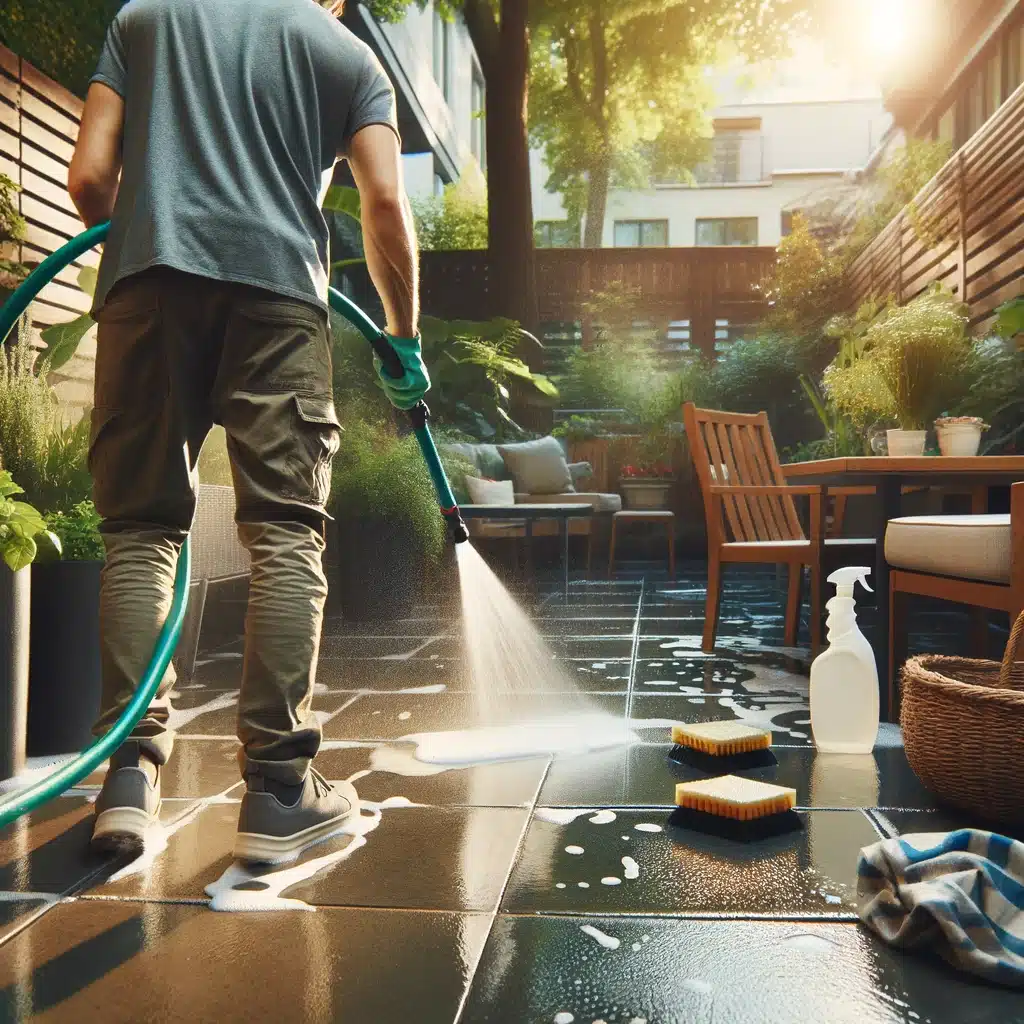
Person using hose to clean stone patio with greenery and furniture.

5 Steps to Effective Patio Cleaning with Hose

Cleaning with Hose your patio clean is essential for creating an inviting outdoor space, especially during the warm months when you want to enjoy your backyard to the fullest. One of the simplest and most effective ways to maintain your patio is by cleaning with a hose. Here’s a step-by-step guide to make your patio sparkle: 1. Clear the Patio To kick off your patio cleaning session, it’s essential to start with a clear space. Begin by removing all furniture and accessories. This includes chairs, tables, potted plants, and any decorative items that might be adorning your patio. Clearing the area not only gives you full access to every nook and cranny of your patio but also prevents any accidental damage to your belongings while cleaning with a hose. By taking a few extra minutes to move everything out of the way, you set the stage for a thorough and efficient cleaning process. Once your patio is cleared, the next step is to address the loose debris. Grab a broom and start sweeping away any leaves, dirt, or small branches that have accumulated. This step is crucial because it removes the bulk of the dry debris that could otherwise turn into a muddy mess when water is introduced. A clean sweep ensures that when you start cleaning with a hose, the water can work directly on the surface dirt and grime without being hindered by loose particles. It might seem like a simple step, but thorough sweeping makes a significant difference in the overall cleanliness of your patio. Cleaning with a hose becomes much more effective once the patio is free from loose debris. Without small twigs and leaves getting in the way, the water can flow smoothly across the surface, targeting stubborn dirt and stains more directly. This preparatory step not only makes the hosing down process more efficient but also reduces the amount of time and effort required for scrubbing later on. So, taking a few minutes to clear and sweep your patio sets a strong foundation for a successful and satisfying cleaning session.     2. Pre-Treat Stains Before diving into the main cleaning with a hose, it’s essential to identify and pre-treat any stubborn stains on your patio. These stains might come from various sources such as spilled drinks, food, or natural elements like moss and algae that have taken hold over time. Thoroughly inspecting your patio and pinpointing these problem areas is the first step. Once identified, use a suitable cleaning solution to tackle these stains. A popular and effective choice is a mixture of baking soda and water, which is both gentle on surfaces and tough on stains. Apply this solution generously to the stained areas and allow it to sit for about 10-15 minutes to break down the grime. After giving the cleaning solution enough time to penetrate and loosen the stains, it’s time to roll up your sleeves and scrub. Use a scrub brush with stiff bristles to gently work on the stained areas. The key here is to scrub gently but thoroughly, ensuring you do not damage the surface of your patio while effectively lifting the stains. This preparatory scrubbing is crucial because it helps to break down the most stubborn spots, making them much easier to rinse away later when you start cleaning with a hose. The effort you put into pre-treating and scrubbing the stains will significantly enhance the overall cleanliness of your patio. Cleaning with a hose after pre-treating stains is much more effective. The combination of a high-pressure water stream and the pre-treated areas ensures that even the toughest grime and stains are washed away. By addressing stains beforehand, you ensure that your patio will look uniformly clean and refreshed once the entire cleaning process is complete. This method not only saves you time in the long run but also guarantees a more polished and professional finish, making your patio a pleasant and welcoming outdoor space. 3. Start Hosing Down Now that your patio is prepped and ready, it’s time to begin the main cleaning process. Start by attaching a nozzle to your hose. This small but crucial step allows you to control the water pressure, making your cleaning with a hose more efficient and effective. High-pressure settings are excellent for dislodging embedded dirt and grime, which can accumulate over time and become quite stubborn. Conversely, a gentle setting is ideal for rinsing away loose debris and ensuring that the surface remains intact without causing any damage. With the nozzle attached and adjusted to the appropriate setting, begin spraying the entire patio. This initial rinse helps to loosen any remaining dirt and debris, making it easier to clean the surface thoroughly. Start from one end of the patio and work your way systematically to the other, ensuring that every inch is covered. This methodical approach ensures that no area is missed and that the water pressure can effectively reach all the dirty spots. For areas that are particularly dirty or have more stubborn stains, you may need to go over them a few times. This repetition helps to ensure that all the grime is adequately loosened and ready to be washed away. Cleaning with a hose can be quite satisfying as you see the immediate impact of your efforts. As you spray, watch for areas where the dirt is particularly stubborn and adjust your water pressure accordingly. A high-pressure blast can break up tough dirt, while a gentle spray can be used to rinse off the loosened debris. This combination of techniques ensures a thorough cleaning. As you continue to work your way across the patio, the transformation will become evident, leaving you with a cleaner and more inviting outdoor space. 4. Apply a Cleaning Solution With the initial hosing down complete, it’s time to apply a cleaning solution tailored to your patio’s material. The choice of cleaning solution is crucial for achieving the best results without damaging your patio. For concrete and stone surfaces, a
5 Steps to Effective Patio Cleaning with Hose Read More »

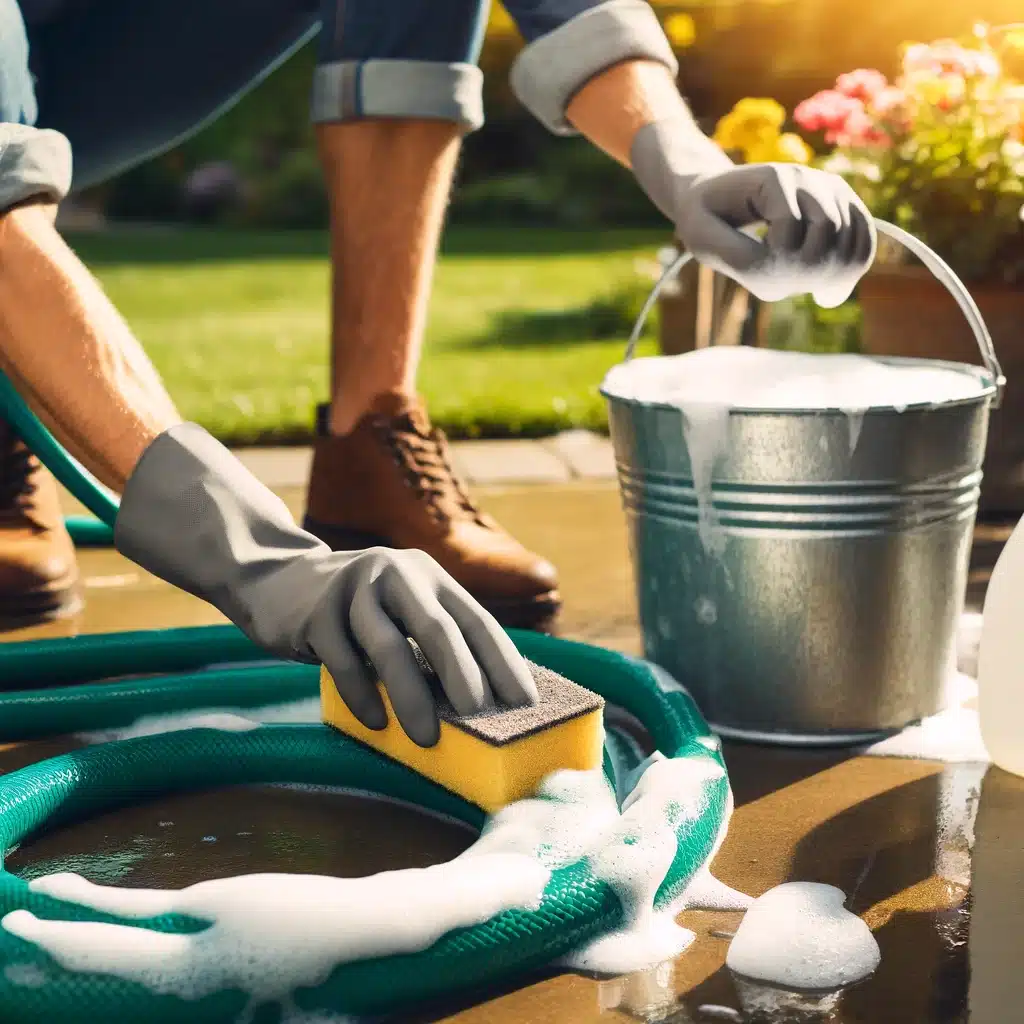
Person scrubbing garden hose with soapy sponge in backyard.

How to Clean a Hose in 5 Easy Steps

Keeping your hose clean is essential for maintaining its functionality and prolonging its lifespan. Whether you’re using it for watering the garden, washing the car, or other household tasks, a clean hose ensures better performance and hygiene. Here’s a simple guide on how to clean in 5 easy steps. Step 1: Gather Your Supplies Before you start cleaning your hose, it’s important to gather all the necessary supplies to make the process smooth and efficient. First and foremost, you’ll need a bucket of warm water. Warm water is perfect for loosening dirt and grime that has accumulated on the exterior. It also helps in mixing the cleaning agents more effectively. Speaking of cleaning agents, mild dish soap or vinegar will be your go-to choices. Both of these are excellent for cutting through dirt and organic buildup. Mild dish soap is gentle yet effective, ensuring that material isn’t damaged while still providing a thorough clean. On the other hand, vinegar is a fantastic natural cleaner that not only breaks down mold and mildew but also helps to deodorize the hose. In addition to your cleaning agents, a sponge or soft brush will be essential tools in your cleaning arsenal. A sponge is soft enough to avoid scratching the surface, yet firm enough to scrub away dirt and stains. A soft brush can be particularly useful for getting into any textured areas where dirt might be more deeply embedded. The gentle bristles can help lift away grime without causing abrasions. It’s important to choose a brush that is not too stiff to prevent damaging the exterior. Another important item on your list is a garden hose nozzle. This will come in handy when you need to flush the interior of the hose. A good nozzle can help you control the water pressure and ensure a strong stream of water passes through the hose, effectively dislodging any internal debris or buildup. Finally, a clean towel will be crucial for drying after cleaning. Proper drying is essential to prevent mold and mildew from developing inside once it’s stored away. By having all these supplies ready and within reach, you’ll streamline the cleaning process, making it more efficient and ensuring that remains in excellent condition for all your watering and cleaning needs.     Step 2: Disconnect and Drain the Hose The first task in cleaning your hose is to disconnect it from the water source and remove any attachments. This step is essential to ensure that you can thoroughly clean both the interior and exterior without any obstructions. By disconnecting the hose, you also avoid the risk of accidentally turning the water on during the cleaning process, which could lead to unnecessary mess and complications. Make sure to unscrew carefully from the faucet or spigot, and set aside any nozzles or sprinklers that might be attached. Once the hose is disconnected, the next step is to let it drain completely. Holding one end of the hose higher than the other allows gravity to assist in expelling any residual water inside. This is an important step because water left inside the hose can harbor bacteria, mold, or other unwanted residues that could affect your cleaning efforts. Shake as you drain it to help release any trapped water pockets, ensuring the interior is as dry as possible before you proceed. Draining the hose fully is crucial for preventing water-related issues during the cleaning process. Any remaining water inside the hose could mix with your cleaning agents, diluting their effectiveness. Moreover, stagnant water can encourage the growth of mold and mildew, which are exactly what you aim to remove by cleaning. Ensuring that the hose is thoroughly drained sets a solid foundation for the rest of your cleaning efforts, making sure that stays in top condition and free from contaminants. Step 3: Clean the Exterior To begin cleaning the exterior, dip your sponge or soft brush into the warm, soapy water or vinegar solution you prepared earlier. The warm water helps to loosen any stubborn dirt, while the soap or vinegar works to break down grime and kill any mold spores. Carefully apply the sponge or brush to the surface , ensuring you cover all areas. Move systematically along the length of the hose to ensure you don’t miss any spots. As you scrub, pay special attention to areas where dirt and mold are more likely to accumulate, such as near the ends and any sections that may have been coiled or left on the ground. The goal is to be thorough yet gentle. Excessive scrubbing or using a brush that is too hard can damage the hose’s material, leading to cracks or abrasions that could shorten its lifespan. Take your time to ensure that you effectively remove all dirt and grime without causing harm. After you have scrubbed the entire exterior, take a moment to inspect your work. Ensure that no areas have been overlooked and that all visible dirt and mold have been removed. This step is vital not just for aesthetic purposes, but also to prevent from degrading over time. Dirt and mold can cause wear and tear, potentially leading to leaks or other issues. By thoroughly cleaning the exterior, you maintain the integrity and ensure it remains functional for a longer period.     Step 4: Flush the Interior To ensure the inside of your hose is as clean as the outside, you need to flush it thoroughly. Begin by reattaching to a water source, such as an outdoor faucet or spigot. Turn on the water and let it run through the hose at high pressure. This high-pressure flow will help to dislodge and expel any debris, dirt, or buildup that may be lurking inside. If you want to give the interior an extra deep clean, consider adding a bit of the soapy solution you used for the exterior. To do this, mix a small amount of soap with water and pour it into the hose before you attach it to the

How to Clean a Hose in 5 Easy Steps Read More »