How to Clean a Garden Hose in 5 Steps
On this page
A hose spends its life on the lawn and the driveway, so it collects grit outside and can grow mould inside. Cleaning it takes half an hour, keeps the water you pour on plants and car paint free of contamination, and adds years to the hose itself. Work through the five steps below.
Step 1: Gather What You Need
- A bucket of warm water, which softens dried dirt and mixes cleaning agents better.
- Mild dish soap or white vinegar, both gentle on the hose material and effective against grime.
- A sponge or a soft-bristled brush, firm enough to lift dirt and soft enough not to abrade the surface.
- A spray nozzle that can push a strong stream through the interior.
- A clean towel for drying afterwards.
Vinegar is the better choice when mould or a musty smell is the problem, since it breaks down mildew and neutralises odour. Dish soap suits ordinary dirt. Keep the brush soft: stiff bristles scratch the outer layer and give cracks somewhere to start.
Step 2: Disconnect and Drain
Unscrew the hose from the tap and remove any nozzle, sprinkler or splitter. Disconnecting matters for two reasons: you can clean the inside and the outside without a fitting in the way, and nobody can turn the water on while your hands are inside the coil.
Then drain it. Lift one end above the other and let gravity pull the water out, shaking the hose as you go to release pockets trapped in the loops. Water left inside turns stagnant, which is where bacteria, mould and odour begin, and it also dilutes whatever cleaning solution you use next. A properly drained hose behaves predictably for the rest of the job.
Step 3: Scrub the Exterior
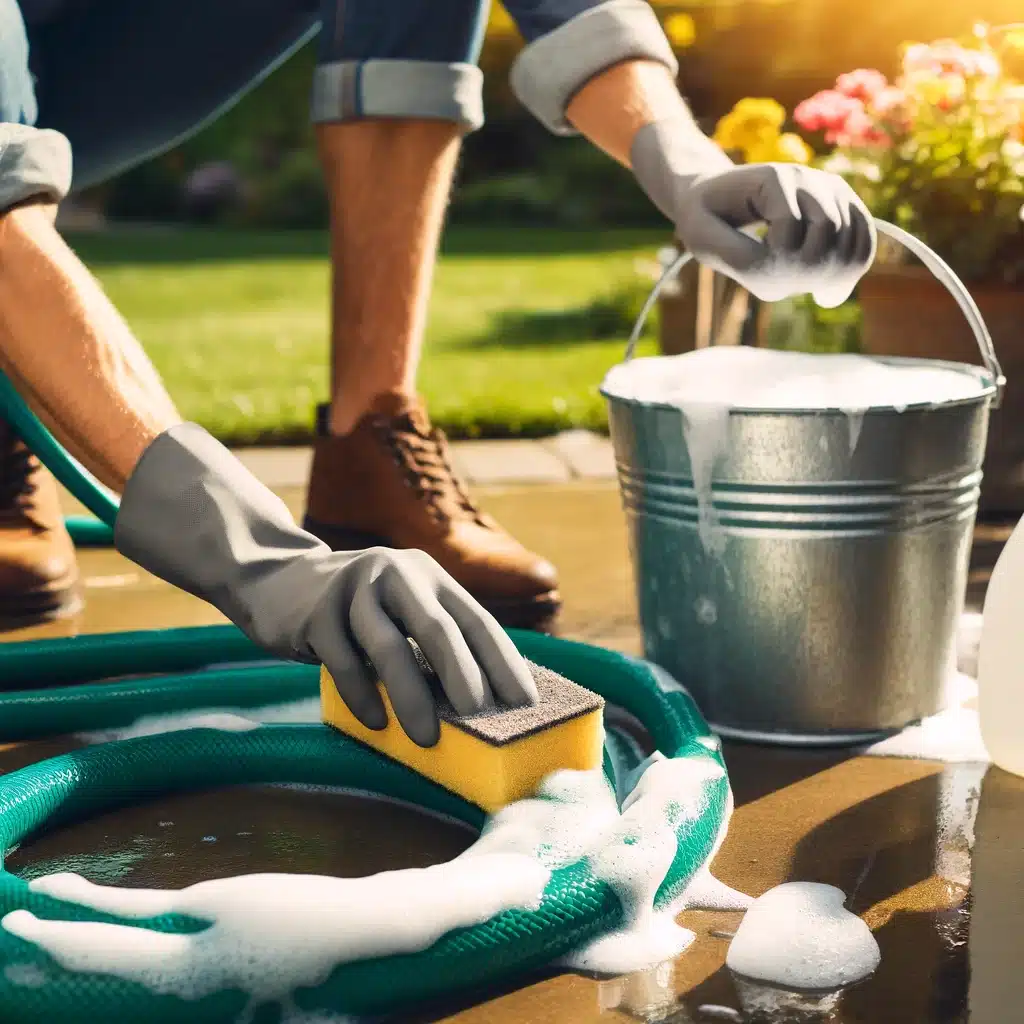
Dip the sponge or brush into the warm soapy water or vinegar solution and work along the length of the hose in sections. Warm water loosens caked soil while the soap or vinegar lifts grime and kills surface mould spores.
Slow down at the fittings and at the sections that sat on the ground or stayed coiled in the shade, because that is where growth and grit concentrate. Check your work as you go, lifting each section into the light; a missed patch of algae becomes a weak point as it eats into the rubber. Rinse the sponge often so you are removing dirt rather than spreading it along the hose.
Step 4: Flush the Inside
Reconnect one end to the tap and let water run through at full pressure for a couple of minutes. The flow dislodges grit and sediment that settled inside the tube and carries it out the far end.
For a deeper clean, mix a little of the soapy solution with water and pour it into the hose before you reconnect it. The stream pushes the solution along the full length, breaking down residue as it travels, so give it several minutes and watch for a clear, steady flow at the other end. When you finish, turn the tap off, disconnect the hose and drain it again the same way as before, tipping one end up until the last of the liquid runs out.
Step 5: Rinse, Dry and Store
Reattach the hose briefly and run clean water through it to wash out any soap or vinegar left inside. Residue that stays behind attracts dirt and gives mould something to feed on.
Dry the hose completely. Hang it in a sunny spot, or lay it out flat and spread the loops so air reaches every part. Warmth and airflow do the work quickly. Once it is dry, coil it loosely in a cool, dry place; tight coils create kinks, and kinks turn into cracks. Storing a damp hose is the single most common reason for a musty smell and a shortened life.
Why It Is Worth the Effort
Watering the garden, washing a car and rinsing patio furniture all work better when the water coming out of the hose is clean and the pressure is where it should be. Debris inside blocks flow, which slows every outdoor chore. A hose that gets a routine clean also stays softer and easier to coil, because grit left in the tube grinds against the rubber every time you drag it out. Care saves money too, since a hose that is cleaned and stored properly outlasts a neglected one by several seasons. Water sitting in a warm tube is a breeding ground, and the CDC’s page on mould and health explains why damp surfaces need prompt attention, while its hygiene overview is a sound reference for the rest of your cleaning routine.
More Help Around the House
Outdoor tasks are only part of the list, and everything indoors still has to be done. Toronto Shine Cleaning serves households across the city with insured crews, backed by $5,000,000 in liability insurance. See the regular cleaning service, the areas served and the rates on the pricing page, or call (647) 424-0355 to arrange a visit.
Frequently Asked Questions
How often should a garden hose be cleaned?
Twice a season suits most homes, plus an extra clean before you store it for winter. If the hose smells musty or the water runs cloudy at first use, clean it straight away.
Can I use bleach to clean a hose?
Avoid it. Bleach can degrade rubber and leave residue that harms plants. Mild dish soap or white vinegar handles dirt, mould and odour without damaging the hose or your garden.
Why does my hose smell bad inside?
Water left in the tube after use goes stagnant and mould grows in the warm, dark interior. Draining, flushing and drying the hose fully before storage is what prevents the smell from returning.
Is it safe to drink from a garden hose?
No. Hoses are not made for drinking water, and bacteria or chemical residue can collect inside. Keep a separate food-grade hose and tap if you need water for drinking outdoors.