









6 Simple Steps to Keep Your Vacuum Cleaner in Top Shape
A vacuum at full strength makes every chore easier and lasts longer too. Keeping it there takes six simple habits; work through them every few weeks and the machine keeps pulling dirt out of carpets instead of pushing dust into the air.
1. Empty the Bag or Canister First
Start every session by clearing what the vacuum has already swallowed. A full bag or canister cuts suction, which forces the motor to labour and shortens the appliance’s life. On a bagless model, detach the canister and tip the contents straight into the bin. With a bagged machine, swap the bag once it is about two-thirds full rather than waiting for it to jam. It is also an air-quality step: a stuffed bag or canister blows fine dust and allergens back into the room, defeating the purpose of vacuuming, and worse in homes with pets or allergy sufferers. Check the fill level before each use and you avoid both clogged airflow and overheating. The same principle runs through CDC’s home cleaning guidance: clear dirt regularly, before it builds.
2. Clean or Replace the Filters
Filters capture the dust and allergens so the air leaving the vacuum is actually clean. Check the manual to locate them, since placement varies by model; most vacuums carry two, a pre-motor and an exhaust filter. If yours are washable, rinse them under lukewarm water and let them air-dry completely before they go back in. A damp filter invites mold and mildew inside the machine, which brings odours along with weaker performance. Non-washable filters cannot be rinsed; replace them on the manufacturer’s schedule, which is typically every three to six months. A clogged filter strains the motor, so staying ahead of it keeps suction strong. The CDC’s guidance on mold explains why the drying step is not optional: mold settles into dust and fabric wherever moisture lingers.
3. Clear the Brush Roll
The brush roll, also called the beater bar, is the part that agitates carpet fibres so dirt lets go. Hair, string, and fluff wrap around it constantly, especially in pet homes and busy hallways, and a tangled roll cannot do its job. Turn the vacuum over, inspect it, and snip away whatever is wound on with scissors, keeping the bristles intact. A clean roll spins freely, grips more debris on each pass, and keeps blockages from straining the motor downstream.
4. Check the Hose and Attachments
When suction drops for no obvious reason, a clog in the hose is a prime suspect. Detach the hose and push the blockage out with a broomstick or similar tool. If the hose is washable, run water through it and let it dry completely before reattaching, for the same moisture reasons as the filters. Attachments deserve attention too: brush heads and crevice tools collect grime that ends up back on your furniture, so wash them in soapy water, scrub, rinse, and dry fully. Between jobs, keep those detergents stored safely and follow their label directions, as Health Canada’s household products guidance recommends.
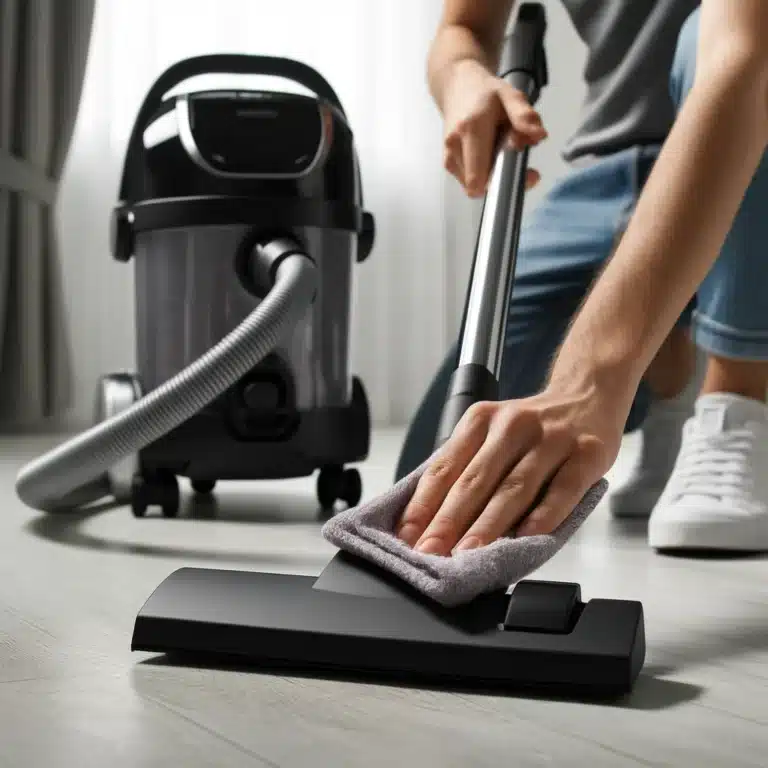
5. Wipe Down the Exterior
Dust settles on the vacuum body and handle like anywhere else, and that grime transfers onto the surfaces you are trying to clean. A damp cloth is all you need: wipe the main unit, the handle, and any exposed parts, with extra attention to seams and crevices where dirt collects. Run the cloth over the brush heads and extension wands as well, since those touch your floors and furniture directly. A clean machine looks better and works more hygienically.
6. Inspect the Power Cord and Plug
Finish with a safety check. Check the cord for fraying, cracks, or exposed wire; damage means replacing the cord before the next use, since a worn cord is an electrical hazard, not a cosmetic issue. Dirt around the prongs and inside the plug can also cause a weak connection and intermittent power, so wipe them clean with a damp cloth. Finally, check where the cord joins the vacuum, an area that takes stress every time it is pulled or twisted, and make sure the connection is secure.
Your Maintenance Kit
- A pair of scissors for cutting hair off the brush roll
- Soft cloths for wiping the body, handle, and plug
- A broomstick or long handle for clearing the hose
- Mild soapy water for the attachments
- Replacement bags and filters matched to your model
Quick Reference: What to Do and When
| Vacuum part | The job | How often |
|---|---|---|
| Bag or canister | Empty it; replace a bag at about two-thirds full | Check before every use |
| Washable filters | Rinse in lukewarm water, air-dry fully | Regularly, as your manual advises |
| Non-washable filters | Replace them, never rinse | Every three to six months |
| Brush roll | Snip away wrapped hair and string | Whenever tangles build up |
| Hose and attachments | Push out clogs; wash and dry attachments | Whenever suction drops |
Frequently Asked Questions
Why has my vacuum lost suction? The usual suspects, in order, are a full bag or canister, clogged or damp filters, a brush roll wrapped in hair, and a blocked hose. Working through steps one to four usually finds the culprit. If all four check out and suction is still weak, the filter may be past its replacement window.
Can I wash all vacuum filters in water? No. Only filters the manufacturer labels as washable belong under the tap, and those must air-dry completely before going back into the machine. Non-washable filters are replaced instead, typically every three to six months. Rinsing a filter that was never meant to get wet damages it and can let moisture reach the motor.
How do I keep the brush roll from tangling? Inspect it often, especially with pets in the home, and cut away wound hair and string with scissors before it compacts. Be careful around the bristles, since damaged bristles stop gripping carpet fibres. A free-spinning roll also reduces strain on the motor, protecting the whole machine.
Is a damaged cord really that serious? Yes. Fraying, cracks, and exposed wire can cause electrical accidents, so a worn cord should be replaced immediately rather than patched or ignored. Dirt on the plug and a loose connection where the cord meets the body are milder; cleaning the prongs and checking that joint keeps power steady.
Let Toronto Shine Cleaning Handle the Floors
Six short habits, repeated every few weeks, protect both the machine and your air. If the maintenance list feels like one chore too many, Toronto Shine Cleaning is bonded and insured with a $1,000,000 policy and a $10,000 accidental breakage and surety bond, and offers regular cleaning visits plus deep cleaning services so every floor gets a full treatment without you lifting the wand. Read what clients say on our reviews page, browse our service locations, or call (647) 424-0355 to book.