July 21, 2024

Spotless white baseboard and clean floor in a well-lit room.

How to Clean Baseboards: 5 Easy Hacks

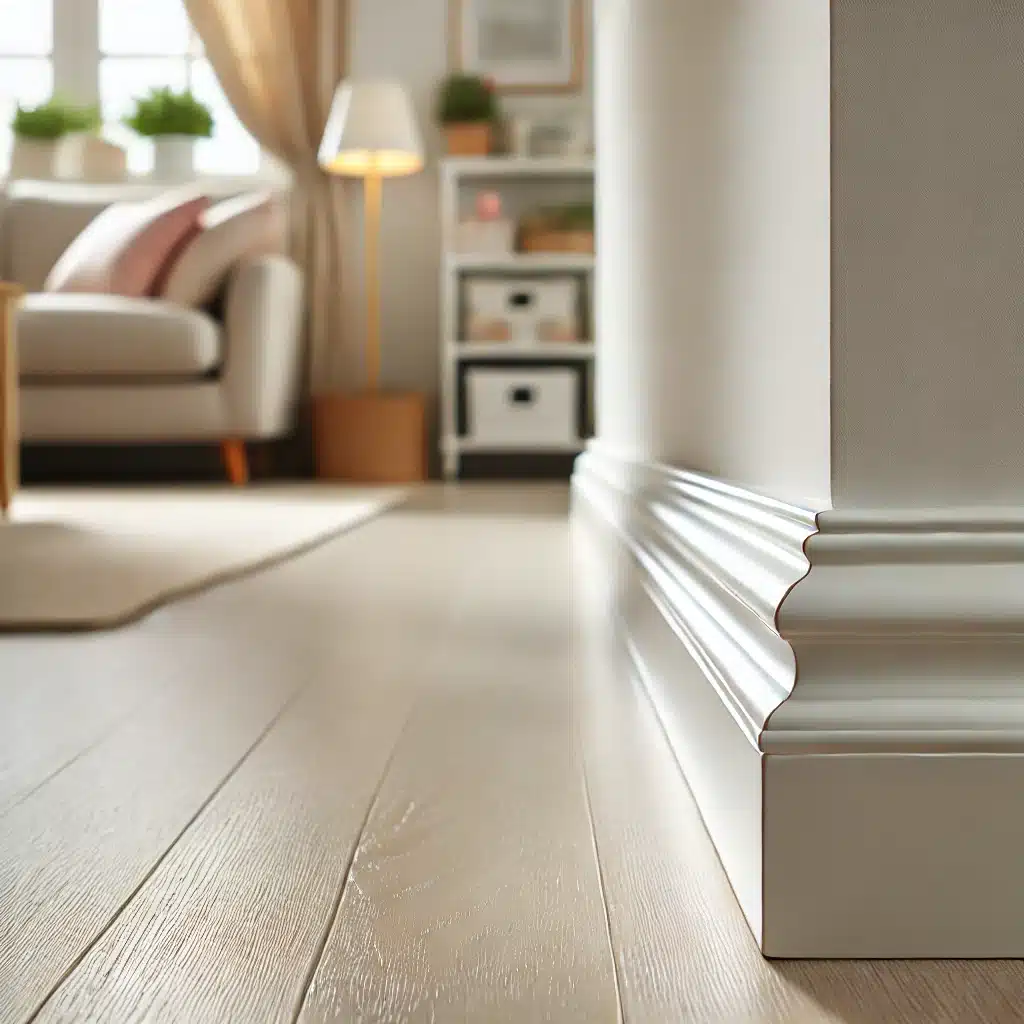
Cleaning baseboards might not be at the top of your cleaning list, but keeping them spotless can make a big difference in the overall appearance of your home. Dusty and dirty baseboards can be an eyesore, but don’t worry! With these five easy hacks, you can keep your baseboards looking pristine without spending hours scrubbing. Let’s dive in! 1. Dust Regularly with a Microfiber Cloth Dusting regularly is the first step in keeping them clean. A microfiber cloth is perfect for this job because it traps dust and dirt without scattering it around. Here’s how to do it: Use a dry microfiber cloth to wipe down the baseboards. For stubborn dust, lightly dampen the cloth with water. Remember to dust the tops and edges for a thorough clean. Dusting your baseboards regularly is the first step in keeping them clean. A microfiber cloth is perfect for this job because it traps dust and dirt without scattering it around. Here’s how to do it: Use a dry microfiber cloth to wipe down the baseboards. For stubborn dust, lightly dampen the cloth with water. Remember to dust the tops and edges for a thorough clean. Dusting your baseboards regularly is essential to maintaining their appearance and preventing the buildup of grime. A microfiber cloth works wonders for this task because it effectively traps dust and dirt, preventing it from simply being pushed around. When using a dry microfiber cloth, gently wipe along the surface of your baseboards, making sure to cover all areas, including the tops and edges. This will help you achieve a thorough clean without missing any spots. For those stubborn dust particles that refuse to budge, you can lightly dampen the microfiber cloth with water. This adds just enough moisture to lift the dust without leaving streaks or watermarks on your baseboards. It’s crucial to wring out the cloth well so it’s not too wet; just a little dampness is all you need. Regularly wiping down this way not only keeps them looking fresh but also reduces the amount of time you’ll need to spend on deeper cleaning sessions later on. Don’t forget that the tops and edges of your baseboards are just as important as the front-facing surfaces. Dust tends to accumulate in these areas, often going unnoticed until it becomes quite noticeable. By including these often-overlooked parts in your regular dusting routine, you’ll ensure that every inch is kept in top condition. Regular dusting with a microfiber cloth is a simple yet effective method to maintain the cleanliness and aesthetic appeal of your baseboards, contributing to a cleaner and more inviting home environment.     2. Use a Vacuum Cleaner Attachment A vacuum cleaner with a brush attachment can make cleaning baseboards a breeze. This method is great for quickly removing dust and debris. By using the brush attachment, you can easily reach into corners and crevices where dust tends to accumulate. This is especially useful for those tricky spots that are hard to clean with a cloth alone. First, attach the brush to your vacuum cleaner. The brush attachment is designed to loosen dust and dirt while the vacuum sucks it away, making it an efficient tool for cleaning baseboards. As you run the vacuum along the baseboards, make sure to move slowly to give the attachment enough time to pick up all the dust and debris. Pay special attention to corners and edges, as these areas often collect the most dirt. This method not only cleans but also helps maintain the condition of your baseboards by preventing the buildup of grime. If you have pets, this hack is particularly beneficial. Pet hair can easily get trapped along baseboards, making them look dirty even if the rest of your house is clean. The brush attachment on your vacuum cleaner can effectively remove pet hair, leaving your baseboards spotless. Regular use of the vacuum cleaner attachment ensures that pet hair and dust are kept under control, making your home look well-maintained and tidy. 3. Magic Erasers for Stubborn Stains Magic erasers are fantastic tools for removing scuffs and stains from baseboards. These cleaning marvels work exceptionally well on both painted and wooden baseboards, making them a versatile option for any home. The unique material of magic erasers allows them to lift and remove even the most stubborn marks that other cleaning tools might leave behind. To use a magic eraser effectively, start by wetting it with water and squeezing out any excess moisture. This step is crucial as it activates the cleaning properties of the eraser without making it too wet, which could potentially damage the baseboards. Once the eraser is ready, gently scrub the stained area using circular motions. This technique ensures that you cover all angles of the stain, effectively breaking it down and lifting it away from the surface of the baseboards. After scrubbing, it’s important to wipe away any residue with a clean cloth. This final step ensures that no remnants of the stain or the magic eraser are left behind, leaving your baseboards looking spotless and refreshed. Regular use of magic erasers can keep your baseboards in top condition, effortlessly handling those inevitable scuffs and marks that come with everyday life.     4. DIY Cleaning Solution A DIY cleaning solution can be incredibly effective in tackling the grime and dirt that builds up on baseboards over time. Creating your own cleaning solution is not only cost-effective but also allows you to use natural ingredients that are safe for your home and family. One simple yet powerful recipe involves using common household items like vinegar, water, and dish soap. These ingredients combine to create a solution that cuts through dirt and leaves your baseboards looking fresh and clean. To prepare this cleaning solution, mix one part vinegar with one part water in a spray bottle. Vinegar is a natural disinfectant and helps break down grime, while water dilutes the vinegar’s acidity to prevent any damage to your baseboards. Adding a few

How to Clean Baseboards: 5 Easy Hacks Read More »

Spotless brown leather couch with cushions in a polished living room setting.

How to Clean Upholstery: 5 Simple Methods

Keeping your upholstery looking fresh and clean can be a bit of a challenge, especially with the daily wear and tear it goes through. But don’t worry! Here are five simple methods to help you clean your upholstery effectively and maintain its beauty. 1. Vacuum Regularly Vacuuming regularly is the simplest and most efficient method for maintaining the cleanliness of your upholstery. The upholstery attachment on your vacuum cleaner is specifically designed to handle the delicate fabrics and intricate details of your furniture. By consistently using this tool, you can easily remove dust, crumbs, and pet hair that tend to accumulate on your sofas, chairs, and other upholstered items. To start, remove any loose cushions to ensure you can access every part of your furniture. This step allows you to reach areas that are often neglected and where dirt and debris tend to settle. Using the upholstery attachment, begin cleaning the surface of the fabric with gentle, even strokes. This method ensures that you lift away dust and dirt without damaging the material. Pay special attention to the crevices and seams, as these are common spots where grime can build up over time. The attachment’s design helps you navigate these tight spaces effectively. If your cushions are removable, take the extra time to vacuum both sides. This thorough approach guarantees that no part of your upholstery is overlooked. Regular vacuuming not only enhances the appearance of your furniture but also extends its lifespan by preventing the accumulation of dirt and allergens. By making vacuuming a routine part of your cleaning schedule, you ensure that your upholstery remains fresh and inviting, providing a clean and comfortable environment in your home.     2. Spot Cleaning Spot cleaning is an essential technique for maintaining the beauty and longevity of your upholstery. Given the inevitability of spills and stains, knowing how to address them promptly can prevent permanent damage. The key to effective spot cleaning is quick action and the use of appropriate cleaning solutions. When a spill occurs, the first step is to blot the area immediately with a clean, dry cloth. This initial action helps absorb as much liquid as possible, reducing the risk of the stain setting into the fabric. Avoid rubbing the spill, as this can cause the liquid to penetrate deeper into the upholstery, making it harder to remove and potentially damaging the fabric fibers. By gently blotting, you can manage the spill more effectively and preserve the integrity of your furniture. Before applying it to the stained area, it’s crucial to test this solution on a small, inconspicuous section of the upholstery. This precaution ensures that the cleaning agent does not discolor or damage the fabric. After confirming the solution is safe, use a soft cloth to gently dab the stain. The key is to dab, not rub, as rubbing can spread the stain and embed it further into the fabric. After treating the stain, blot the area with a clean, damp cloth to remove any soap residue. Finally, allow the upholstery to air dry completely, ensuring no moisture is left behind, which could lead to mold or mildew growth. By incorporating these spot-cleaning techniques into your routine, you can effectively manage accidental spills and stains on your upholstery. This not only maintains the aesthetic appeal of your furniture but also extends its lifespan. 3. Use a Steam Cleaner Steam cleaning is an excellent method for giving your upholstery a deep and thorough clean. Unlike other cleaning techniques that rely on harsh chemicals, steam cleaning uses the power of hot water vapor to lift dirt, stains, and allergens from the fabric. This makes it a more environmentally friendly option and safer for households with children and pets. To begin, it’s essential to vacuum the upholstery thoroughly. This step removes loose dirt and debris that could interfere with the steam cleaning process. By ensuring the surface is free from particles, you allow the steam cleaner to penetrate deeper into the fabric, effectively removing embedded dirt and grime. Once the upholstery is prepped, fill the steam cleaner with water and a suitable upholstery cleaning solution. This combination will enhance the cleaning power of the steam and help break down tough stains. When using the steam cleaner, it’s crucial to follow the manufacturer’s instructions to achieve the best results and avoid damaging your upholstery. Work in small sections to ensure each area is cleaned evenly. It’s important to avoid over-wetting the fabric, as excessive moisture can lead to mold and mildew growth. By carefully controlling the amount of steam applied, you can effectively clean the upholstery without soaking it. After steam cleaning, allow the upholstery to dry completely before using it again. This drying period is essential to prevent any lingering dampness, which can attract more dirt and compromise the cleanliness you’ve just achieved. Regular steam cleaning not only revitalizes the appearance of your upholstery but also promotes a healthier living environment by eliminating allergens and bacteria. This method keeps your furniture looking fresh and extends its lifespan by maintaining the integrity of the fabric.     4. Baking Soda Deodorizer Using baking soda as a deodorizer is an effective and natural way to refresh your upholstery and eliminate lingering odors. This common household item is known for its ability to absorb and neutralize smells, making it an ideal choice for keeping your furniture smelling fresh without the need for harsh chemicals. To deodorize your upholstery, begin by evenly sprinkling a generous amount of baking soda over the entire surface. This allows the baking soda to come into contact with all areas of the fabric, ensuring a thorough deodorizing effect. Let the baking soda sit for at least 15-20 minutes. During this time, it will absorb any unwanted odors trapped in the upholstery fibers. If your furniture has particularly stubborn smells, you might consider leaving the baking soda on for a longer period, even overnight, for maximum absorption. For a more intensive clean, especially if there are stains involved,

How to Clean Upholstery: 5 Simple Methods Read More »