Yoga Mat: A Complete Guide to Daily and Deep Cleaning Your Yoga Mat
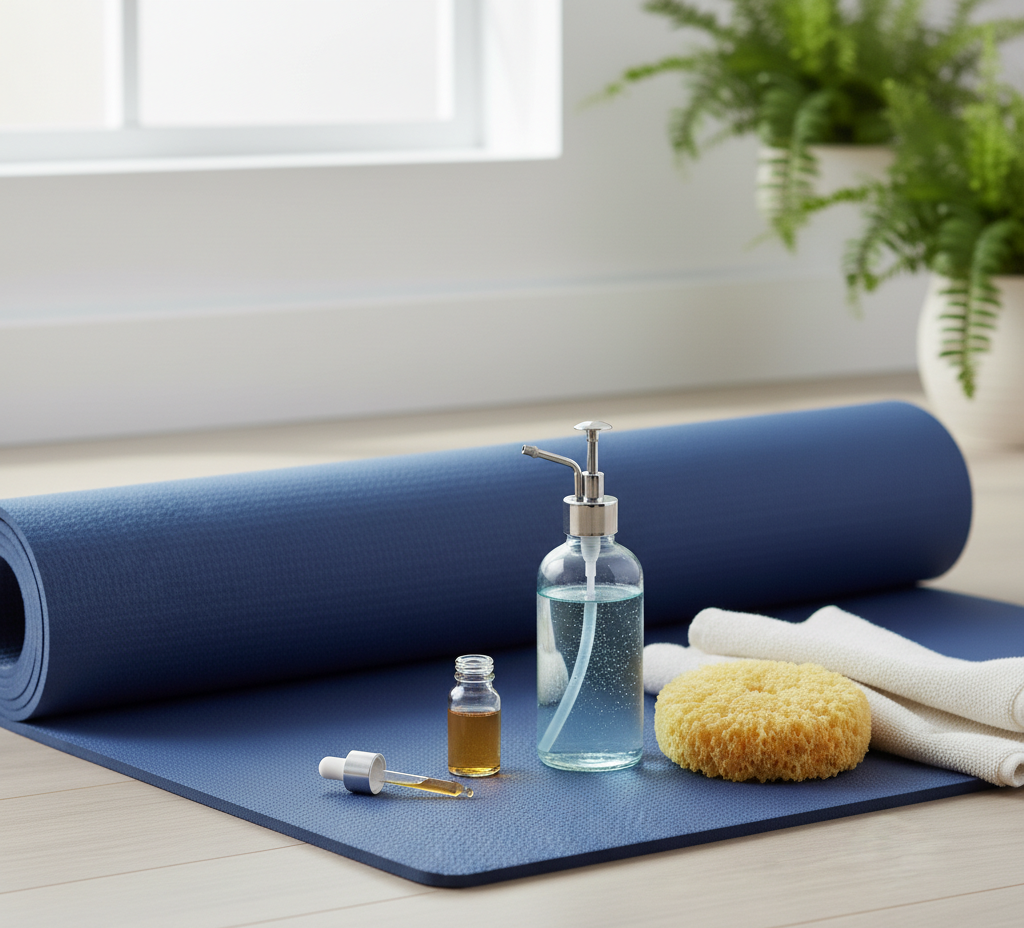
A yoga mat is a deeply personal and essential piece of equipment. It is more than just a piece of rubber or foam; it is a sacred space, a portable sanctuary where we connect with our breath, challenge our bodies, and seek a sense of calm and focus. This intimate connection, however, comes with a hygienic responsibility. With every practice, our mats absorb a mixture of sweat, body oils, dust from the floor, and microscopic bacteria. Over time, this buildup can make the mat feel slippery, look grimy, and develop a persistent, unpleasant odor. Cleaning your yoga mat is not just an aesthetic chore; it is a vital act of self-care and maintenance that preserves the grip and integrity of the mat, extends its lifespan, and ensures your sacred space remains a clean, healthy, and inviting place to practice. Materials The first and most fundamental principle of yoga mat care is to understand the material you are working with. Yoga mats are made from a wide variety of materials, each with its own unique properties and cleaning requirements. The most common mats are made from PVC (polyvinyl chloride) or TPE (thermoplastic elastomer), which are durable, closed-cell materials that do not absorb moisture readily. Natural rubber mats are prized for their exceptional grip and eco-friendly properties, but they are open-cell, meaning they are more porous and can absorb liquids. Newer, high-performance mats may have a polyurethane top layer, which is specifically designed to absorb moisture for a non-slip grip. Using the wrong cleaning method or product can be disastrous; a harsh chemical can degrade a natural rubber mat, while an oily solution can permanently ruin the grip of a polyurethane surface. Always check the manufacturer’s website for specific cleaning recommendations for your particular mat Daily Cleaning For a simple, daily refresh after each practice, a quick wipe-down is essential. This preventative measure is the single most effective way to keep your mat from developing a deep-seated layer of grime. You can create your own simple, effective, and beautifully scented daily cleaning spray using a few basic, natural ingredients. In a small spray bottle, mix a solution of roughly three parts water to one part white vinegar. The vinegar’s mild acidity is excellent at breaking down light sweat and oils and also acts as a natural disinfectant and deodorizer. To counteract the vinegar smell and add your own aromatherapy element, add a few drops of a high-quality essential oil. Tea tree oil is a particularly good choice, as it possesses powerful natural antibacterial and antifungal properties. Lavender is another excellent option, known for its calming scent and antimicrobial benefits. After your practice, simply give your mat a light spritz with this solution and wipe it down with a clean, damp microfiber cloth. The most crucial step is to let the mat air dry completely before rolling it up. Rolling up a damp mat is the primary cause of mildew and musty odors. While a daily wipe-down is great for maintenance, a periodic deep clean is necessary to remove the more stubborn, ingrained buildup of oils and dirt that can make a mat feel slippery and look dull. This should be done at least once a month, or more often if you practice frequently or engage in hot yoga. The method for this deep clean will vary significantly based on your mat’s material. Deep Cleaning For standard, durable PVC or TPE mats, the deep cleaning process is relatively straightforward. You will need a bathtub or a large basin, lukewarm water, and a very small amount of a gentle, mild soap. A clear, non-moisturizing dish soap is a good choice. It is absolutely essential to avoid using too much soap, as any residue left behind will make the mat dangerously slippery. Fill the tub with a few inches of lukewarm water, just enough to submerge the mat, and add no more than a single teaspoon of soap for a full tub of water. Submerge the mat and let it soak for about ten to fifteen minutes. This will help to loosen the embedded grime. After the soak, use a soft cloth or a non-abrasive sponge to gently scrub both sides of the mat. Pay extra attention to the areas where your hands and feet are most often placed. Once you have scrubbed the mat, drain the soapy water and rinse the mat meticulously. This is the most critical part of the process. Use your shower head to spray down both sides of the mat, ensuring that every last trace of soap residue is washed away. You should continue to rinse until the water running off the mat is completely clear and free of any bubbles. With the mat thoroughly rinsed, you must remove as much excess water as possible. Lay the mat flat on a large, clean, dry towel. Place another dry towel on top of it, creating a mat sandwich. Then, carefully roll up the entire sandwich, pressing firmly as you go. The towels will absorb a significant amount of the water from the mat. After unrolling it, the mat will be damp rather than sopping wet. The final step is to hang the mat to air dry. Drape it over a shower curtain rod or a drying rack, ensuring that air can circulate around both sides. It is crucial to let it dry completely, which can take 24 to 48 hours, before using it or rolling it up. Open-cell Mats For open-cell mats, such as those made from natural rubber, the deep cleaning process requires a more cautious approach. These mats are like sponges and will absorb water readily. While you can submerge them in the same way as a PVC mat, it is often better to avoid a full soak. Instead, lay the mat on the floor of your shower and give it a good spray-down with lukewarm water. Use a very small amount of a highly diluted, gentle soap solution and a soft cloth to clean the surface. The
Yoga Mat: A Complete Guide to Daily and Deep Cleaning Your Yoga Mat Read More »