Move-Out Cleaning Checklist for Toronto Houses and Basement Units
On this page
Houses and basement units take longer to clean on the way out than a one-bedroom condo: more stairs, more floors, a laundry area, a separate entrance. This checklist is built for them.
Move-Out Cleaning Checklist for Houses and Basement Units
Moving is one of the most demanding weeks of the year. Whether you are leaving a semi-detached house in the east end, a family home in the suburbs or a basement apartment with its own side entrance, the last job before you hand back the keys is the final clean. In Ontario, tenants must leave the unit in “ordinary cleanliness” (Residential Tenancies Act, s.33). There is no damage deposit to recover: landlords may only hold last month’s rent and a refundable key deposit. The Government of Ontario’s Renting in Ontario: your rights sets out the rules, and our end-of-lease cleaning guide explains what they mean for the clean (general information, not legal advice).
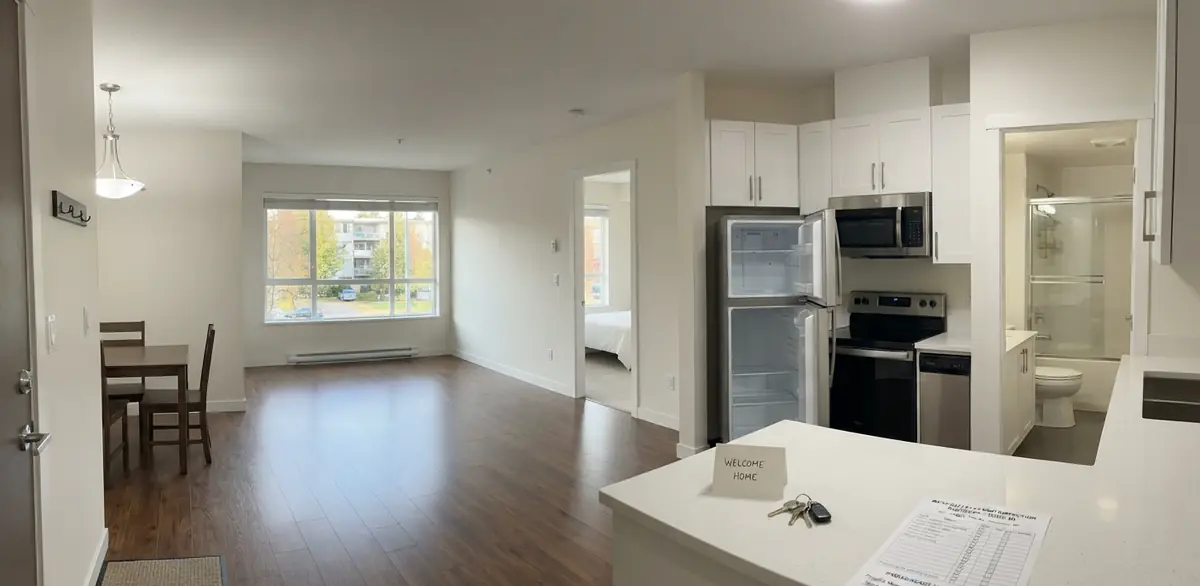
The legal bar is ordinary cleanliness, not the move-in condition; normal wear and tear is not the tenant’s job. A detailed checklist is how you meet that bar quickly and avoid a disagreement at the walkthrough. In a house or a basement unit, it also stops you from forgetting a whole floor.
Residential Cleaning Requirements
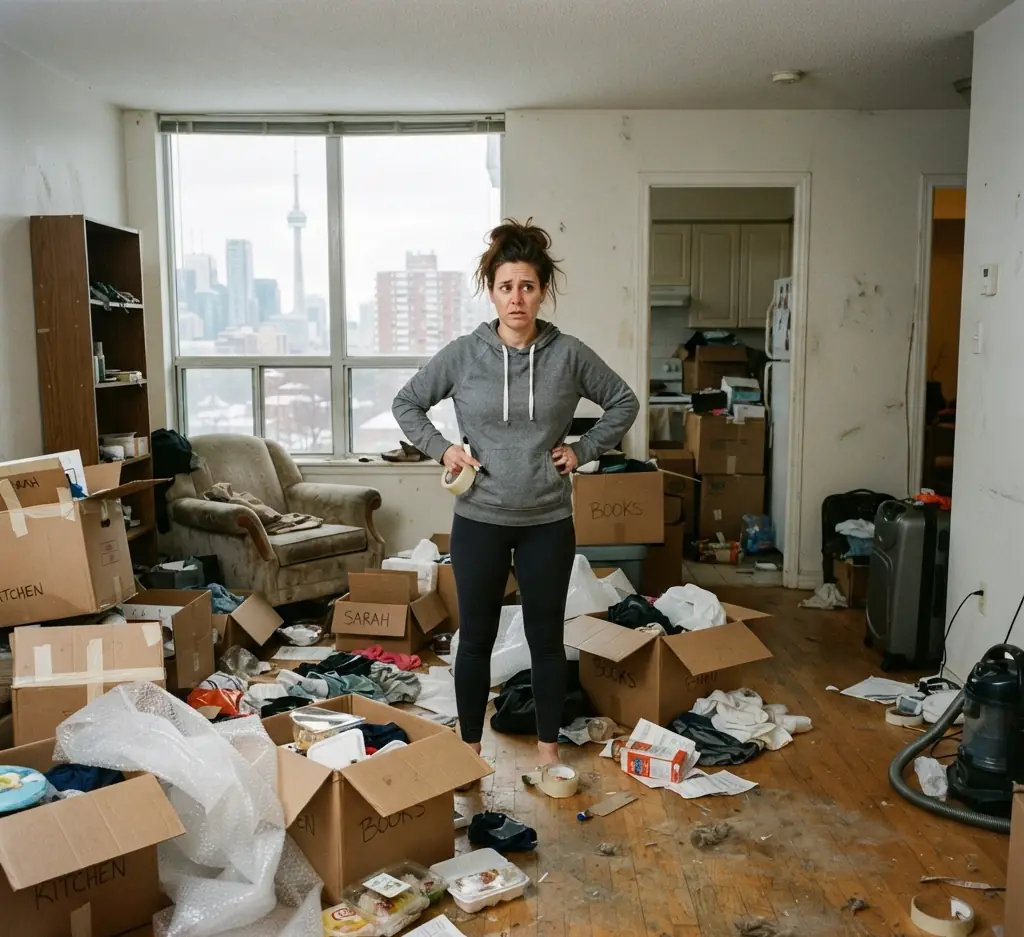
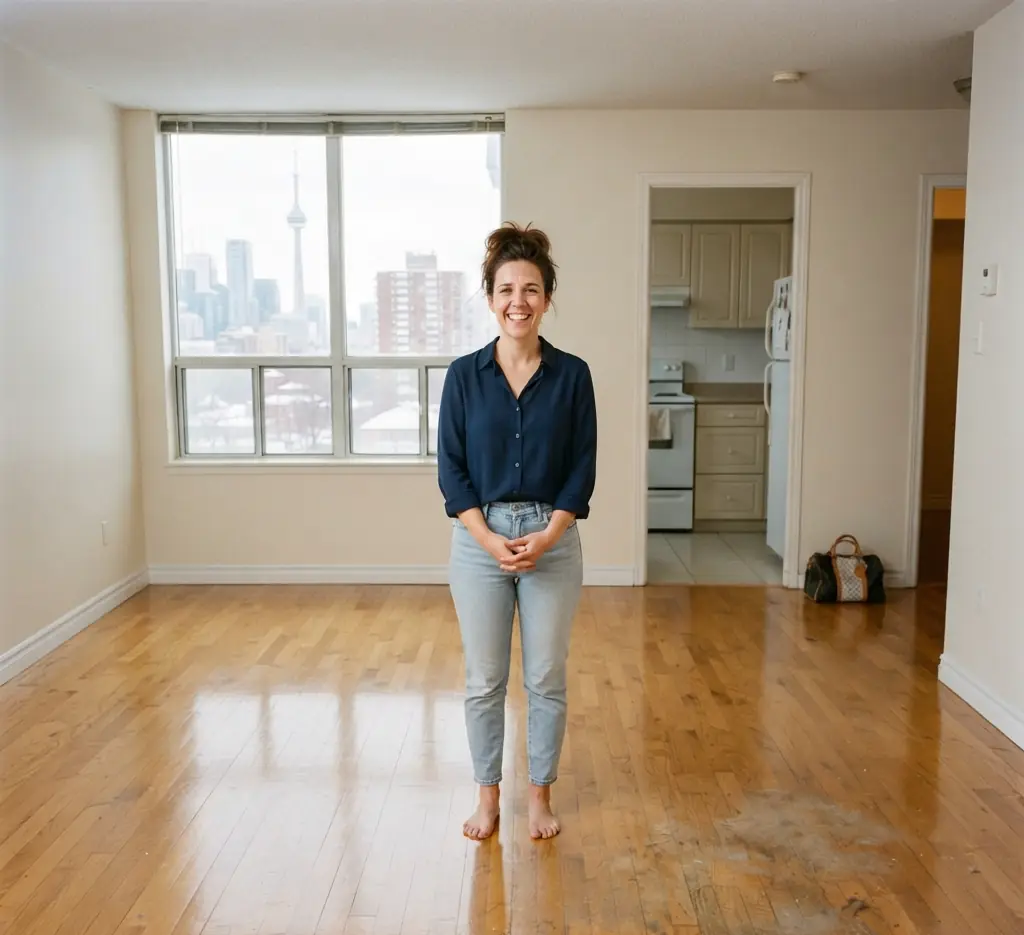
The residential move out cleaning checklist is an intensive, room-by-room guide designed to tackle the deep-seated dirt that accumulates over years of habitation. Because a home is a place of cooking, bathing, and daily living, the cleaning requirements are highly specific to each zone. To execute this properly, you must wait until every single piece of furniture and every last cardboard box has been removed from the premises. Attempting to deep clean around moving chaos is inefficient and guarantees that spots will be missed. Once the space is entirely vacant, the true restoration can begin.
1. Kitchen Zone
The kitchen is undoubtedly the most scrutinized room during a move-out inspection. It is the hardest-working space in the home, and its surfaces bear the brunt of daily meals, grease splatters, and food spills. Your move out cleaning checklist must begin with the major appliances, as these require the most time and chemical dwell time. Pull the refrigerator away from the wall to sweep and mop the hidden accumulation of dust and debris beneath it. Inside the refrigerator, remove every shelf and drawer, washing them in warm, soapy water. Wipe down the interior shell with a food-safe cleaner to remove sticky rings and neutralize odors, then leave the appliance unplugged with the doors propped open to prevent mold.
Next, address the oven and stovetop. Apply a heavy-duty oven cleaner to the interior cavity, carefully avoiding the heating elements, and allow it to sit while you tackle other tasks. The stovetop requires meticulous degreasing. Remove the burner grates and soak them in hot water, then scrub the cooktop surface to remove all carbonized food and grease rings. Do not forget to clean or replace the range hood filter, which is often saturated with sticky, aerosolized cooking oils.
The cabinetry requires equal attention. Open every single cupboard and drawer to vacuum out the inevitable collection of crumbs and dust. Wipe down both the interior shelves and the exterior cabinet faces, paying special attention to the greasy buildup that frequently occurs around handles and underneath the upper cabinets. Finally, scrub the kitchen sink, polishing the stainless steel or porcelain, and thoroughly descale the faucet to remove any chalky hard water deposits.
2. Bathroom Space
Bathrooms demand a rigorous, highly hygienic approach. A property manager will look closely at this space for any signs of mold, mildew, or lingering soap scum. Start your move out cleaning checklist by applying a targeted bathroom cleaner to the shower walls, bathtub, and glass doors. Allow the product ample dwell time to break down the alkaline mineral deposits from hard water and the waxy residue of soap scum. Scrub the grout lines vigorously with a stiff-bristled brush to lift any discoloration.
The toilet must be sanitized entirely, inside and out. This includes scrubbing the bowl, wiping down the tank, the seat, the lid, and the often-neglected porcelain base where dust and grime settle near the floor. Clean the bathroom vanity by wiping out the interior drawers, scrubbing the sink basin, and polishing the mirror with a streak-free glass cleaner. Ensure the bathroom exhaust fan cover is vacuumed and wiped clean of dust, as a clogged fan is a common oversight that inspectors frequently check. Finally, mop the bathroom floor, ensuring you reach deeply behind the toilet and into the corners.
3. Living Rooms, Bedrooms, and Common Areas
While the kitchen and bathrooms harbor the most stubborn grime, the living areas, bedrooms, and hallways make up the majority of the square footage in a home. The focus here is on dust removal and floor restoration. Your move out cleaning checklist for these areas should dictate a strict top-to-bottom methodology. Begin by looking up. Dust all ceiling fan blades, wipe down light fixtures to remove trapped insects and dust, and clean the air vents and return registers.
Next, focus on the walls and windows. Remove any nails, screws, or wall anchors you installed during your tenancy, and use a small amount of spackle to fill the holes, smoothing them over carefully. Wipe down the walls with a damp microfiber cloth to remove smudges, fingerprints, and scuff marks, paying close attention to the areas around light switches and door frames. The windows require both interior glass cleaning and a thorough vacuuming of the window tracks, which become graveyards for dirt and condensation grime over the Canadian winter.
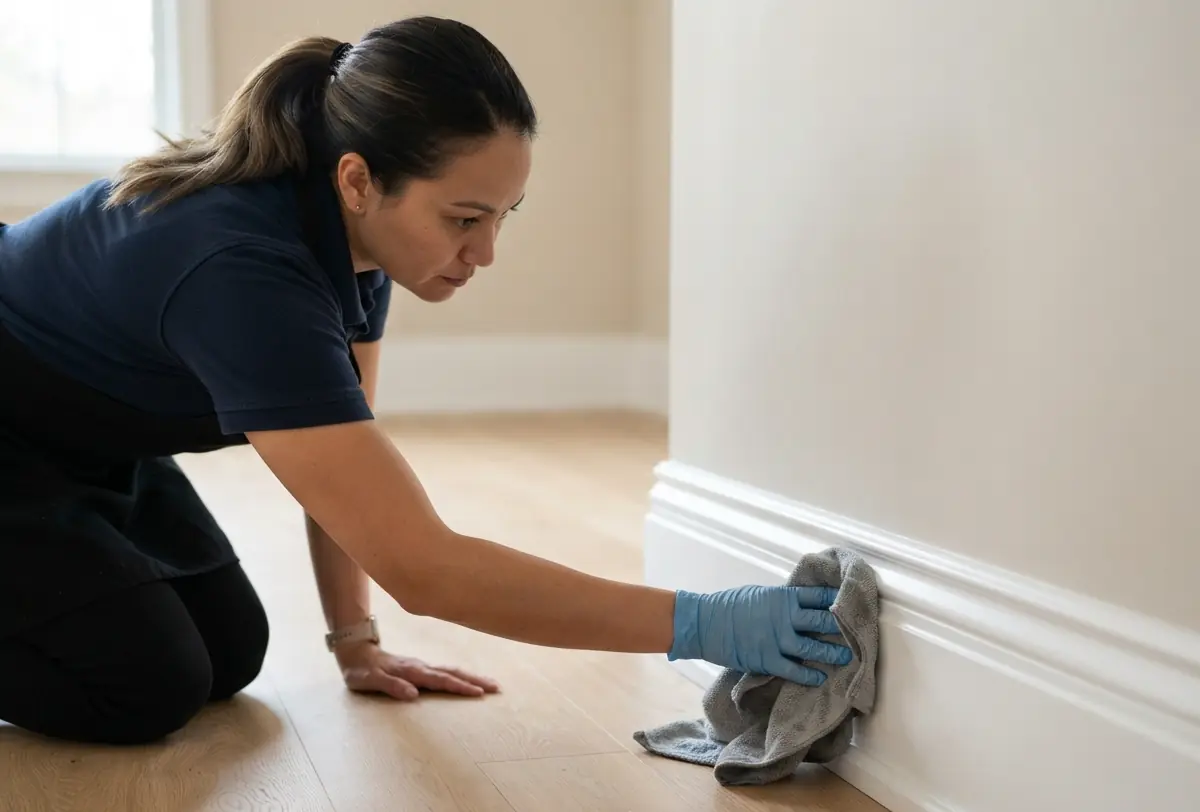
Baseboards are a critical, high-visibility item on any inspector’s list. Wipe down every inch of baseboard throughout the property to remove the thick layer of settled dust. Finally, address the floors. Vacuum all carpets meticulously, moving slowly to pull up embedded dirt. If you agreed with your landlord to have carpets cleaned, book it last. For hard floors like wood, laminate, or tile, sweep thoroughly and then mop with a pH-neutral cleaner appropriate for the specific flooring material, ensuring no sticky residue or water damage is left behind.
4. Stairs, Hallways and Entrances
Stairs are where a house takes longer than an apartment. Vacuum every tread from the top down, getting into the corners where dust packs against the risers, then wipe the handrail, the spindles and the edges of the stringers. Clean the front and side entrances as rooms of their own: wipe the doors on both sides, the inside of the entry closet and its shelf, and the doorbell and light switch plates, and sweep the landing or porch.
5. Basement Units and the Lower Level
A basement unit or lower level has its own checklist. Wipe the inside of window wells you can reach and the basement windows, which collect more dust than the upper floors. Run the laundry area as a mini kitchen: wipe the washer drum and door seal, empty the dryer lint trap and wipe the machines’ tops, and clean the laundry sink. Check damp corners, under the stairs and around the furnace room door for dust and cobwebs, and if you see mould or a leak, tell the landlord rather than just wiping it: moisture problems are the landlord’s repair, not a cleaning job.
Handing Over the Keys
- Check inside everything. Open the dishwasher, the washer and dryer, every closet and every drawer before you leave, so nothing of yours stays behind.
- Return every key. Front and side doors, the mailbox, the garage remote and any fob. If the landlord uses a lockbox, photograph the keys in it before you close it. The refundable key deposit is the one deposit tied to the keys.
- Photograph each room. A quick photo of every room, the appliances and the bathroom fixtures, taken after the clean, settles most questions about the state of the unit.
- Use the landlord’s checklist. If your landlord gave you a move-out list, work through it item by item and keep a copy.
- Plan both cleans with the move. Moving within the GTA? Book the move-out clean of the old place and the move-in clean of the new one when you confirm your moving dates, so both fit around the truck.
Practical Tips
Executing this massive undertaking requires more than just good intentions; it requires a strategic approach to maximize efficiency and minimize physical exhaustion. To ensure your property meets the highest standards, you must adopt a systematic workflow.
First, you must adhere strictly to the rule of cleaning from top to bottom and from dry to wet. Always begin by dusting ceilings, fans, and upper shelves before moving down to countertops and baseboards. This ensures that any dust dislodged from high areas falls onto dirty floors that are waiting to be cleaned, rather than ruining a surface you have already wiped. Similarly, complete all of your dry dusting, sweeping, and vacuuming before introducing any liquid sprays or mop water into a room. Spraying liquid into a dusty environment creates a muddy, stubborn smear that takes twice as long to remove.
Second, you must assemble a dedicated, fully stocked cleaning caddy before you begin. Constantly walking back and forth to grab a different sponge, a specific brush, or a forgotten bottle of glass cleaner breaks your momentum and wastes precious time. Your portable kit should contain heavy-duty degreasers, glass cleaners, an acidic cleaner for bathroom mineral deposits, a multi-purpose spray, a stiff grout brush, a scraper for baked-on food, and a generous supply of clean, color-coded microfiber cloths to prevent cross-contamination between the bathroom and the kitchen.
Third, you must leverage the power of chemical dwell time. When tackling the oven, the shower walls, or a heavily soiled stovetop, do not spray and immediately scrub. Apply your cleaning agents generously and walk away to perform a dry task in another room. Allowing the chemicals ten to twenty minutes to sit and break down the molecular bonds of the grease and soap scum will save you an immense amount of physical scrubbing, letting the product do the heavy lifting for you.
Fourth, pay special attention to the home’s hardware and fixtures. It is easy to focus entirely on large surfaces like floors and counters, but the details are what show in an empty home. Take the time to polish all doorknobs, wipe down the tops of door hinges, clean the interior and exterior of the washing machine and dryer, and ensure that every light bulb is working and dusted. These small, finishing touches elevate the entire appearance of the property and show care to the landlord or the new owner.
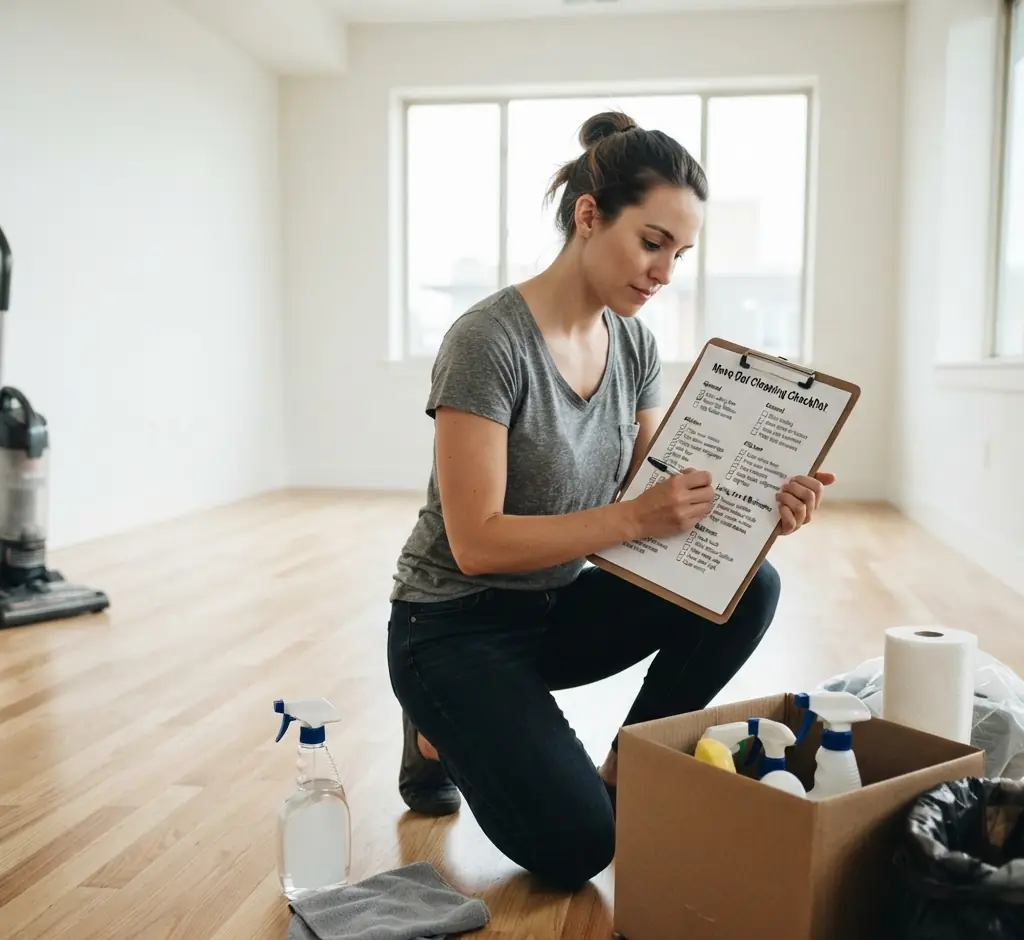
A room-by-room list keeps the last day manageable and the handover short.
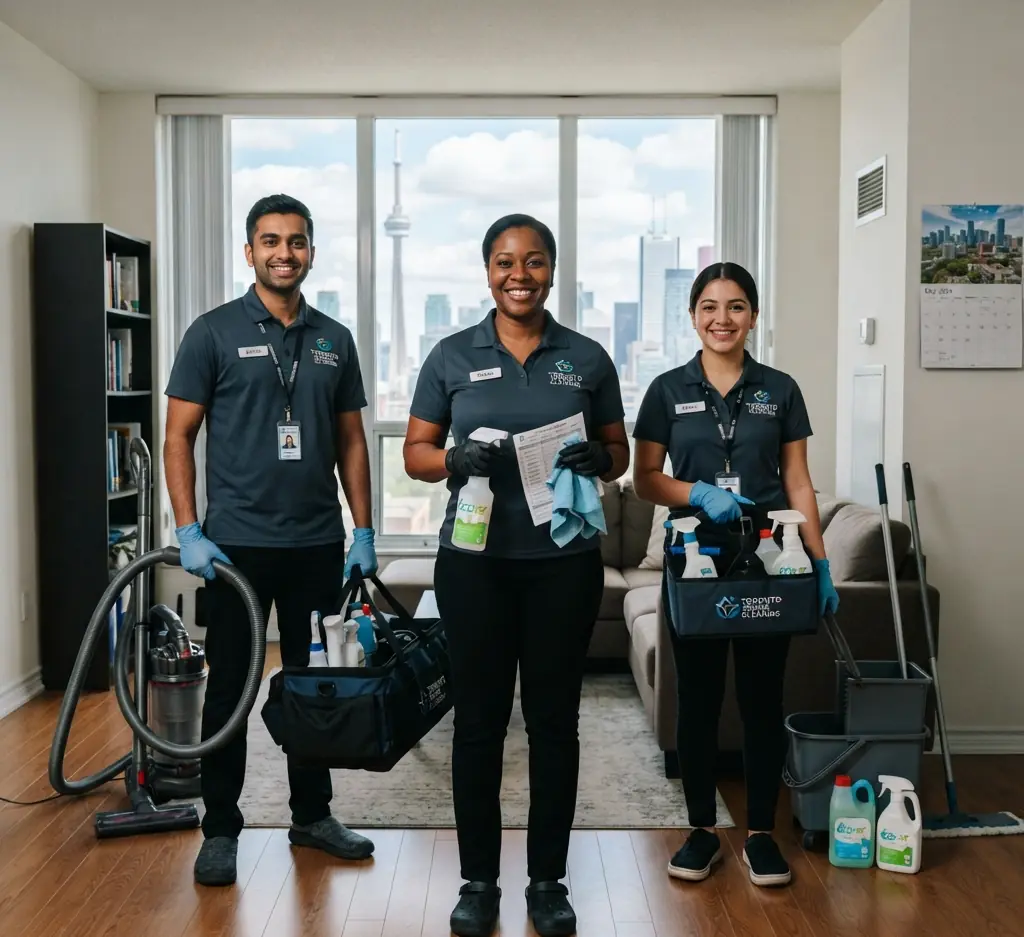
When the move itself takes all your attention, you don’t have to do the final clean alone. Toronto Shine Cleaning’s move-in and move-out cleaning covers the empty house or unit top to bottom, from the kitchen and bathrooms to the baseboards, vents and fans. Add your landlord’s checklist to your booking notes and your cleaners will work from it, so you can focus on settling into your new home.