March 19, 2024

Morning-lit living room with polished plywood floors.

How to Keep Your Plywood Floor Sparkling: 5 Easy Steps

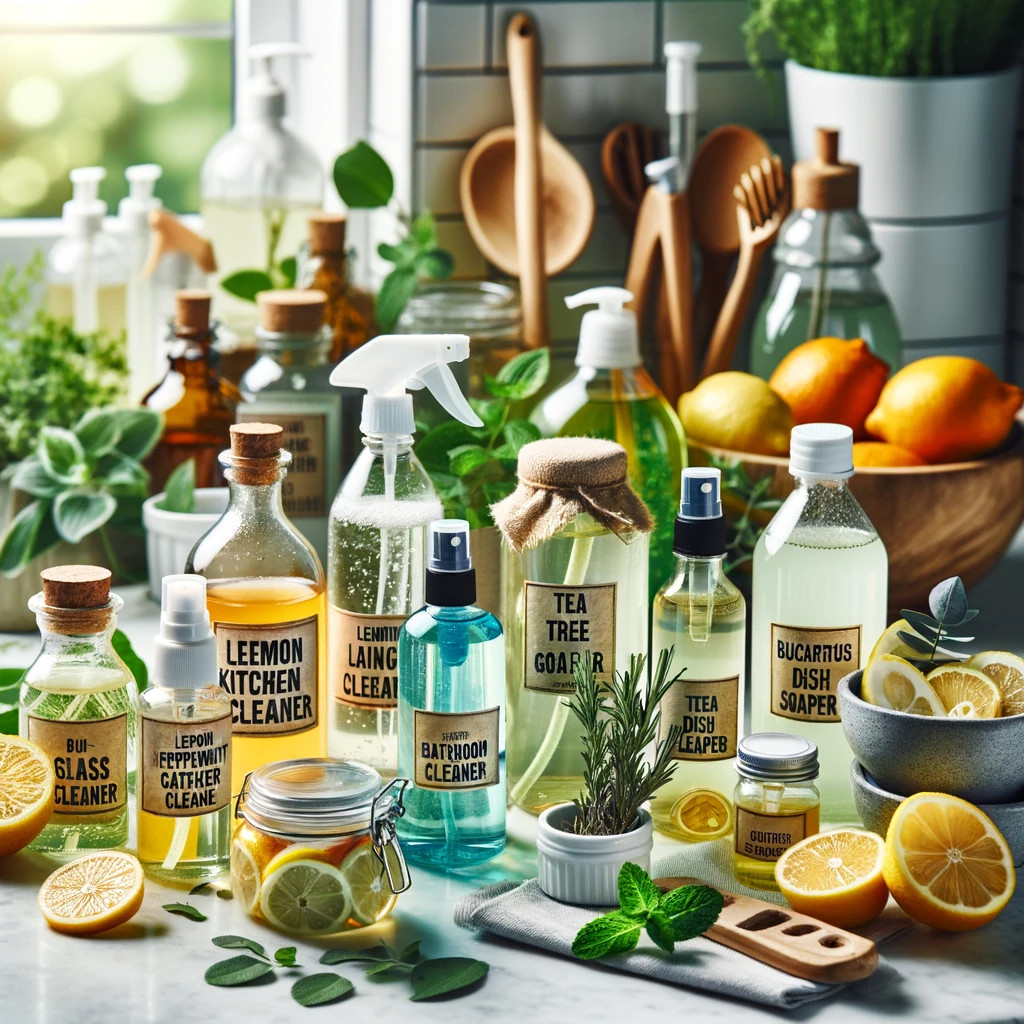
Transforming your Plywood Floor Sparkling doesn’t have to be a chore. With the right products and a touch of TLC, you can easily keep them in tip-top shape. Here are five steps to ensure your plywood floors stay sparkling, accompanied by specific product recommendations and usage tips. Step 1: Gentle Daily Dusting Kickstarting your plywood floor care with gentle daily dusting is akin to setting a strong foundation for a skyscraper—it’s essential. The key here is the choice of tool: a microfiber mop or dust mop specifically tailored for hardwood floors. These tools are designed with the delicate nature of wood in mind, ensuring they pick up and trap dust, pet hair, and everyday debris efficiently without leaving a single scratch behind. Products like the Swiffer Sweeper are particularly adept at this task. They come equipped with disposable or reusable cloths that have an electrostatic charge, which acts like a dust magnet. This technology ensures that even the smallest particles are captured, leaving your floor spotless. The beauty of using such a mop lies in its ease of use; you simply attach the cloth, sweep across the floor in smooth, gentle motions, and voila, your floor remains in pristine condition. This daily ritual not only maintains the aesthetic appeal of your plywood floors but also significantly reduces allergens and dust in your home environment. Moreover, this process isn’t time-consuming. Spending just a few minutes each day can prevent the buildup of grime and dirt that, over time, can become more challenging to remove and potentially damage the floor’s finish. It’s a simple yet effective practice that extends the life of your flooring and keeps it looking as good as new. Plus, it sets the stage for a cleaner, healthier living space, reinforcing the importance of this foundational step in your floor care routine. Step 2: Weekly Mild Mopping Water, in excess, is the archenemy of plywood, capable of seeping into the layers and causing swelling, warping, or even mold growth. To navigate this, the choice of mop and cleaning solution becomes paramount. Enter the flat mop equipped with a microfiber pad, your ally in this cleaning mission. The design of such mops allows for even distribution of moisture across the floor, eliminating the risk of over-wetting any area. The microfiber material, known for its softness and high absorbency, ensures that the cleaning process is gentle yet effective, lifting dirt without scratching the surface or leaving behind streaks. The cleaning solution you pair with your mop is just as important. A gentle, pH-neutral cleaner like Bona Hardwood Floor Cleaner is ideal for this purpose. Its formula is specifically designed to clean without damaging the delicate surface of plywood floors. By mixing this cleaner with water as directed, you create a solution that is tough on dirt and grime but gentle on the floor itself. When it comes to the actual mopping, precision is key. Start by lightly dampening the microfiber pad with your cleaning solution, ensuring it’s moist but not dripping. Then, mop the floor in sections, using smooth, even strokes. This methodical approach allows you to control the amount of moisture on the floor, ensuring that each section is cleaned effectively without exposing the plywood to excess water. By moving systematically across the floor, you also ensure that no area is missed or overly saturated. This weekly ritual of mild mopping is more than just a cleaning task; it’s a preventative measure that maintains the integrity and beauty of your plywood floors. It removes the dirt and spills that daily dusting can’t tackle, all the while preserving the floor’s natural finish.     Step 3: Immediate Spill Management Navigating the unpredictable world of spills and spots on your plywood floors requires a swift and strategic response. The moment a spill occurs, the clock starts ticking, making immediate action essential to prevent the stain from becoming a permanent fixture in your home. Armed with a clean, damp cloth, your first move is to tackle the spill head-on, dabbing gently to absorb the liquid rather than rubbing, which can spread the stain or push it deeper into the wood. When you’re dealing with non-water-soluble substances like oil or grease, the challenge intensifies. These spills demand a slightly different approach to ensure they don’t leave a lasting mark. A simple solution of dish soap and water becomes your best friend in these scenarios. Just a drop of dish soap in a cup of water creates a mild, effective cleaning agent that can break down the grease, making it easier to lift from the surface of your plywood floor. Apply this mixture lightly to the affected area and watch as the dish soap does its magic, cutting through the grease without harming the floor’s finish. For those stubborn, tougher stains that seem to resist initial cleaning efforts, a more targeted approach is necessary. This is where a specialized wood floor cleaner, like Method Squirt + Mop Wood Floor Cleaner, comes into play. Designed specifically for wood floors, these cleaners offer a gentle yet effective solution to stubborn stains. Applying the cleaner directly to a soft cloth, rather than pouring it onto the floor, allows for precise control over the amount used and prevents unnecessary moisture from compromising the plywood. Gently dabbing the cloth on the stained area can gradually lift the stain, restoring the floor’s natural beauty without resorting to harsh scrubbing. It’s crucial, however, to steer clear of abrasive pads or scrubbers, which might seem like suitable tools for tackling tough stains but can actually cause more harm than good. These abrasive materials can scratch the surface of the plywood, leaving it vulnerable to further damage and wear. Instead, the emphasis should always be on gentle, non-abrasive methods of stain removal, safeguarding the integrity and appearance of your plywood floors. Step 4: Strategic Mat Placement By positioning floor mats at all entry points, you create a barrier that captures much of the grime and wetness that would otherwise find its way onto

How to Keep Your Plywood Floor Sparkling: 5 Easy Steps Read More »

Homemade natural cleaning solutions displayed on a sunny kitchen countertop.

How to Refresh Your Home: 5 Essential Oil Recipes for Natural Cleaning

Hey there! Ready to give your home that Essential Oil Recipes for Natural Cleaning? inviting vibe without resorting to harsh chemicals? Let’s dive into the world of essential oils and whip up some natural cleaning solutions that not only cleanse but also leave your space smelling divine. Essential oils are not just about the aroma; they come packed with powerful cleaning properties too. Here are 5 essential oil recipes to refresh your home naturally: 1. All-Purpose Lemon Lavender Cleaner Let’s expand further on the All-Purpose Lemon Lavender Cleaner with a detailed breakdown that highlights each component and step in the process, providing you with a deeper understanding and appreciation for this natural, aromatic cleaner: 1 cup of water: Acts as the base for the cleaner, diluting the vinegar and essential oils to make them safe for use on various surfaces. Water helps in spreading the cleaning solution evenly. 1 cup of white vinegar: A powerful natural disinfectant, vinegar cuts through grease, grime, and dirt with ease. Its acidic nature makes it effective against bacteria and viruses, ensuring your surfaces are not just clean but sanitized. 15 drops of lemon essential oil: Known for its refreshing scent and strong antibacterial properties, lemon essential oil is a key ingredient in combating kitchen messes and brightening surfaces. It leaves behind a clean, invigorating aroma that uplifts the mood. 15 drops of lavender essential oil: Adds a calming, floral scent to the mix, transforming cleaning into a more pleasant, stress-free experience. Lavender’s natural antiseptic properties complement the lemon and vinegar, enhancing the cleaner’s effectiveness. A spray bottle: The perfect container for your homemade cleaner, making it easy to mix, store, and use. A spray bottle allows for convenient application, ensuring you cover the desired areas with just the right amount of cleaner. How to Make It: Begin by pouring water, vinegar, and the carefully measured drops of essential oils directly into your spray bottle. This method ensures that the blend achieves a harmonious balance, maximizing both the cleaning capabilities and the aromatic benefits of the ingredients. Given the natural tendency of essential oils to separate from the vinegar and water mixture, it’s crucial to give the bottle a good shake prior to each use. This step guarantees that the oils are evenly dispersed throughout the solution, allowing for consistent application and effectiveness. When it comes to using this cleaner, its versatility truly shines. Designed for hard, non-porous surfaces, it works wonders on countertops, kitchen tables, appliances, and bathroom fixtures. The application process couldn’t be simpler: just spray the mixture onto the surface in question and wipe it down with a cloth or sponge to achieve a clean and shining finish. The benefits of this homemade cleaner extend far beyond its surface-cleaning prowess. The lemon essential oil and vinegar join forces to offer robust antibacterial and antiviral properties, forming a formidable barrier against the spread of common household germs. Meanwhile, the lavender essential oil envelops your space in its calming scent, transforming routine cleaning into a more pleasant and stress-relieving activity. This concoction is not only effective but also non-toxic and eco-friendly, ensuring it’s a safe choice for homes with children, pets, and a preference for green living solutions. 2. Peppermint Window and Mirror Cleaner Diving into the Peppermint Window and Mirror Cleaner, let’s unfold each element and the crafting process that combines to form a sparkling, pest-repellent marvel for your glass surfaces: 1 ½ cups of water: Serves as the foundation of this cleaner, effectively diluting the vinegar and essential oil to ensure they’re gentle yet effective on glass surfaces. Water facilitates the even distribution of the cleaning mixture, ensuring a streak-free shine. ½ cup of white vinegar: This ingredient is a cleaning powerhouse, renowned for its ability to dissolve grime, combat streaks, and leave a crystal-clear finish. Its natural acidity is hostile to germs, making it an excellent disinfectant for windows and mirrors. 10 drops of peppermint essential oil: Far more than a fresh scent, peppermint oil is a natural deterrent against spiders and ants. Its inclusion turns this cleaner into a dual-threat against dirt and unwanted critters, leaving behind a refreshing minty aroma that revitalizes your home environment. A spray bottle: An essential tool for this homemade concoction, the spray bottle ensures easy mixing, storage, and application. It allows for a fine mist that evenly coats windows and mirrors without over-saturating them, making your cleaning efforts more efficient and effective. How to Make It: Initiate the process by combining the water and white vinegar in your spray bottle, followed by the peppermint essential oil. This preparation strategy ensures a well-balanced mix, leveraging the cleaning strength and aromatic benefits of the components in equal measure. Because essential oils can separate from their water and vinegar base, a vigorous shake before use is imperative. This action guarantees the essential oil’s thorough integration, offering consistent cleaning power and fragrance with every spray. In application, the Peppermint Window and Mirror Cleaner shines with versatility. It’s specifically formulated for use on glass, making it your go-to for leaving windows and mirrors without smudges or streaks. Simply spray a light coating on the glass surface and wipe away with a cloth or sponge for an immediate gleam. But the advantages of this homemade cleaner go beyond mere aesthetics. The peppermint essential oil’s inclusion serves a dual purpose, not only imparting a clean, uplifting scent but also acting as a natural repellant against common household pests like spiders and ants. Additionally, the non-toxic and environmentally friendly nature of this cleaner makes it a safe and responsible choice for households, ensuring cleanliness doesn’t come at the cost of health or the planet. Equally effective in enhancing the ambiance of your living space, the Peppermint Window and Mirror Cleaner introduces a minty freshness that can energize and refresh. This blend doesn’t just clean; it transforms the act of cleaning into an enjoyable, beneficial task. Its utility extends across the home, from living room windows to bathroom mirrors, making it an

How to Refresh Your Home: 5 Essential Oil Recipes for Natural Cleaning Read More »