June 11, 2024

Cartoon man sweeping floor with focus on hands and broom.

How to Create a Weekly Cleaning Schedule: 5 Tips for Success

Keeping a tidy home can be a daunting task, especially when you have a busy schedule. But fear not! A well-organized cleaning schedule can help you manage your chores without feeling overwhelmed. Here are five tips to create a weekly cleaning schedule that will keep your home sparkling clean and your mind at ease. 1. Assess Your Cleaning Needs Before diving into creating a cleaning schedule, take a moment to assess what needs to be cleaned in your home. This crucial first step sets the foundation for an effective and manageable routine. Start by walking through each room of your house and noting the areas that require regular attention. Your kitchen, for example, is likely a high-traffic area that needs daily upkeep due to frequent cooking and eating activities. Similarly, bathrooms often demand more frequent cleaning because they are used multiple times a day by everyone in the household. Next, consider spaces like the living room and bedrooms. While these areas might not need daily deep cleaning, they still benefit from regular tidying and occasional thorough cleaning to maintain a comfortable and welcoming environment. Hallways and entryways, often overlooked, are also essential to include in your cleaning schedule as they are the first places guests see when they enter your home. Keeping these areas clean sets a positive tone for the rest of the house. Identifying high-traffic areas that need more frequent cleaning and less-used spaces that can be tackled less often is a key aspect of this assessment. For instance, while your kitchen and bathrooms might need daily or every-other-day attention, rooms like the guest bedroom or storage areas can be scheduled for a more infrequent, monthly cleaning. This initial assessment helps you allocate your time and resources more efficiently, ensuring that no area of your home is neglected while also preventing you from feeling overwhelmed by your cleaning tasks. 2. Divide Tasks by Frequency Not all cleaning tasks need to be done every day, and understanding this can save you a lot of time and stress. Dividing tasks by frequency ensures that you cover all necessary cleaning duties without spending your entire day cleaning. This approach helps in creating a balanced cleaning schedule that keeps your home clean and orderly, while also allowing you time for other important activities and relaxation. Daily tasks typically include those essential chores that keep your home looking and feeling tidy on a day-to-day basis. This might involve doing the dishes, wiping down countertops, and tidying up common areas like the living room and kitchen. These daily activities help maintain a basic level of cleanliness and prevent dirt and clutter from building up, making your weekly cleaning tasks much easier to manage. Weekly tasks are those that need to be done regularly but not necessarily every day. This could include vacuuming, mopping floors, cleaning bathrooms, and dusting surfaces. These chores ensure that deeper levels of cleanliness are maintained throughout your home. By tackling these tasks once a week, you can prevent grime and dust from accumulating, which keeps your living environment healthier and more pleasant. Finally, some tasks can be scheduled on a monthly basis. These might include cleaning windows, washing bedding, and organizing closets. By handling these less frequent chores monthly, you ensure that every part of your home gets the attention it needs without overwhelming your weekly cleaning schedule.     3. Set Realistic Goals One of the biggest pitfalls of creating a cleaning schedule is setting unrealistic goals. It’s easy to get overly ambitious when you’re motivated to start fresh, but this often leads to frustration and burnout. To create a sustainable and effective cleaning schedule, you must be honest about how much time you can realistically dedicate to cleaning each day. If your mornings are usually hectic, and you only have about 15 minutes before heading out the door, don’t overburden yourself with tasks that require more time. Similarly, if your evenings are the only time you can clean, allocate your tasks accordingly. Setting small, achievable goals for each day is essential for maintaining momentum and avoiding feelings of being overwhelmed. For example, you might designate Monday as the day for tackling the kitchen, focusing on tasks such as cleaning the countertops, wiping down appliances, and mopping the floor. By concentrating on one room or a specific set of tasks each day, you can manage your time more effectively and make the process less daunting. Tuesday could then be reserved for cleaning the bathrooms, including scrubbing the shower, wiping down mirrors, and sanitizing the toilet. This way, you break down your cleaning schedule into manageable chunks, making it more approachable and less intimidating. Moreover, setting realistic goals ensures that you don’t overcommit yourself and can maintain consistency in your cleaning routine. It’s better to achieve small goals regularly than to set large, unattainable goals that you can’t keep up with. This approach not only keeps your home cleaner on a regular basis but also helps you build a habit of consistent cleaning. Over time, these small daily efforts add up, leading to a more organized and spotless home without overwhelming yourself. 4. Create a Flexible Schedule Life is unpredictable, and sometimes your planned cleaning tasks might not get done. That’s okay! It’s essential to create a cleaning schedule that is flexible and can accommodate the unexpected changes that inevitably arise. If you miss a day due to a busy work schedule or an unforeseen event, don’t stress about it. The key is to be adaptable and understand that it’s perfectly fine to adjust your schedule as needed. Flexibility in your cleaning schedule allows you to maintain consistency without the added pressure of sticking to a rigid plan. A flexible cleaning schedule also means having the ability to shift tasks around without feeling guilty or overwhelmed. For instance, if you planned to vacuum on Wednesday but couldn’t get to it, simply move that task to Thursday or another day that works better for you. This approach helps to alleviate

How to Create a Weekly Cleaning Schedule: 5 Tips for Success Read More »

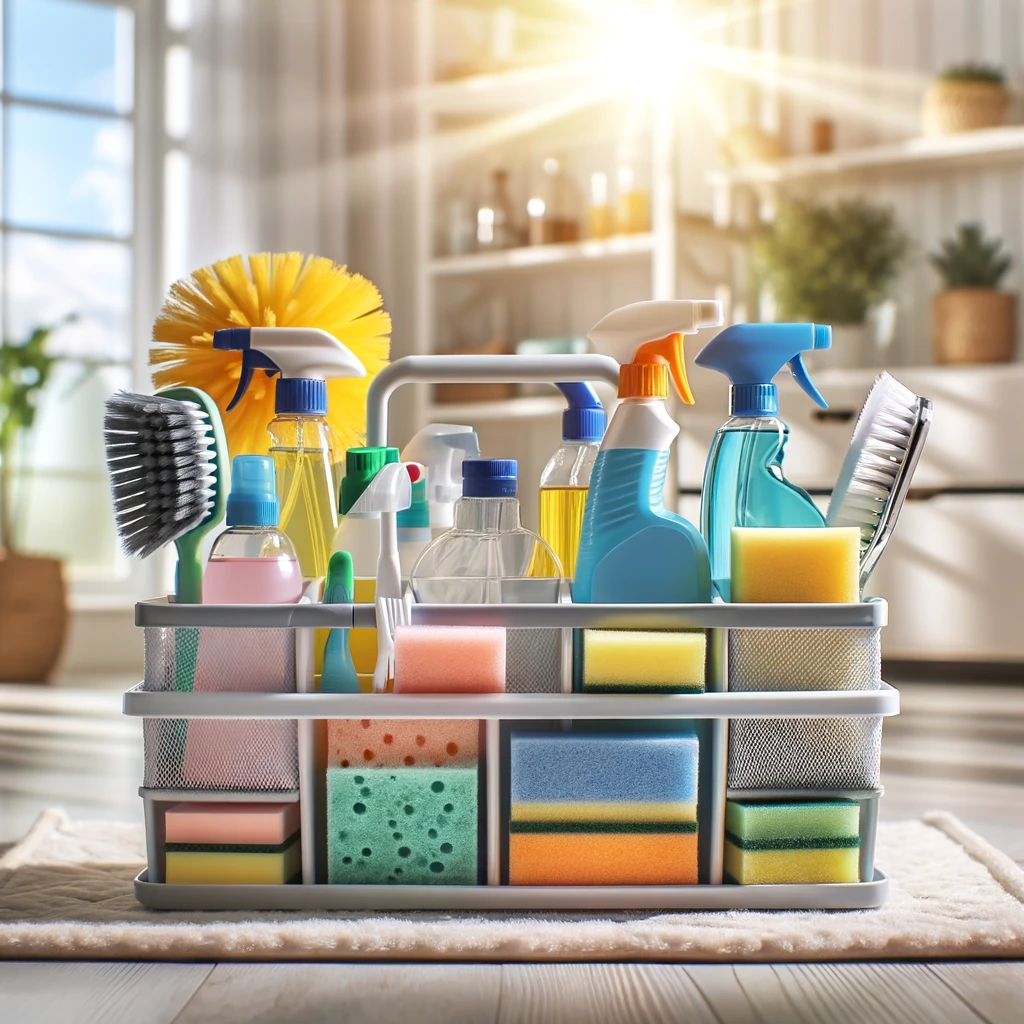
Organized cleaning caddy with supplies, sprays, and brushes.

How to Organize Cleaning Supplies: 6 Simple Tips

Keeping your home clean and tidy can be a breeze when you have your cleaning supplies well-organized. By taking a few simple steps to organize cleaning supplies, you’ll save time, reduce clutter, and make your cleaning routine more efficient. Here are six simple tips to help you get started. 1. Use a Cleaning Caddy Using a cleaning caddy is a game-changer when it comes to figuring out how to organize cleaning supplies effectively. Imagine having all your essential cleaning products in one portable container that you can easily carry from room to room. This simple tool can save you so much time and effort, as you won’t have to make multiple trips back and forth to grab different supplies. Plus, a caddy with compartments keeps everything in place, so you don’t have to worry about spills or items getting lost in the shuffle. A well-organized cleaning caddy means you can clean more efficiently. When all your supplies are within reach, you can tackle your cleaning tasks with greater speed and precision. No more wasting time hunting down the glass cleaner or scrubbing pads – everything is right there at your fingertips. This also makes it easier to move from one task to the next without losing momentum. Whether you’re dusting the living room, scrubbing the bathroom, or wiping down kitchen counters, your caddy ensures you have everything you need in one convenient spot. Moreover, investing in a cleaning caddy with compartments allows you to organize cleaning supplies in a way that maximizes space and accessibility. Different compartments can hold various items such as sprays, brushes, cloths, and sponges. This not only keeps your supplies neat and orderly but also extends the life of your cleaning products by preventing damage and spills.     2. Label Everything Labeling everything is an excellent strategy when you need to organize cleaning supplies effectively. By using labels to identify your spray bottles, containers, and storage bins, you can streamline your cleaning process and eliminate the frustration of searching for specific items. With clearly marked labels, you can instantly see what each container holds, which saves time and enhances efficiency during your cleaning routine. Whether you’re a seasoned cleaning pro or just getting started, labeling helps maintain order and accessibility. Incorporating labels into your organization system also promotes household harmony. When everyone knows exactly where to find and return cleaning supplies, it reduces clutter and confusion. Family members or roommates will appreciate the clarity, as it takes the guesswork out of locating and storing items. This simple step can significantly enhance the overall cleanliness and organization of your home. Even children can get involved in the cleaning process more easily when they can quickly identify and put away supplies. Using a label maker or even simple adhesive labels and a marker can make a big difference in how smoothly your household operates. Additionally, labeling your cleaning supplies can extend the lifespan of your products. When each item has a designated spot, it’s less likely to be misplaced, damaged, or wasted. For instance, knowing where to find specific cleaners or tools means they are used properly and stored correctly, maintaining their effectiveness over time. This systematic approach to organizing cleaning supplies not only keeps your home neat but also ensures you get the most out of your cleaning products. 3. Create a Dedicated Cleaning Closet Creating a dedicated cleaning closet is a transformative way to organize cleaning supplies, turning chaos into order. If you have the space, even a small closet or a section of a larger one can become a highly efficient storage area for all your cleaning essentials. By dedicating a specific area for these supplies, you can ensure that everything has its place, making it easier to find what you need when you need it. This approach not only saves time but also reduces the stress of having to search through various locations to gather your cleaning tools and products. Utilizing shelves, hooks, and bins in your cleaning closet allows you to maximize the available space while keeping everything neatly organized. Shelves can be used to store items like cleaning sprays, disinfectants, and cloths, making them easily accessible. Hooks are perfect for hanging brushes, dusters, and smaller tools, keeping them off surfaces and within reach. Bins are excellent for grouping similar items together, such as sponges, scrubbers, and microfiber cloths, ensuring that nothing gets lost or misplaced. Each item having a designated spot helps in maintaining a clutter-free environment, which is essential for an efficient cleaning process. To further enhance the functionality of your cleaning closet, consider adding a tension rod to hang spray bottles. This clever use of vertical space keeps bottles upright and easily accessible while freeing up valuable floor space for larger items like a vacuum cleaner or mop. This not only keeps the closet organized but also makes it easier to pull out and put away larger cleaning tools without causing a mess.     4. Utilize Clear Containers Utilizing clear containers is an effective strategy to organize cleaning supplies, particularly the smaller items that can easily get lost in the shuffle. Clear containers provide a visual advantage, allowing you to see exactly what’s inside without having to open every box or bin. This transparency saves time and reduces frustration, as you can quickly identify the contents and retrieve what you need. Whether it’s sponges, brushes, or cleaning cloths, these clear containers help maintain an orderly and efficient storage system. The beauty of clear containers lies in their versatility and the ability to maximize space. Stackable clear bins are especially useful for making the most of vertical storage areas, whether in a closet, under the sink, or in a pantry. By stacking bins, you can efficiently use every inch of available space, keeping your cleaning supplies organized and within easy reach. This approach prevents the clutter that often comes with storing items in opaque boxes or leaving them scattered around. Everything has its designated place, contributing to a

How to Organize Cleaning Supplies: 6 Simple Tips Read More »

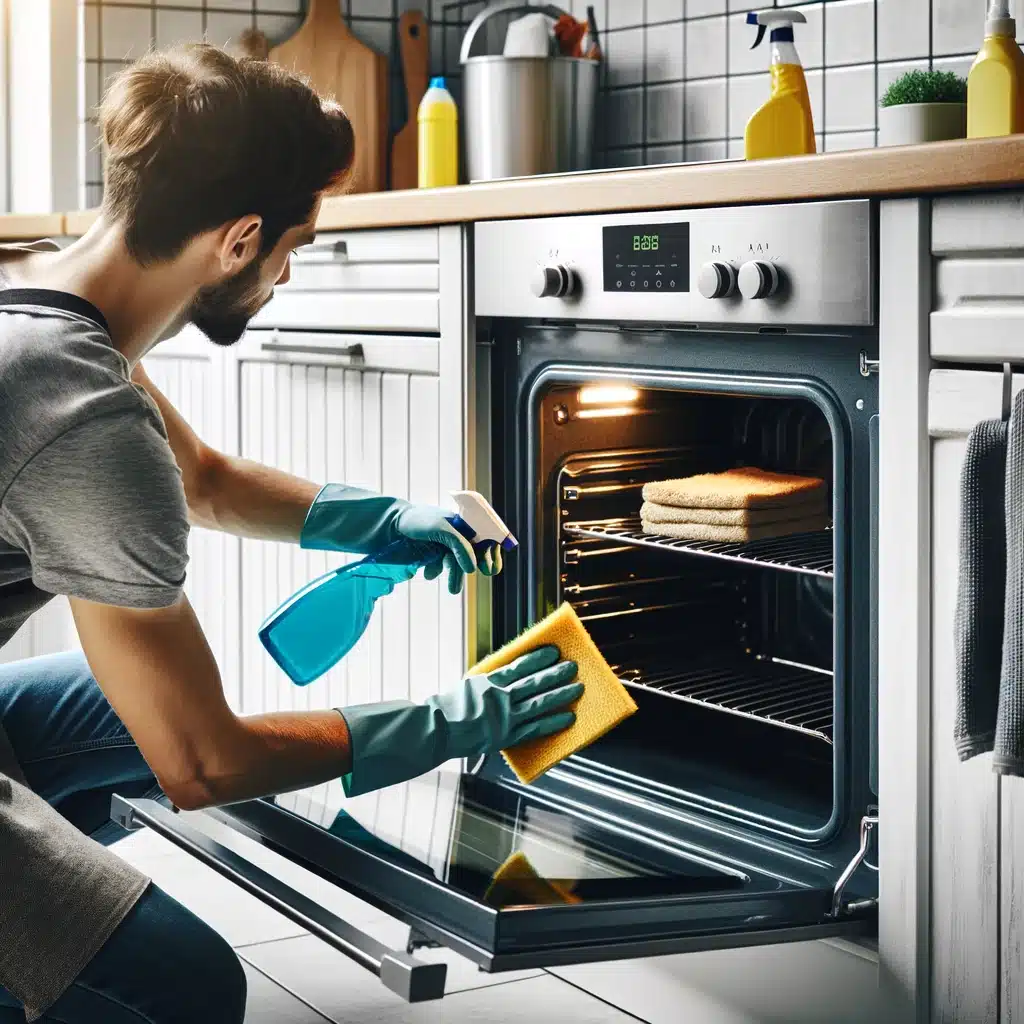
Person scrubbing modern oven interior with gloves and cleaning spray.

How to Deep Clean Your Kitchen: 7 Expert Tips

Is your kitchen in need of a serious scrub-down? A deep clean can make your cooking space sparkle and feel brand new. Here’s how to deep clean your kitchen with these seven expert tips that will leave every nook and cranny spotless. 1. Gather Your Supplies Before you begin to deep clean your kitchen, it’s crucial to gather all the necessary cleaning supplies. Having everything ready will ensure the process goes smoothly and efficiently, saving you time and effort in the long run. Start with an all-purpose cleaner, which will be your go-to solution for most surfaces. A degreaser is essential for tackling those stubborn, greasy spots that accumulate around the stove and other cooking areas. Next, make sure you have a good stock of microfiber cloths. These are excellent for picking up dust and grime without scratching surfaces. Sponges are another must-have, perfect for scrubbing dishes, sinks, and countertops. For a streak-free shine on your glass surfaces and windows, a reliable glass cleaner will come in handy. Dish soap isn’t just for washing dishes; it’s also great for cleaning your sink and any other areas that need a bit of extra scrubbing power. Finally, you’ll need a mop and bucket to take care of your kitchen floors. Whether you have tile, wood, or laminate flooring, a clean floor is the finishing touch to a thoroughly deep-cleaned kitchen. By ensuring you have all these supplies ready before you start, you’ll be able to deep clean your kitchen more effectively and with less hassle. 2. Declutter and Organize o effectively deep clean your kitchen, the first step is to declutter and organize. Begin by removing all items from your countertops, cabinets, and pantry. This not only gives you a clear space to work with but also allows you to assess what you have. Go through your pantry and cabinets, throwing away expired products and donating anything you no longer use. This is an excellent opportunity to get rid of those items that have been taking up valuable space without serving any purpose. Organizing your kitchen helps in two significant ways. Firstly, it makes the cleaning process much easier. With clear countertops and well-organized cabinets, you can clean every corner without obstacles. Secondly, it ensures you have more space for essentials. When everything is in its rightful place, your kitchen becomes more functional and efficient, making it a joy to use daily.     3. Tackle the Appliances To truly deep clean your kitchen, it’s essential to tackle the appliances, as they can harbor a significant amount of grime. Start with the refrigerator. Begin by removing all items from the fridge, giving you full access to the shelves and drawers. Wipe down these surfaces thoroughly using an all-purpose cleaner, making sure to reach into every corner and crevice. Don’t forget to clean the exterior as well, especially the handles, which are often touched and can accumulate dirt. Next, move on to the oven. This appliance can be particularly challenging due to the baked-on residue that builds up over time. Use a commercial oven cleaner designed to cut through tough grease and grime. Apply the cleaner according to the instructions, and let it sit for the recommended time to loosen the residue. While you’re waiting, don’t forget the oven racks – remove them and give them a good scrub, too. The microwave is another kitchen workhorse that needs attention. Start by cleaning the inside with a damp cloth and a bit of dish soap. This will help lift any food splatters and stains. After scrubbing the interior, wipe it down thoroughly to remove any soap residue. For a final touch, wipe down the exterior, focusing on the buttons and handle. Finally, don’t overlook the dishwasher. This appliance can develop odors and buildup from frequent use. To clean it, run an empty cycle with a dishwasher cleaner specifically designed for this purpose. This will help eliminate any lingering smells and ensure your dishwasher is operating at peak efficiency. 4. Clean the Cabinets and Drawers To properly deep clean your kitchen, addressing the cabinets and drawers is essential. Begin by emptying all contents from your cabinets and drawers. This will allow you to clean every inch without obstacles. Once emptied, take a mild cleaner and a damp cloth to wipe down the interiors of the cabinets and drawers. This step is crucial in removing any dust, crumbs, or light grime that has built up over time. For those tougher stains or areas with grease buildup, a dedicated kitchen degreaser is your best friend. Apply the degreaser to the stubborn spots and let it sit for a moment before scrubbing. This will help break down the grease, making it easier to wipe away and leaving your cabinets spotless. Don’t overlook the cabinet doors and handles, as these areas can accumulate a significant amount of grime from frequent handling. Wipe down the doors thoroughly, paying special attention to corners and edges where dust tends to settle. The handles also require a good cleaning, as they are touched constantly and can become sticky or dirty. By focusing on the cabinets and drawers during your deep clean, you ensure that no part of your kitchen is left neglected. This thorough approach not only enhances the overall cleanliness but also contributes to a more organized and pleasant kitchen environment. 5. Scrub the Surfaces When you deep clean your kitchen, it’s crucial to give special attention to all the surfaces, ensuring they are spotless and free of grime. Start with the countertops, making sure every inch is thoroughly cleaned. Depending on the material of your countertops, select a cleaner that is specifically designed for that surface. For instance, if you have granite countertops, use a specialized stone cleaner to maintain their shine and integrity without causing damage. Move on to the backsplash tiles, which can often become greasy and stained, especially around the stove area. A degreaser will be particularly effective here. Apply it to the greasy spots and let

How to Deep Clean Your Kitchen: 7 Expert Tips Read More »