How to Organize Cleaning Supplies: 6 Simple Tips
On this page
When you organize cleaning supplies well, every chore gets faster: no hunting for the glass cleaner, no digging through a jumbled cabinet, no buying duplicates of what you already own. A few simple storage systems cut clutter, protect your products, and make the whole routine easier to start. Here are six practical tips to organize cleaning supplies and keep them that way.
1. Carry a Cleaning Caddy From Room to Room
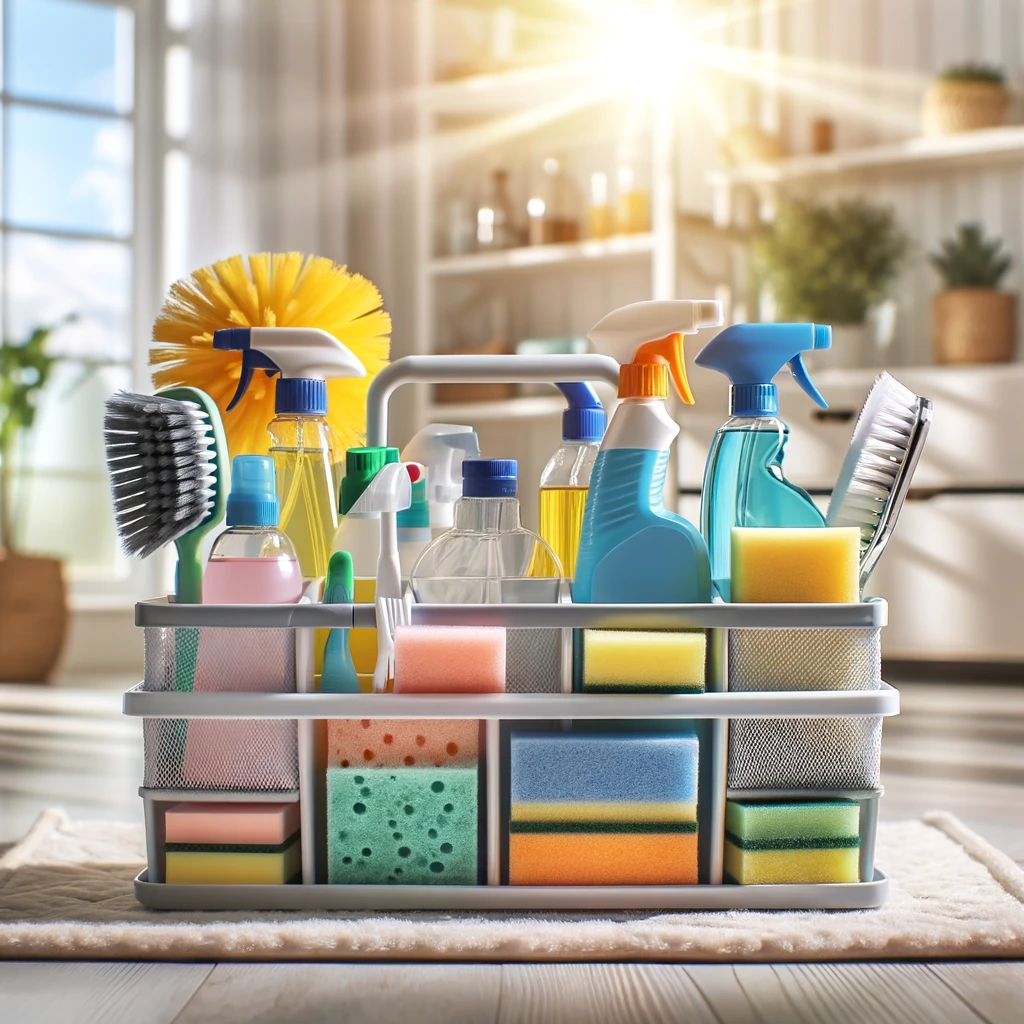
A caddy with compartments holds your everyday products and tools in one portable container, so you stop shuttling back and forth between rooms. Keep sprays, brushes, cloths, and sponges in separate compartments to prevent spills and lost items. One caddy per floor is a simple upgrade: grab it, clean, and return it to its spot when you finish. Restocking it after each use means it is always ready for the next session.
Keep each caddy lean. An all-purpose cleaner, a glass cleaner, microfiber cloths, a scrub brush or sponge, and a pair of gloves cover almost every everyday job. If you reach for an extra product week after week, add it; if something never gets used, move it to the backup bin instead of letting the caddy turn into a junk drawer.
2. Label Bottles, Bins, and Shelves
Labels remove guesswork for everyone in the household. Mark spray bottles, containers, and storage bins with their contents so family members can find what they need and put it back in the right place, which keeps clutter from creeping back. A label maker works well, but adhesive tape and a marker are just as effective. Labels also help you use products correctly: check the original label before mixing or diluting any cleaner, and keep products in their own containers.
Keeping products in their original containers matters for safety. Transferring cleaners into food jars or unmarked bottles is risky in a busy household, because someone can easily mistake the contents, and original packaging preserves the instructions you need in an emergency.
3. Build a Dedicated Cleaning Closet or Cabinet
Even a small closet or one section of a larger cabinet can become a proper home for your supplies. Use shelves for sprays and cloths, hooks for brushes and dusters, and bins to group similar items such as sponges and scrubbers. A tension rod mounted inside the door or between shelves holds spray bottles upright and frees floor space for the vacuum and mop. Safety comes first in this space: as Health Canada advises on household chemical safety, store cleaning products out of sight and reach of children, and never mix different products.
Arrange the closet by how often you clean. Everyday items go at eye level, heavy bottles and the vacuum live on the floor, and seasonal or rarely used products sit on the top shelf. Grouping supplies into a bathroom kit and a kitchen kit also lets you grab a full set in one trip instead of hunting through the whole cabinet.
4. Use Clear Containers for Small Items
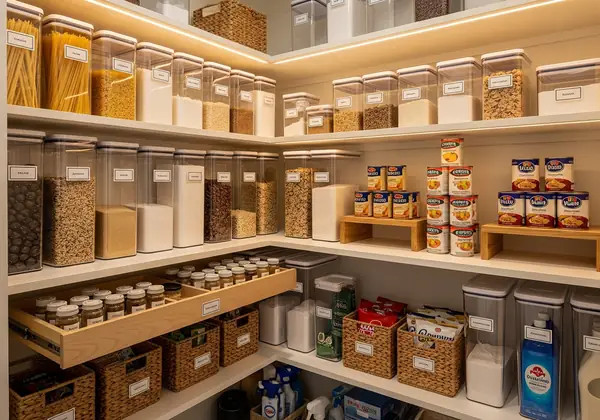
Clear, stackable bins let you see what is inside without opening everything, which saves time and stops you from rebuying supplies you already have. They work well for sponges, brushes, cloths, and backup stock, and they protect smaller items from dust and moisture. Stack them in closets, under sinks, or on shelves to make the most of vertical space.
Before buying organizers, measure the space and count what you actually store. Oversized bins waste shelf room, while undersized ones encourage stuffing, and matching container sizes stack neatly and make the whole cabinet look calmer.
5. Rotate Stock So Older Products Get Used First
Disinfectant wipes, sprays, and cleaning solutions can lose strength over time, so place newest purchases at the back and older products at the front of the shelf. That way you naturally use the oldest stock first and throw away less. Extend the same habit to tools: rotate mop heads, sponges, and cloths so wear is spread evenly and nothing is overused. When you do disinfect, follow the product label; the CDC’s guidance on cleaning and disinfecting your home recommends cleaning surfaces first and using products according to their instructions.
Make it a monthly habit to check dates on disinfectants and to pull anything cloudy, separated, or past its date. Cloths and wipes that smell sour should be washed or replaced, since a dirty tool simply spreads grime to the next surface it touches.
6. Hang Brooms, Mops, and Dustpans
Long-handled tools stored on the floor get knocked over, trap moisture, and make a utility room look chaotic. Mount hooks, a pegboard, or a wall rack so brooms, mops, and dustpans hang off the ground and within easy reach. Pegboards are especially flexible: rearrange the hooks and shelves whenever your tool collection changes.
Whatever system you choose, leave space between items so air can circulate and heads and bristles can dry between uses. Wet mop heads and sponges piled together are the fastest route to musty tools and a fresh smell problem in the closet.
- Round up stray products from every room into one pile
- Toss empty bottles and worn-out sponges and cloths
- Wipe down the caddy, shelves, and containers
- Return each item to its labeled, designated spot
| Supply type | Best storage | Tip |
|---|---|---|
| Sprays and disinfectants | Labeled caddy or tension-rod shelf | Keep out of reach of children |
| Backup stock | Clear stackable bins | Newest bottles to the back |
| Cloths and sponges | Clear containers or hooks | Air-dry before storing |
| Brooms and mops | Wall hooks or pegboard | Store off the floor |
Cleaning Supply Storage FAQ
Where should I store cleaning supplies when I have young children?
Put products on high shelves or in cabinets with child safety locks, out of sight and reach of kids. Never store cleaners next to food, and keep them in their original containers with labels intact.
Do cleaning products go bad?
Many disinfectants and cleaning solutions lose effectiveness over time, so check dates and use a first-in, first-out rotation to avoid keeping expired stock.
How do I keep a cleaning closet organized once it is set up?
Follow a one-in-one-out rule, return every item to its labeled spot after each clean, and do a quick five-minute tidy of the closet whenever you restock supplies.
How many cleaning caddies do I need?
One per floor is a good starting point, with a basic kit of all-purpose cleaner, glass cleaner, cloths, and a scrub brush in each.
Prefer to spend your time on anything but scrubbing? Toronto Shine Cleaning can handle the work with regular cleaning visits, a deep home cleaning, or a one-time refresh; see our pricing page for options. Call (647) 424-0355 to book your service today.