April 19, 2025

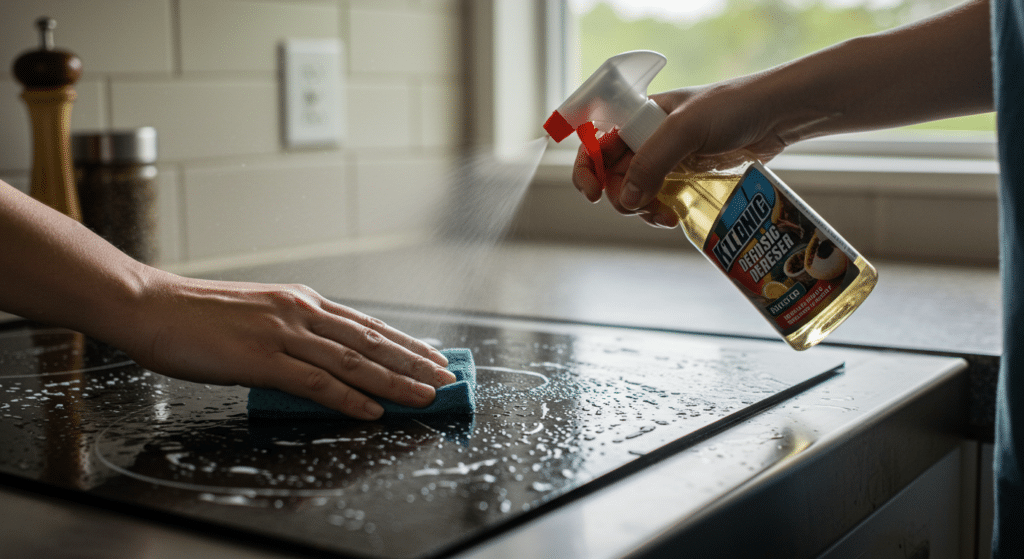
2 people using a kitchen degreaser to clean

5 Best Ways to Use a Kitchen Degreaser for Kitchen and Home Cleaning

Using a degreaser can seriously upgrade how you clean around the house—especially in the kitchen. Regular cleaners don’t always cut through layers of grease, but a degreaser is built to break it down fast. Whether you’re dealing with stovetop splatter, sticky cabinets, or greasy garage floors, knowing how to clean with a degreaser makes your job a whole lot easier. Here are five ways to use it right and get better results every time you clean. 1. Stovetops and Cooktops Need a Degreaser for Deep Cleaning Stovetops collect everything from bubbling sauces to frying oil, and it doesn’t take long before they start looking grimy. Cleaning with a degreaser makes it easy to cut through thick grease. Spray the surface when it’s cool, let the product sit for a few minutes, and wipe it clean with a damp cloth. You’ll see a big difference right away. To keep your stovetop looking fresh, you can make this part of your weekly kitchen cleaning routine. The key is to let the degreaser work before scrubbing. That “wait time” allows it to break down buildup so you don’t have to scrub hard or risk scratching the surface. For gas stovetops, don’t forget to remove the burner grates and soak them in degreaser too. They often get overlooked but can build up the most grease. After everything is rinsed and dry, you’ll have a clean, smooth cooking surface ready for your next meal. 2. Use a Degreaser on Range Hoods and Filters Range hoods are grease magnets—especially if you cook with oil often. Over time, steam and grease combine into a sticky mess that clings to the hood and clogs the filter. Cleaning with a degreaser helps remove that grime quickly and keeps your kitchen air cleaner. Spray the surface and use a cloth to wipe it down after 5 minutes. If your hood has a metal filter, take it out and soak it in hot water mixed with a degreaser. Leave it in the sink for 10–15 minutes. Once the grease lifts, scrub it gently and rinse thoroughly before putting it back. You’ll be surprised how much better the fan works. Not only does a clean range hood work more efficiently, but it also helps prevent lingering kitchen smells. Regular degreaser cleaning keeps the fan blades, motor cover, and light covers in better shape too. It’s one of those areas most people forget—until they can’t unsee the buildup! 3. Degrease Kitchen Cabinets Without Damaging the Finish Kitchen cabinets may look clean, but they often hold onto invisible grease from cooking and handling. Over time, cabinet doors can feel sticky or look dull. Cleaning with a degreaser is a simple fix. Spray a cloth—not the cabinet itself—and gently wipe along the surface. Rinse with a clean damp cloth afterward. Always test the degreaser on a hidden spot first to avoid any damage. Some cabinet finishes are delicate, but most quality degreasers won’t harm the surface if you use the right amount and rinse it off. This quick step helps keep your kitchen looking well-kept and inviting. Use this method especially around cabinet handles and above the stove where grease tends to collect. Even white cabinets, which show grime easily, can be cleaned this way without discoloring the surface. It’s one of the most satisfying degreaser cleaning jobs you can do in the kitchen. 4. Degreaser Works Great for Cleaning Trash Cans Trash cans in the kitchen take a beating. Between spills, leaky bags, and everyday use, grease and grime can build up fast. Cleaning with a degreaser helps sanitize and remove stubborn stains. Spray the interior and exterior and let it sit for 10 minutes before scrubbing with a sponge or brush. If your trash can has a lid or foot pedal, don’t forget those areas too. They get touched constantly and are easy to forget during quick cleanups. A good degreaser dissolves the gunk in no time, making the can smell better and look new again. Rinse the trash can thoroughly and let it dry before using it again. Doing this once a week can prevent bacteria, odors, and that annoying sticky feeling around the rim. It’s a small task that makes your kitchen feel cleaner overall, and a degreaser really does most of the heavy lifting. 5. Garage Floors and Utility Areas Benefit From a Strong Degreaser If you’ve got a garage, laundry area, or utility space with oil stains or greasy footprints, this is the perfect place to use a degreaser. These spots get dirty quickly, and regular floor cleaners won’t always do the trick. Spray the degreaser over the affected area, wait at least 10 minutes, then scrub and rinse. For tougher stains, you might need to repeat the process, but the degreaser will loosen up the grime way better than soap alone. It works great on concrete, tile, or sealed floors. Just make sure to ventilate the area if you’re working inside. After rinsing, you’ll notice the surface not only looks cleaner but also feels safer—less slippery and sticky. Keeping these utility spaces clean with a degreaser cuts down on tracking grease back into your home. It’s a quick task with big results, especially if you have kids or pets running in and out. Let Toronto Shine Cleaning Handle the Dirty Work Using a degreaser is a smart way to keep your kitchen and home clean, but let’s be real—sometimes there just isn’t enough time in the day. That’s where Toronto Shine Cleaning comes in. We know the best degreaser cleaning methods and bring all the right products to get your home spotless without the stress. Whether it’s greasy kitchen cabinets, a grimy garage floor, or a range hood that hasn’t been touched in months, our team knows how to clean it right. Don’t waste hours scrubbing—book Toronto Shine Cleaning today and enjoy a fresher, cleaner home without lifting a finger.

5 Best Ways to Use a Kitchen Degreaser for Kitchen and Home Cleaning Read More »
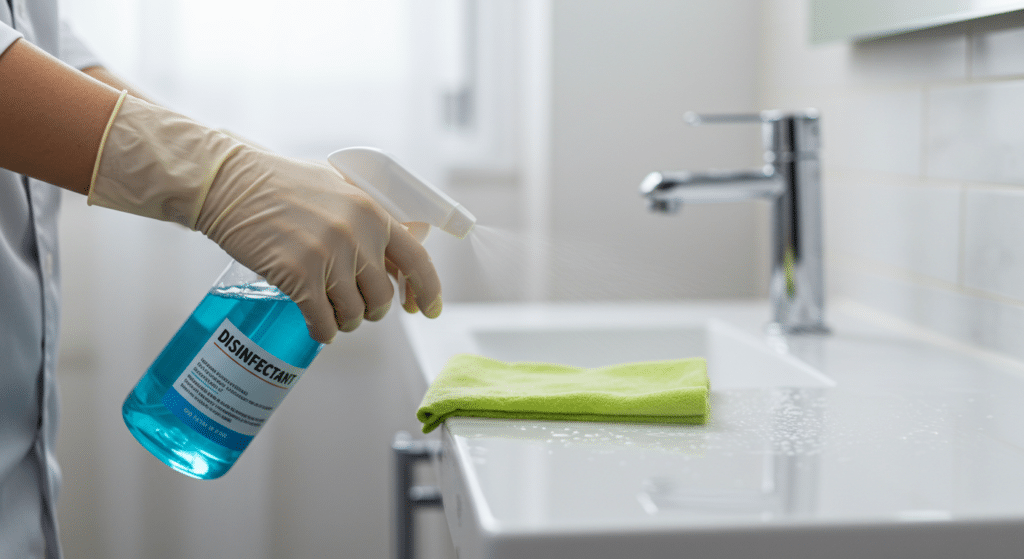
Blue disinfectant inside a bottle while some using it to clean

5 Disinfectant Cleaning Tips Every Toronto Home Should Follow

Disinfectant cleaning is one of the most important habits to keep your home safe and healthy—especially in a busy city like Toronto where germs are just part of everyday life. But not everyone uses disinfectants the right way, and that can leave your home looking clean but still full of bacteria. These five tips will help you clean smarter and make sure you’re actually killing germs, not just pushing them around. 1. Always Clean Before You Disinfect A lot of people jump right into spraying disinfectant on dirty surfaces, but that doesn’t actually work. Disinfectants are made to kill germs on clean surfaces, not dirty ones. If there’s grease, crumbs, or dust in the way, the disinfectant can’t reach the germs underneath. That means you’re wasting product and not getting the protection you think you are. Start by wiping down the surface with warm water and a general-purpose cleaner or soap. This removes dirt and grime and preps the area for the disinfectant to do its job properly. It might seem like an extra step, but it’s crucial if you want your home to be truly clean and germ-free. If you’re cleaning something like a kitchen counter after prepping food, or a bathroom sink that gets daily use, always go through the clean-then-disinfect process. It only takes a few extra minutes and makes a huge difference in the effectiveness of your cleaning routine. 2. Let Disinfectant Sit — Don’t Wipe It Off Too Fast One of the most common disinfecting mistakes is spraying and immediately wiping the product off. Most disinfectants need to stay wet on a surface for a certain amount of time, called the “dwell time,” to work properly. If you wipe too soon, you’re not giving the product enough time to kill germs. Always read the label on your disinfectant. Most will recommend leaving the surface wet for anywhere from 5 to 10 minutes. During that time, the ingredients are actively killing bacteria and viruses. If the surface dries too quickly, you can reapply a little more to keep it moist for the full dwell time. Letting disinfectant sit might require a bit of patience, but it’s a small habit that really pays off. Whether you’re disinfecting your bathroom, kitchen, or even your front door handle, giving it time to work means a safer, cleaner space for everyone in your home. 3. Focus on High-Touch Areas Daily High-touch surfaces are the ones that get touched all the time without people thinking about it—like doorknobs, light switches, fridge handles, and even your TV remote. These spots are hotspots for germs, especially if someone in your house has been sick recently. That’s why disinfecting them daily is key. Keep disinfectant wipes or a spray and cloth handy for quick touch-ups in these areas. You don’t have to deep clean them every day, but a daily disinfectant pass can really cut down on the spread of germs around your home. It only takes a minute or two but makes a huge impact on hygiene. In Toronto’s busy households, especially those with kids or roommates, high-touch cleaning is one of the best habits you can build. These surfaces might not look dirty, but they’re often the dirtiest places in your home. Staying on top of them daily helps everyone stay healthier. 4. Use the Right Disinfectant for the Job Not every disinfectant is a one-size-fits-all solution. Some are meant for hard surfaces like counters and tiles, while others are safer for electronics or soft furnishings. Using the wrong one could either damage your surfaces or simply not kill the germs you’re trying to get rid of. When choosing a disinfectant, look for products that are approved to kill viruses and bacteria. If you’re cleaning around pets or kids, go for something that’s non-toxic and doesn’t leave behind strong fumes. For areas like touchscreens or keyboards, use disinfectant wipes that are safe for electronics and won’t cause damage. Using the right product means better results and less hassle. If you’re not sure what to use, it’s okay to ask or even bring in a pro. The team at Toronto Shine Cleaning knows exactly which products work best on each surface, so you don’t have to guess or risk doing damage. 5. Don’t Forget Shared Items In shared households—whether it’s with family, roommates, or even Airbnb guests—there are lots of items everyone touches all the time. Think bathroom faucets, microwave buttons, kettle handles, and game controllers. These get handled by multiple people daily and can spread germs quickly. Disinfecting shared items regularly helps keep everyone safe. Keep a pack of disinfectant wipes nearby and do a quick wipe-down of common-use items a few times a week, or more often if someone is under the weather. It’s a simple step that makes a big difference in how clean your home actually feels. When it comes to shared items, consistency is key. You don’t have to go overboard, but regular disinfecting keeps your home feeling fresh and shows your roommates or family you care about everyone’s health and comfort. Let Toronto Shine Cleaning Take the Work Off Your Plate Disinfecting the right way takes more than a quick spray-and-wipe. It means knowing what to clean, how to use products properly, and being consistent—especially in a busy city like Toronto. Life gets hectic, and sometimes there just isn’t time to keep up with all the little things that matter. That’s where Toronto Shine Cleaning comes in. Our team is trained to clean and disinfect your home with top-quality products and attention to detail. We follow best practices, focus on high-touch areas, and leave your space fresh, safe, and sparkling. Want to take disinfecting off your to-do list? Book a cleaning today with Toronto Shine Cleaning and enjoy peace of mind knowing your home is in great hands.

5 Disinfectant Cleaning Tips Every Toronto Home Should Follow Read More »