Cleaning the Waffle Maker: The Best Way to Clean a Waffle Maker Without Damaging It
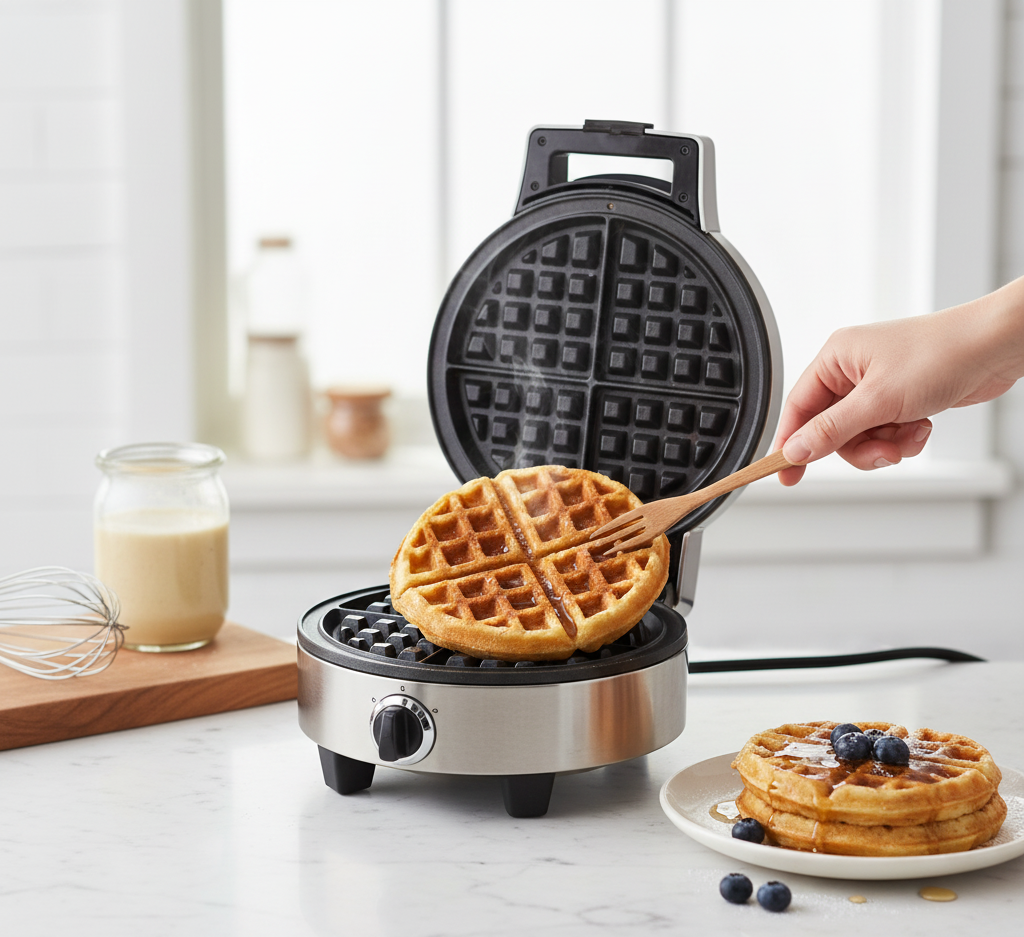
A waffle maker is a delightful appliance, a specialized tool dedicated to creating one of life’s simple pleasures. Yet, this single-purpose design is precisely what makes it notoriously difficult to clean. Its fixed, intricate grids, full of deep pockets and sharp corners, are perfect for creating crisp, golden-brown waffles, but they are equally perfect for trapping drips of batter, sticky sugar crystals, and baked-on oil. This residue can build up over time, not only looking unsightly but also causing future waffles to stick, cook unevenly, and even acquire a faint, burnt taste. Proper, regular cleaning is the key to preserving the non-stick surface, ensuring the longevity of the appliance, and guaranteeing that every waffle you make is as delicious as the first. Prevention The most effective strategy for cleaning a waffle maker begins before any mess has had a chance to set. Prevention and immediate care are the golden rules. While most modern waffle makers have a non-stick coating, a light application of oil is still recommended to ensure a clean release. The key is to apply it correctly. Instead of using aerosol cooking sprays, which often contain lecithin and other additives that can build up on the non-stick surface over time and become gummy, opt for a neutral oil with a high smoke point, like canola or grapeseed oil. Apply a very thin layer using a silicone pastry brush or a folded paper towel to evenly coat the grids. Over-oiling is a common mistake that leads to a sticky, polymerized residue that is incredibly difficult to remove. Equally important is using the correct amount of batter. Overfilling the grids is the primary cause of messy overflow that drips down the sides and hardens in the hinges of the appliance, the most challenging area to clean. It is better to have a slightly smaller waffle than to deal with the cleanup of a major spill. Once the last waffle has been cooked, the cleaning process should begin almost immediately. The most crucial element here is temperature. You must never attempt to clean a waffle maker while it is still plugged in or piping hot, but you also should not wait until it is completely cold. The ideal time is when it is still warm to the touch. In this state, any residual oil is still in a semi-liquid state and any rogue batter has not yet fully hardened into a stubborn crust. First, and most importantly, unplug the appliance. Then, while it is still warm, take a dry paper towel or a soft, dry cloth and wipe out any loose crumbs and blot up any excess pools of oil. This initial dry wipe removes the bulk of the debris with minimal effort. For the standard, after-use cleaning, a simple damp cloth is your most valuable tool. Take a soft cloth or a sponge and dampen it with warm water. It is critical that the cloth is only damp, not dripping wet. Remember, this is an electrical appliance, and excess water can seep into the internal components and cause damage or a safety hazard. Gently wipe down the interior of the grids. The warmth of the appliance combined with the moisture from the cloth will create a gentle steaming effect, helping to soften and lift any light batter residue. For slightly more stubborn spots, you can add a single, tiny drop of mild dish soap to your damp cloth, but be aware that you will then need to go over the surface again with a separate cloth dampened only with plain water to “rinse” away any soap residue. Finally, use the damp cloth to wipe down the exterior of the waffle maker, removing any drips, smudges, or fingerprints. Stubborn Messes For the truly baked-on, stubborn messes that a simple wipe-down cannot handle, a deep clean is necessary. This is where you can employ a few clever techniques to restore the grids to their original state. One of the most effective methods involves using the appliance’s own residual heat to create steam. After unplugging the waffle maker, while it is still quite warm, take a paper towel, saturate it with water, and wring it out so it is very damp but not sopping. Carefully lay the damp towel over the bottom grid, close the lid, and let it sit for ten to thirty minutes. The heat will turn the water into steam, which will be trapped inside the closed appliance. This steam is incredibly effective at softening and loosening even the most caked-on, sugary batter. After the steaming period, open the lid, remove the paper towel, and much of the grime should wipe away easily with a soft cloth. For any remaining particles in the deep pockets, a soft-bristled brush, like a clean toothbrush or a small kitchen brush, can be used to gently scrub them away. If steaming alone is not enough, a baking soda paste is the next level of cleaning power. Baking soda is a mild alkali and a gentle abrasive, perfect for scrubbing without scratching the delicate non-stick surface. To create the paste, mix a few tablespoons of baking soda with just enough water to form a thick, spreadable consistency. Using a soft cloth or your fingers, apply this paste to the problem areas on the cooled waffle maker grids. Let the paste sit for at least thirty minutes, or even up to an hour, to allow it to work on breaking down the grime. After the waiting period, use a damp cloth to gently scrub the area in a circular motion. The paste will lift the baked-on food. The most important part of this method is the removal. You must be meticulous in wiping away all traces of the baking soda residue with a clean, damp cloth. This may take several passes. Any paste left behind will affect the taste of your next batch of waffles. For a particularly greasy or sticky, brownish buildup from polymerized oil, a different approach is needed. The principle of “like
Cleaning the Waffle Maker: The Best Way to Clean a Waffle Maker Without Damaging It Read More »