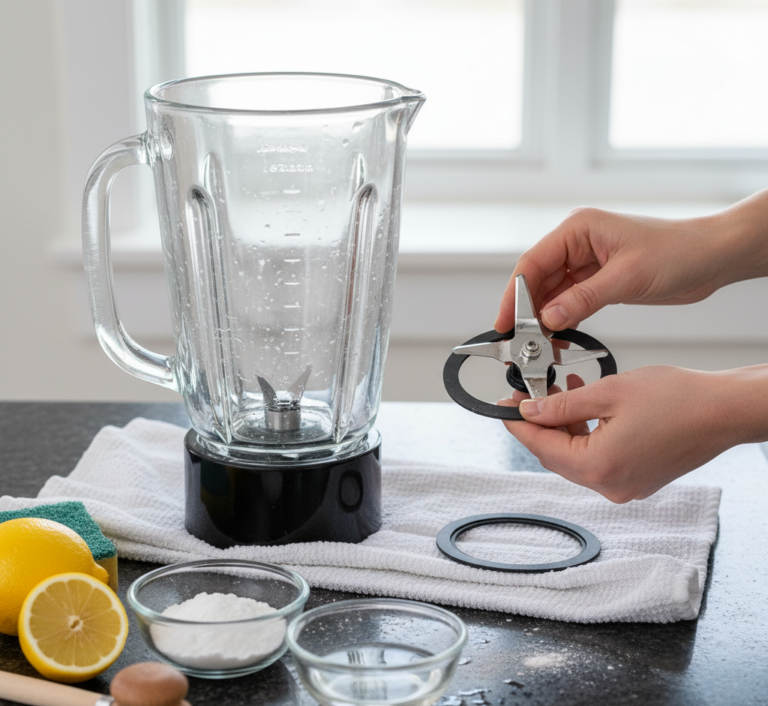










A blender is a powerhouse of the modern kitchen, an appliance capable of transforming tough, fibrous vegetables and frozen fruits into silky smooth creations. But the very power that makes it so effective—the high-speed, vortex-creating blades—also makes it a uniquely challenging tool to clean. The narrow base of the jar, the intricate blade assembly, and the tight-fitting gaskets are all perfect traps for sticky smoothie residue, pungent food odors, and a cloudy film that can build up over time. A dirty blender is not just unsightly; it can harbor bacteria and transfer unpleasant flavors to your next recipe. Mastering the art of cleaning your blender is essential for hygiene, performance, and the longevity of the appliance.
60 Seconds
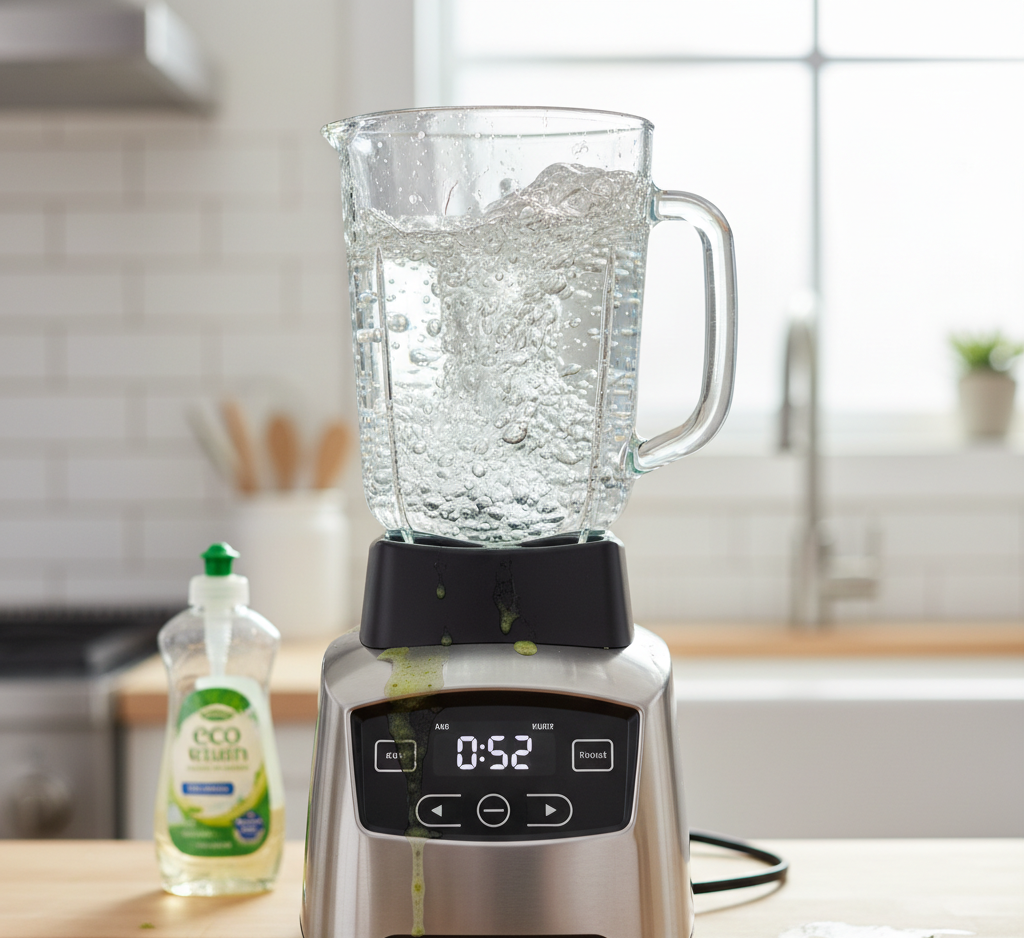
The most important and transformative habit in blender care is the immediate, 60-second clean. This is the preventative measure that will save you from almost all future deep-scrubbing sessions. The moment you have poured the last of your smoothie, soup, or sauce from the blender jar, you must act. Do not place the jar in the sink to “soak.” This is the critical mistake that allows sugars to harden and residue to cement itself to the glass or plastic. Instead, immediately give the jar a quick rinse with warm water to flush out the majority of the contents. Then, fill the jar about halfway with warm water, add a single, small drop of mild dish soap, and place it back on the motor base. Secure the lid tightly, and blend on high for 30 to 60 seconds. The high-speed blending action creates a powerful vortex of soapy water that acts as an internal power-washer, scouring the walls of the jar and, most importantly, blasting away the residue from underneath and around the sharp, hard-to-reach blades. After blending, pour out the soapy water, give it one final, thorough rinse with clean water, and turn it upside down on a drying rack to air dry completely. This simple, one-minute ritual is the single most effective way to maintain your blender.
Let’s get to Work!
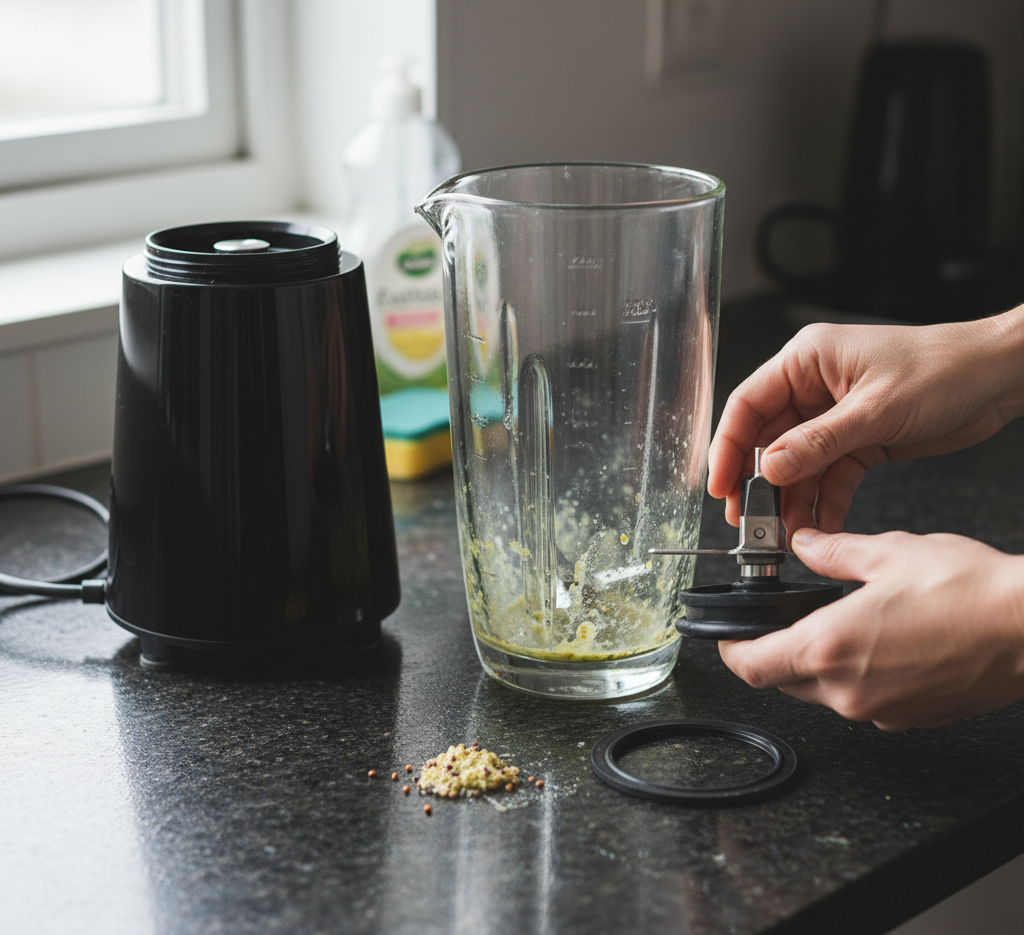
While the immediate clean is perfect for daily maintenance, a periodic deep clean is necessary to address the areas that the self-cleaning vortex cannot reach. This should be done at least once a month, or more often if you frequently blend sticky or oily ingredients like nut butters. This deep clean requires disassembly. First, ensure the motor base is unplugged. Then, carefully unscrew the base of the blender jar. This will allow you to remove the entire blade assembly. Pay close attention as you take it apart, as there is a small but crucial component that is the primary source of hidden grime: the rubber or silicone gasket. This O-ring sits between the blade assembly and the jar, creating a leak-proof seal. It is also the perfect trap for tiny food particles and moisture, making it a prime breeding ground for mold and mildew, which is often the source of a persistent musty odor.
Carefully remove the gasket from its groove. Wash the blender jar, the blade assembly, the gasket, and the screw-on base separately in a sink of hot, soapy water. Use a bottle brush or a long-handled sponge to scrub the inside of the jar thoroughly. The blade assembly must be handled with extreme care due to its sharpness. Use a small scrub brush, like an old toothbrush, to meticulously clean around the blades, both on top and underneath, dislodging any impacted food particles. Pay special attention to the gasket and the groove it sits in. Scrub both with the small brush to remove any black, slimy buildup. Rinse every component meticulously with hot water. The most critical step of the deep clean is ensuring every single piece is completely and utterly dry before you reassemble it. Trapping even a small amount of moisture inside the base assembly will create the perfect humid environment for mildew to grow back immediately. Allow the parts to air dry completely on a rack for several hours before carefully putting them back together.
Powerful Ingredients
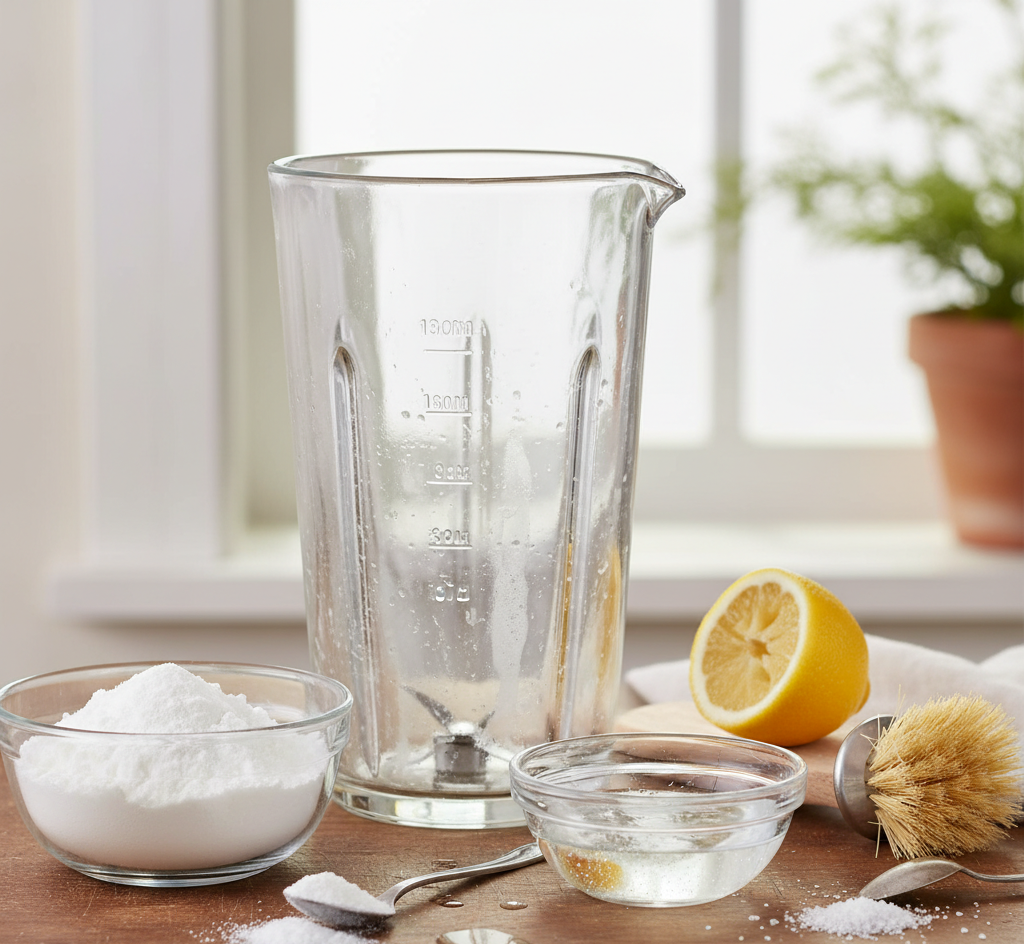
Over time, even a well-cleaned blender can fall victim to specific, stubborn problems that the standard cleaning methods cannot resolve. One of the most common issues, especially in areas with hard water, is a cloudy, hazy film that builds up on the blender jar, making it look perpetually dirty. This is not dirt, but a layer of mineral deposits. The solution is white vinegar. The mild acid in the vinegar is perfect for dissolving these alkaline mineral stains. To treat a cloudy jar, fill it halfway with a solution of equal parts white vinegar and warm water. Let this solution soak in the jar for several hours, or even overnight. After the soak, place the jar on the base and run it for a minute, then rinse it thoroughly. The cloudiness should be gone.
Persistent odors from pungent ingredients like garlic, onion, or ginger can also linger in the plastic of a blender jar. To neutralize these smells, baking soda is an excellent tool. Create a paste of baking soda and water and use a cloth to coat the entire interior of the jar. Let this paste sit for at least thirty minutes before scrubbing and rinsing it away. For a more active approach, you can fill the jar halfway with warm water, add a quarter cup of baking soda, and blend for a minute. Let this solution sit in the jar for an hour before rinsing. Another effective deodorizer is lemon. Cut a lemon into quarters, place it in the jar with some water, and blend. The citric acid and natural oils in the lemon are powerful at cutting through and neutralizing stubborn smells.
Tough, sticky residues from things like homemade nut butter or very thick, date-sweetened smoothies can also pose a challenge. After scraping out as much of the residue as possible with a silicone spatula, the 60-second self-clean is still your best bet, but you may need to use hotter water and let it run for a full two minutes. If a greasy, oily film remains, you can add a tablespoon of vinegar to the soapy water during the self-clean cycle to help cut through the grease.
Brightly colored ingredients like turmeric, berries, or leafy greens can leave behind stubborn stains on a plastic blender jar. For these, a long soak in a 50/50 vinegar and water solution can help to lift the discoloration. For truly persistent stains, you can resort to a weak, diluted bleach solution. Fill the jar with water and add just a few drops of bleach. Let it soak for no more than ten to fifteen minutes, then rinse it with an almost excessive amount of water to ensure no bleach residue remains. A safer, non-chemical alternative for plastic jars is to place the clean, empty jar in direct sunlight for several hours. The UV rays from the sun are surprisingly effective at naturally bleaching out many types of food stains.
Security
At the end, do not neglect the motor base itself. Always unplug the appliance before cleaning it. The base can become splattered with drips and coated in a fine layer of kitchen dust. Use a damp—never wet—microfiber cloth to wipe down the entire exterior. For the small vents and the crevices around the buttons and dial, use a dry toothbrush or a cotton swab to dislodge any dust or grime. Wipe down the power cord as well. A clean base not only looks better but also ensures that the air vents remain clear, which is important for the motor’s longevity.
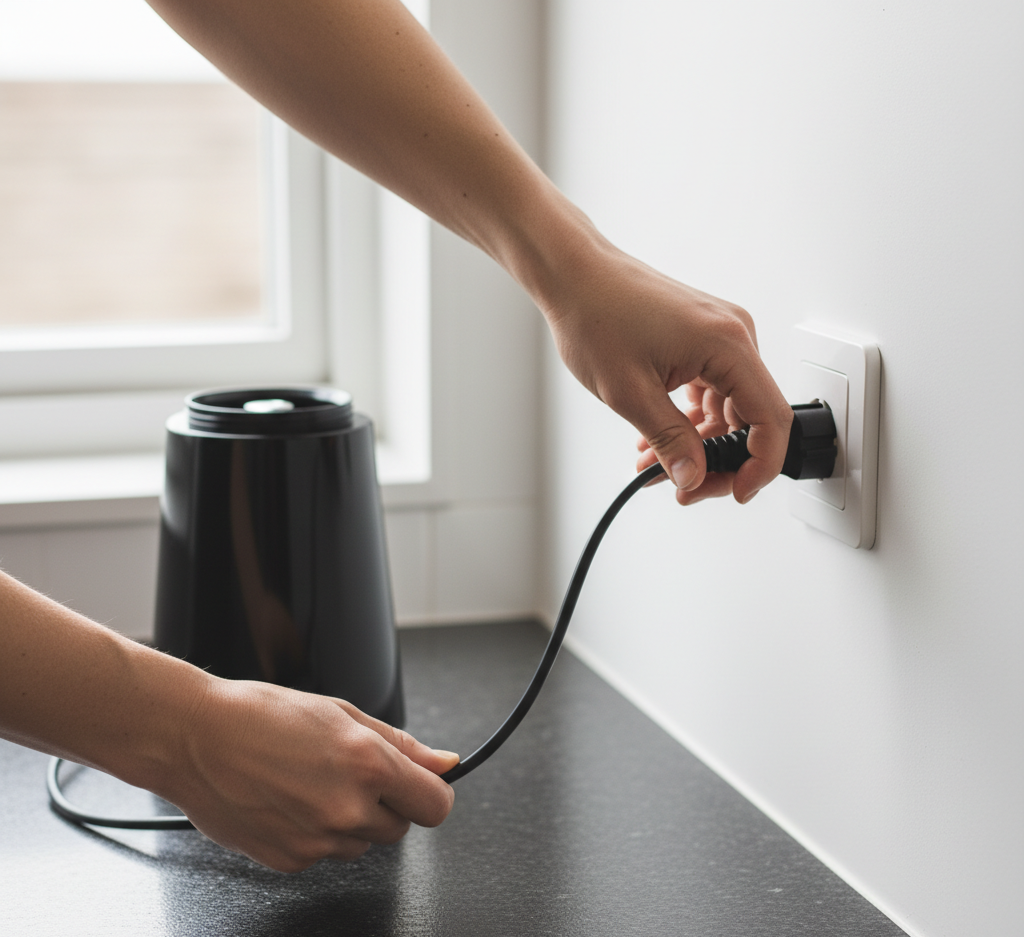
Proper care transforms your blender from a potential source of kitchen drudgery into a pristine, reliable tool that is always ready for its next task. A combination of immediate daily maintenance and periodic deep cleaning will keep it hygienic, odor-free, and performing at its best for years to come.
Just as a blender requires a specific, thorough cleaning method to function at its best and remain hygienic, your entire home benefits from a detailed, professional approach. For a comprehensive clean that addresses every appliance and surface with meticulous care, Toronto Shine Cleaning provides expert services that restore freshness and order to your living space.