DIY vs. Pro: The Truth About Cleaning After Construction
On this page
The final day of a renovation or construction project is a moment of immense relief and excitement. The contractors have packed up their tools, the noise has finally stopped, and your vision for a newly upgraded space—whether it is a sparkling new kitchen in your Toronto home or a newly expanded commercial office—has finally become a reality. However, between this moment of completion and the pure enjoyment of your new environment lies a formidable, often underestimated hurdle: the post-construction cleanup.
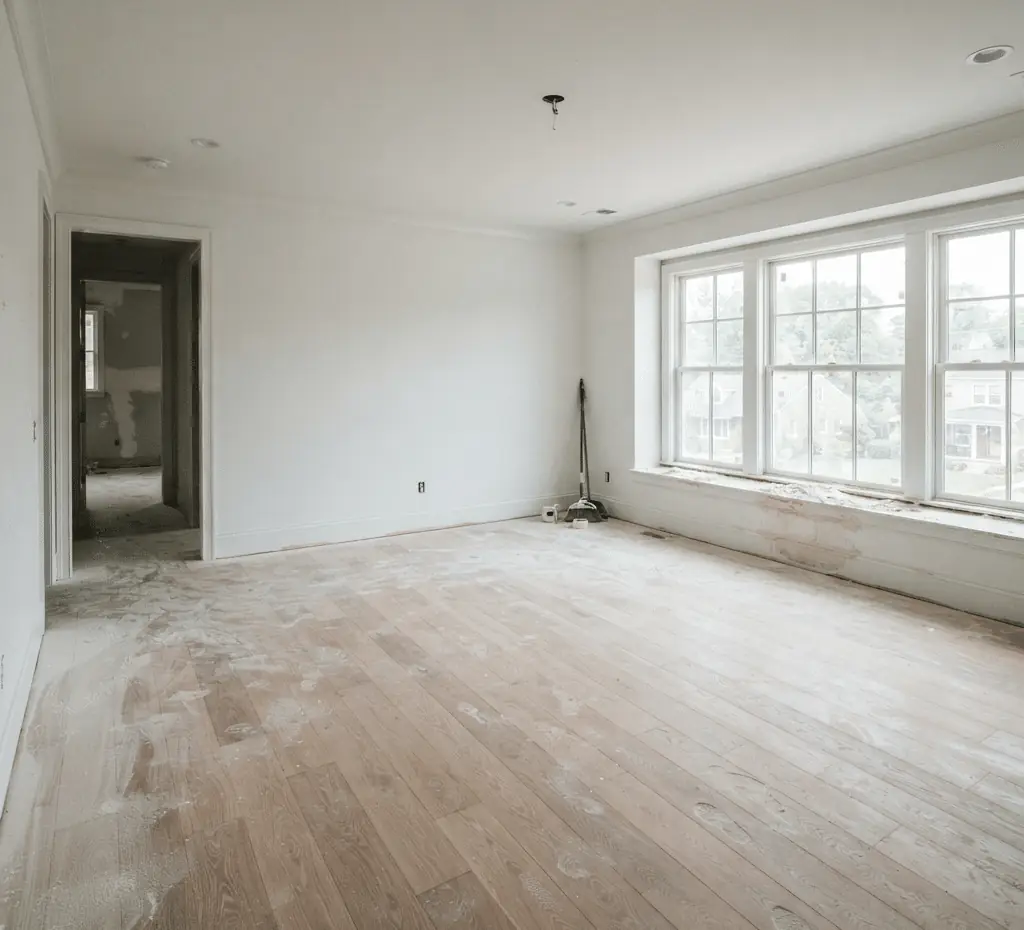
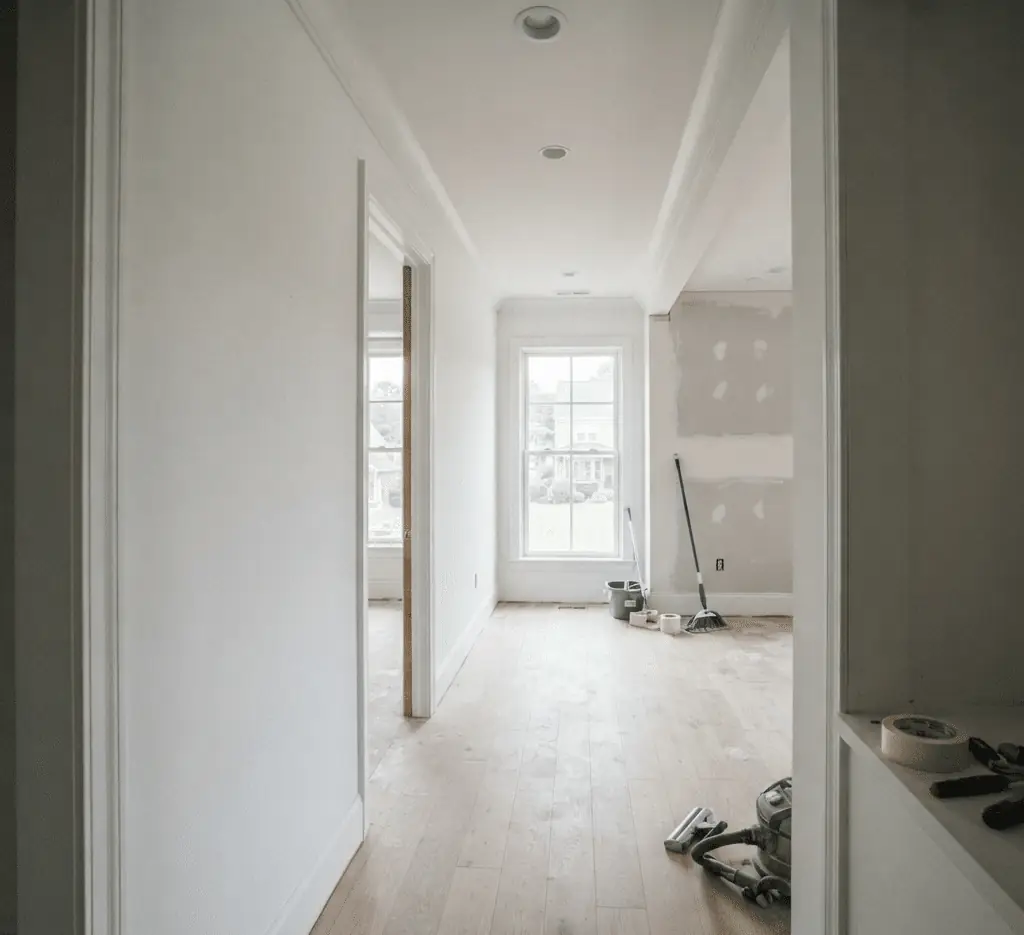
If you are facing the daunting task of cleaning after construction, you already know that this is not your average weekend tidying session. Construction and remodeling projects leave behind a very specific and pervasive kind of mess, dominated by an enemy that is both insidious and relentless: fine construction dust. This pulverized mixture of drywall, sawdust, cement, and fiberglass settles onto every conceivable horizontal and vertical surface. It works its way into the tiniest crevices, coats the inside of cabinets, and, worst of all, hangs suspended in the indoor air, creating a gritty, hazardous film that can take weeks to fully conquer without a proper, strategic approach.
In this comprehensive guide, we will walk you through the essential safety preparations, the critical difference between dry and wet cleaning phases, and the step-by-step methodology required to execute a flawless post-construction cleanup, ensuring your newly renovated space is not just beautiful, but safe and truly pristine.
Why Cleaning After Construction is Different
Before you grab a standard broom and a bottle of all-purpose spray, it is crucial to understand why cleaning after construction requires a completely different approach than your regular weekly chores.
The primary issue is the composition of the dust. The fine white powder left behind after sanding drywall joint compound contains gypsum and often crystalline silica. When these microscopic particles are inhaled, they can cause severe irritation to your eyes, nose, throat, and lungs. Prolonged exposure to airborne silica dust is a serious respiratory hazard.
Furthermore, simply sweeping this dust with a standard household broom or vacuuming it with a regular vacuum cleaner will often make the situation worse. The particles are so fine that they will pass straight through a standard vacuum filter and be blown right back out the exhaust port, aggressively recirculating the toxic dust into your breathing zone.
At the end, newly installed materials—like fresh paint, heavy carpet adhesives, and the resins in laminate flooring—continuously emit chemical fumes known as Volatile Organic Compounds (VOCs). A proper post-construction clean must address both the physical removal of the abrasive dust and the management of these invisible chemical pollutants.

Essential Safety and Preparation
Because of the respiratory hazards involved, you must never begin cleaning after construction without proper preparation and Personal Protective Equipment (PPE).
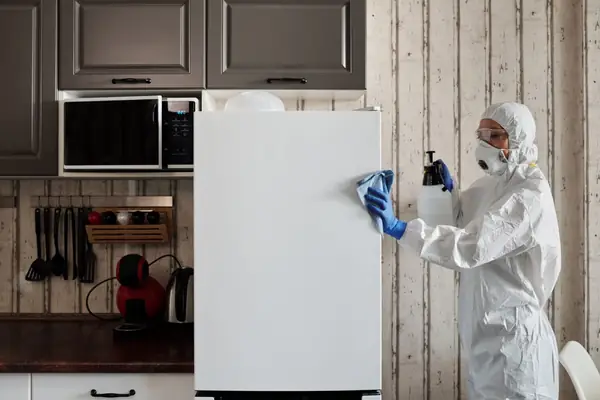
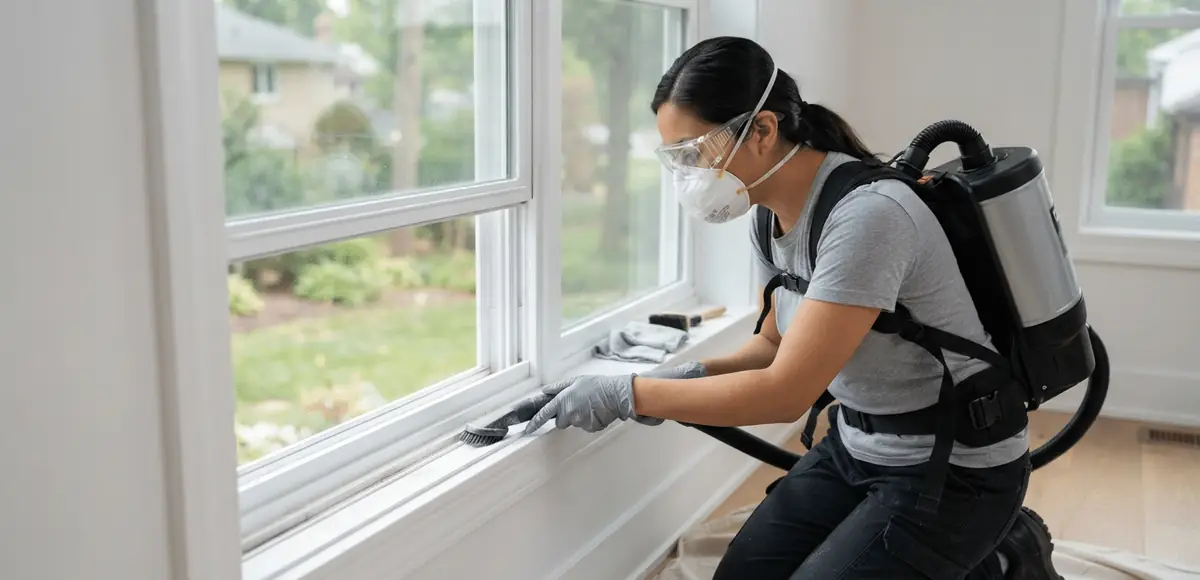
Protect Your Lungs and Eyes: You must wear a high-quality, N95-rated respirator mask. A simple cloth surgical mask will not filter out the microscopic drywall dust. Safety goggles are also highly recommended to prevent the fine grit from irritating your eyes.
Gather the Right Arsenal: This job requires specialized tools. You will need:
A heavy-duty Shop-Vac (wet/dry vacuum) for larger debris.
A high-quality vacuum equipped with a sealed HEPA (High-Efficiency Particulate Air) filter. This is non-negotiable for capturing fine dust.
A massive supply of clean microfiber cloths (they trap dust electrostatically rather than pushing it around).
A microfiber flat mop with several replacement pads.
A gentle, pH-neutral all-purpose cleaner.
Aggressive Ventilation: Before you start cleaning, open every window and exterior door in the renovated area to establish a strong cross-breeze. Place a large box fan in one window blowing outward to act as an exhaust, physically pushing the suspended dust and VOC fumes out of the house.
Protect the HVAC System: Turn off your central heating or air conditioning system. Do not let it run while you are cleaning, or it will suck the airborne dust into your ductwork and distribute it to the rest of the house.

The “Dry” Cleaning Methodology
The guiding principle of any effective strategy for cleaning after construction is a strict adherence to a “top-to-bottom, dry-to-wet” methodology. Reversing this order will instantly create a frustrating, muddy mess that will multiply your workload.
Step 1: Remove the Large Debris
Begin by carefully folding up and disposing of any remaining plastic drop cloths or cardboard floor protectors, folding them inward to trap the dust. Use your Shop-Vac to perform an initial pass, sucking up the most obvious accumulations of dirt: sawdust piles, chunks of drywall, dropped screws, and stray pieces of wire or tape.
Step 2: Top-to-Bottom Dry Dusting
With the larger debris gone, the systematic battle against the fine dust begins. Start at the absolute highest point in the room. Use an extendable duster or the brush attachment on your HEPA vacuum to clean the ceilings, paying extremely close attention to the corners.
Move down to the light fixtures, ceiling fan blades, and the tops of any tall cabinets or door frames. From there, address the vertical surfaces. A dry microfiber flat mop is an excellent tool for “sweeping” the walls, as the microfiber will trap the dust clinging to the fresh paint. Do not forget to dry-wipe the windows, the windowsills, and the intricate window tracks, which are notorious for collecting a dense mixture of construction grit.
Step 3: Inside the Cabinets
If your renovation included a new kitchen or bathroom, you must address the cabinetry. Even if the doors were taped shut, fine dust has a way of infiltrating everything. Open every single cabinet and drawer. Use the crevice tool on your HEPA vacuum to suck the dust out of the interior corners, and then wipe the inside shelves with a dry microfiber cloth.
Step 4: The Meticulous Floor Vacuum
After all the elevated surfaces have been dusted, the final step of the dry phase is a meticulous vacuuming of the entire floor. Use your HEPA filter vacuum and move very slowly, making multiple, overlapping passes to ensure you capture everything that has been knocked down from above. Use the crevice tool to get deep into the corners and scrub along the edges of the newly installed baseboards.
The “Wet” Cleaning Methodology
Only when you are absolutely confident that the vast majority of the loose, dry dust has been vacuumed away should you introduce any moisture. This wet-cleaning phase is what will remove the final, microscopic film and restore the true shine to your new finishes.
Step 1: Damp Wiping Surfaces
Following the same top-to-bottom principle, you can now begin to wipe down the hard surfaces. Start with the walls, using a microfiber mop head or cloth that is barely damp, not soaking wet. Wring it out thoroughly to prevent streaks or water damage to the new paint.
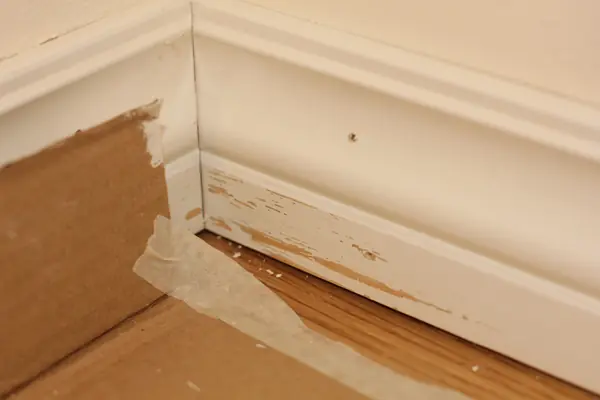
Next, take a damp microfiber cloth and carefully wipe down all the baseboards, window trim, and interior doors. This step is often shocking, as the amount of grayish-white grime that comes off these seemingly clean surfaces can be remarkable. Move on to the countertops, the exterior of the cabinets, and the new plumbing fixtures, using a suitable gentle cleaner to polish them to a shine.
Step 2: The Multi-Pass Floor Mopping
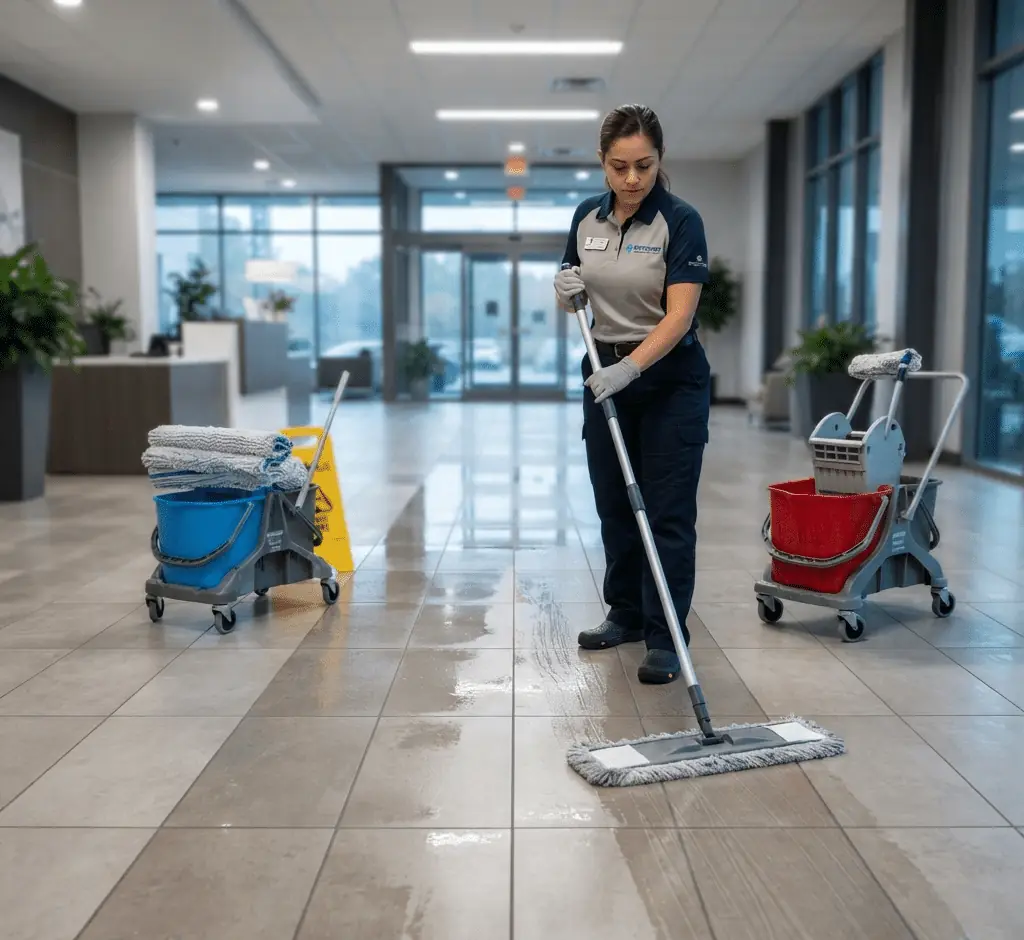
The final step is to mop the hard floors. You will likely need to change your mop water multiple times during this process, as it will quickly become cloudy with the residual drywall dust. Mop the floor using a damp microfiber pad, let it dry, and inspect it. It is entirely common to need a second or even a third pass with fresh water to achieve a truly clean, haze-free finish.
5 Crucial Post-Construction Maintenance Tips
Even after the most exhaustive cleaning session, your job is not entirely finished. Keep these 5 tips in mind for the days following your renovation:
Change the Furnace Filter Immediately: Before you turn your HVAC system back on, you must replace the furnace filter. A new, high-quality pleated filter will prevent the system from blowing any residual dust right back into your freshly cleaned rooms. Check it again after a week, as it may clog quickly.
Expect the Dust to Resettle: Airborne dust can take 24 to 48 hours to fully settle. It is completely normal to see a light dusting reappear on your countertops a day or two after your deep clean. Plan for a final, lighter round of dry dusting and vacuuming later in the week.
Clean the Vents: Take the time to remove the covers of your air returns and supply vents. Vacuum them out thoroughly and wash the metal grilles in the sink before replacing them.
Air Purifiers are Your Best Friend: Keep a standalone HEPA air purifier running continuously in the renovated space for the first week to continuously scrub the air of the remaining dust and chemical off-gassing.
Don’t Forget the Exterior: If contractors were working outside, check your driveway and walkways for stray nails, screws, and debris that could cause a flat tire or an injury.
DIY vs. Hiring a Professional Post-Construction Cleaning Service
The multi-phase process required for a true, safe post-construction cleanup is a massive undertaking. It demands significant time, high physical energy, and specialized, commercial-grade HEPA equipment that most homeowners do not possess.
After managing the stress, decisions, and financial burden of a long renovation, facing a grueling 8-to-12 hour deep cleaning session is the last thing most people want to do.
This is why hiring a professional post-construction cleaning service is often the smartest investment you can make at the end of a project. Professional teams bring:
Commercial HEPA Equipment: Ensuring the toxic fine dust is actually extracted from the home, not just pushed around.
Systematic Expertise: They know exactly where construction dust hides (inside light fixtures, behind appliances, inside ductwork) and how to remove it without damaging your brand-new, delicate finishes.
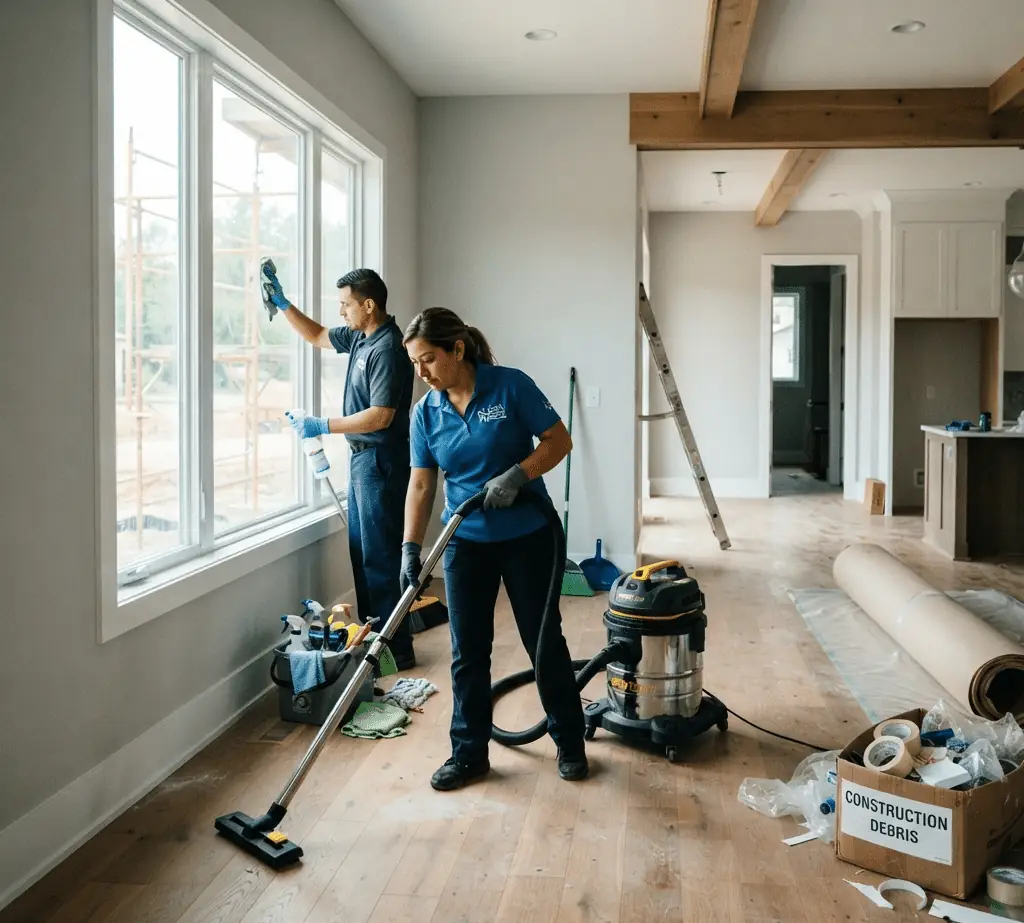
Time Savings: A professional crew can completely restore a space in a fraction of the time it takes a homeowner, allowing you to move your furniture back in and start enjoying your new space immediately.
Conclusion
Understanding the rigorous and highly specific requirements of cleaning after construction is the final, essential chapter of your renovation journey. By adhering to strict safety protocols, utilizing HEPA filtration, and following a methodical dry-to-wet approach, you can successfully conquer the pervasive dust and chemical odors left behind by contractors. This process ensures that your newly transformed property is not just visually stunning, but hygienically safe and ready to be lived in.
However, if the exhaustion of the renovation process has left you with zero energy to tackle the relentless drywall dust, you do not have to handle the heavy lifting alone.
Toronto Shine Cleaning specializes in comprehensive, top-to-bottom post-renovation cleaning services across the Greater Toronto Area. Our highly trained experts utilize commercial-grade HEPA equipment, safe, professional-grade products, and meticulous methodologies to eliminate hazardous airborne particulates and completely restore your space. Don’t let the stress of the cleanup delay your enjoyment of your new home.