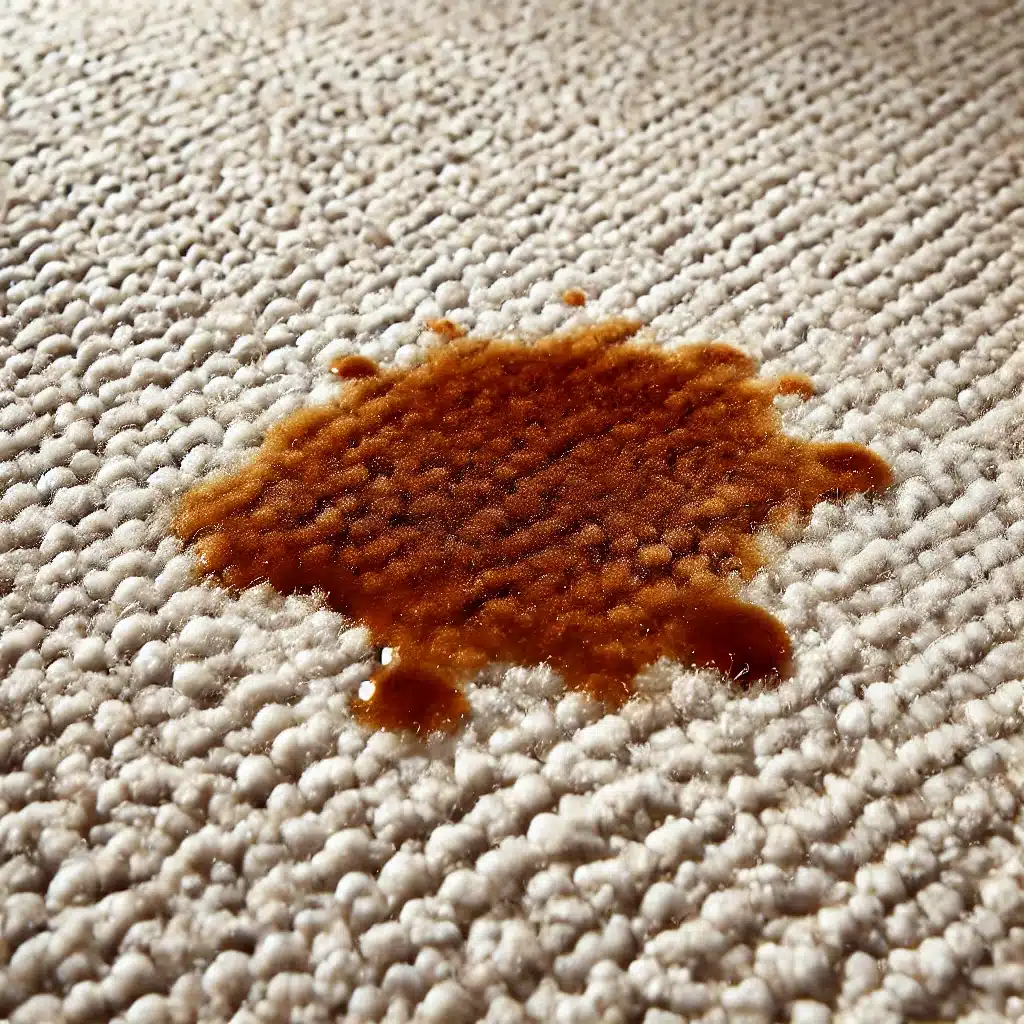
7 Methods to Remove Stains from Carpet and Upholstery
Keeping your carpet and upholstery clean can be challenging, especially when stubborn stains appear. Whether it’s coffee, wine, or pet stains, using the right techniques can make all the difference. Here are seven effective methods to remove stains from carpet and upholstery and keep your home looking fresh. 1. Blot, Don’t Rub As soon as a spill happens, blot the stain with a clean microfiber cloth or paper towel. This prevents the stain from spreading further and soaking deeper into the fibers. Rubbing will only push the stain deeper and make it harder to remove stains effectively. Blotting should be done with a light hand, using gentle pressure to absorb as much of the liquid as possible. Work from the outside of the stain inward to prevent it from spreading. If needed, use a dry paper towel to continue blotting until the area is no longer wet. For best results, follow up with an appropriate cleaning solution based on the type of stain. Avoid using excessive water, as this can lead to mold or mildew in carpets and upholstery. Always allow the area to dry completely before using it again to prevent further stains. 2. Use a Mild Dish Soap Solution Mix a few drops of mild dish soap with warm water to create an effective cleaning solution. This mixture is great for handling common stains like juice, coffee, and greasy spills that may settle into carpets or upholstery. Dish soap is a great agent to remove stains without damaging fabric. Dip a clean cloth into the solution and gently dab the stain, working in small sections. Avoid scrubbing, as this may damage the fibers and push the stain further into the material. Keep blotting with a fresh section of the cloth until the stain begins to lift. Once the stain has lightened or disappeared, rinse the area with a damp cloth to remove any soap residue. Allow the area to air dry completely before using it again to prevent moisture-related issues such as mildew or odors. This method is one of the simplest ways to remove stains effectively. 3. Try Hydrogen Peroxide for Stubborn Stains Hydrogen peroxide is highly effective at removing tough stains such as blood and wine. Its oxidizing properties help break down stain particles, making them easier to lift from carpet and upholstery fibers. It is a powerful method to remove stains without using harsh chemicals. To use, apply a small amount of hydrogen peroxide directly onto the stain and let it sit for 10–15 minutes. The solution will begin to fizz as it works to lift the stain. Use a clean cloth to blot the area, absorbing the loosened stain particles. If necessary, repeat the process until the stain is fully removed. Always perform a patch test on a hidden area first to ensure that the fabric does not become discolored. Once the stain is gone, rinse the area with water and let it dry thoroughly. This technique is great to remove stains without much effort. 4. Use Baking Soda for Odors and Stains Baking soda is a natural deodorizer and stain remover that works particularly well for pet stains and food spills. It absorbs moisture, eliminates odors, and lifts stains without damaging carpet or upholstery fibers. This is one of the most effective ways to remove stains naturally. Sprinkle a generous amount of baking soda over the affected area and let it sit for at least 15 minutes. This allows the baking soda to absorb excess moisture and neutralize odors trapped in the fabric. For deeper stains, leave it on for a few hours before vacuuming. After vacuuming the baking soda, inspect the area. If the stain persists, apply a mild cleaning solution and blot gently. Repeat the process if necessary until the stain and odor are completely removed. Baking soda is a safe and easy way to remove stains without harsh chemicals. 5. Remove Ink Stains with Rubbing Alcohol Ink stains can be particularly difficult to remove stains from carpets and upholstery, but rubbing alcohol can break down the ink’s pigments. This method is highly effective for pen and marker stains. To treat an ink stain, dampen a cotton ball or clean cloth with rubbing alcohol. Carefully blot the stained area without rubbing, as rubbing may cause the ink to spread further into the fabric. Continue blotting until the ink starts to lift. Once the stain is mostly gone, rinse the area with a damp cloth to remove any remaining alcohol residue. Allow the upholstery or carpet to dry completely before using the furniture or walking on the carpet. Using rubbing alcohol is an efficient way to remove stains caused by ink spills. 6. Tackle Greasy Stains with Cornstarch Greasy stains from food or oil can be challenging to remove stains, but cornstarch helps absorb the grease and lift it from carpet and upholstery fibers. This method is simple and effective for tackling fresh grease stains. Sprinkle cornstarch generously over the stained area and let it sit for 15–20 minutes. The powder will absorb the grease, making it easier to remove. Once the time has passed, vacuum up the cornstarch thoroughly. If any residue remains, apply a small amount of dish soap mixed with warm water to the affected area. Blot with a clean cloth until the stain disappears. Allow the area to air dry completely before using it again. Cornstarch is an excellent tool to remove stains caused by greasy substances. 7. Use a Carpet and Upholstery Cleaner For deep stains or large areas, a commercial carpet and upholstery cleaner can be highly effective. These products are specially formulated to break down tough stains and refresh fabric surfaces. Always select a cleaner designed to remove stains effectively. Choose a cleaner designed for your specific type of fabric and follow the manufacturer’s instructions. Apply the cleaner to the stained area and let it sit for the recommended time before blotting or scrubbing as instructed. Once the stain is
7 Methods to Remove Stains from Carpet and Upholstery Read More »