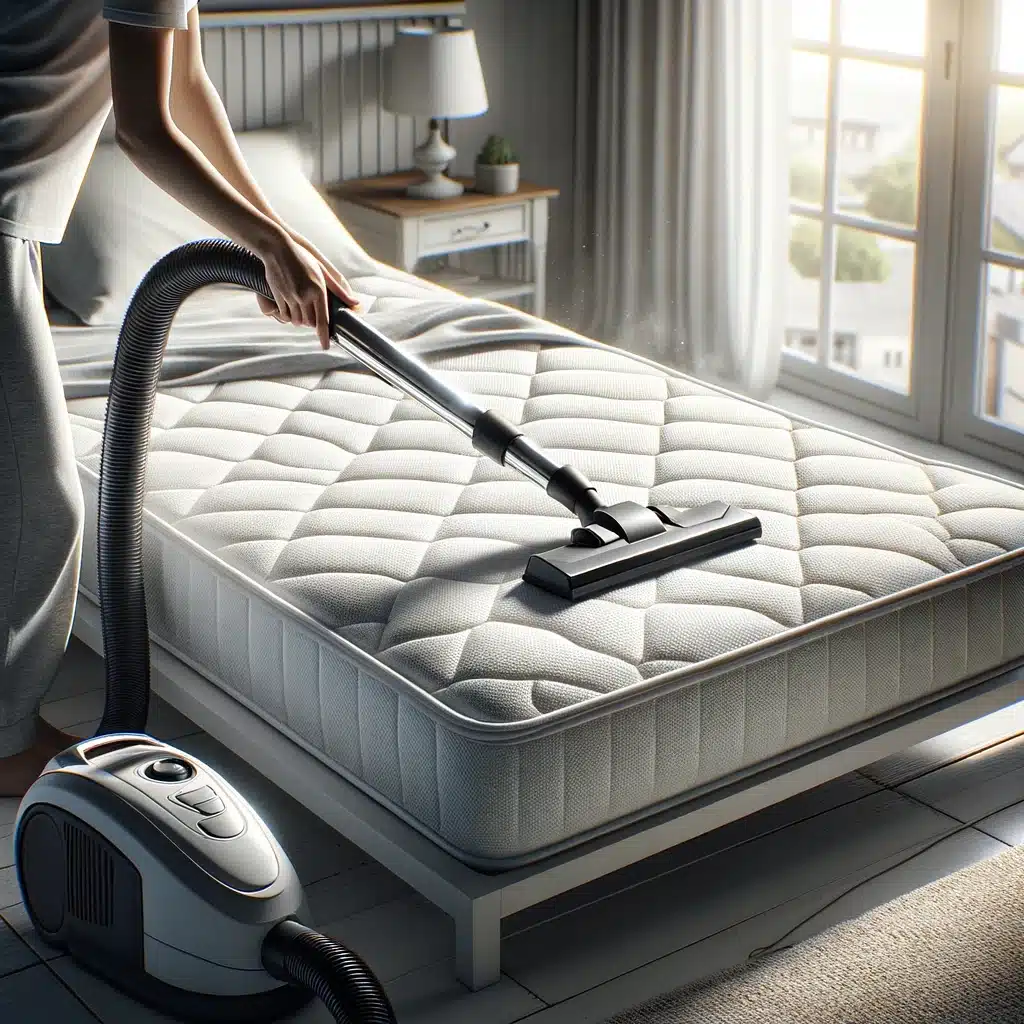
6 Simple Steps to Clean Vacuum Cleaner
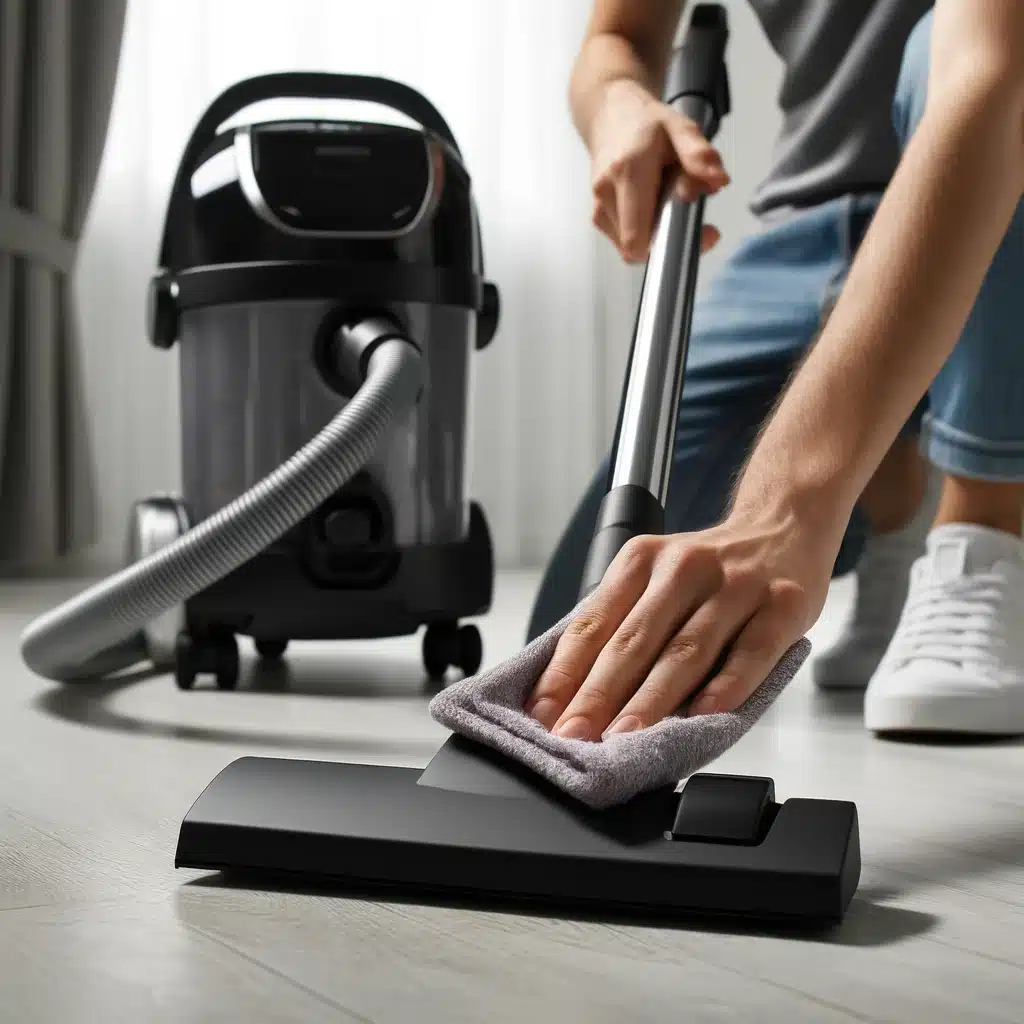
Keeping your vacuum cleaner in top-notch condition is crucial for maintaining a clean home. A clean vacuum cleaner not only performs better but also lasts longer. Here’s a step-by-step guide to ensure your vacuum is always in its best shape. 1. Empty the Bag or Canister First things first, always start by emptying the bag or canister to ensure a clean vacuum cleaner. A full bag or canister reduces suction power and makes your vacuum work harder, significantly affecting its performance. For those with a bagless vacuum, it’s essential to regularly detach the canister and properly dispose of the collected dirt and debris. This prevents clogs and maintains the vacuum’s efficiency. If your vacuum uses bags, replace the bag when it’s about two-thirds full. This not only helps in maintaining optimal suction but also extends the life of the vacuum by preventing the motor from overworking. Emptying the bag or canister is not just about maintaining suction power; it’s also about ensuring that the air quality in your home remains high. When a vacuum cleaner bag or canister is full, dust and allergens can be expelled back into the air, defeating the purpose of vacuuming. By keeping the bag or canister empty, you are not only keeping your floors clean but also minimizing the amount of dust and allergens in your home environment. This is particularly important for households with pets or individuals who suffer from allergies. A clean vacuum cleaner with an empty bag or canister operates more hygienically and contributes to a healthier living space. Moreover, regularly emptying the bag or canister can prevent potential damage to your vacuum cleaner. When the bag or canister is full, the vacuum motor has to work harder, which can lead to overheating and eventually reduce the lifespan of the appliance. Additionally, a full bag or canister can cause the vacuum to lose suction, making it less effective at picking up dirt and debris. By making it a habit to check and empty the bag or canister before it reaches maximum capacity, you can ensure that your clean vacuum cleaner performs at its best for a longer period. This simple maintenance step can save you money in the long run by reducing the need for repairs or replacements. 2. Clean or Replace the Filters Maintaining a clean vacuum cleaner involves more than just emptying the bag or canister; it also requires regular attention to the filters. Filters play a critical role in trapping dust and allergens, ensuring that the air expelled by the vacuum is clean and free of contaminants. To begin, consult your vacuum’s manual to locate the filters, as their placement can vary by model. Most vacuums are equipped with both a pre-motor filter and an exhaust filter. These components are essential for maintaining the vacuum’s performance and the air quality in your home. For vacuums with washable filters, it’s important to rinse them under lukewarm water to remove any accumulated dust and debris. Be sure to allow the filters to air-dry completely before reinserting them into the vacuum. This prevents any moisture from causing mold or mildew to form inside the vacuum, which could compromise its efficiency and create unpleasant odors. Regularly cleaning these filters ensures that your vacuum maintains strong suction and operates efficiently, contributing to a truly clean vacuum cleaner. If your vacuum’s filters are not washable, it is crucial to replace them according to the manufacturer’s recommendations, typically every 3 to 6 months. Over time, non-washable filters become clogged with particles and lose their effectiveness, which can strain the vacuum motor and reduce suction power. By adhering to the replacement schedule, you help maintain optimal performance and extend the lifespan of your vacuum cleaner. Keeping the filters clean or replacing them as needed ensures that your clean vacuum cleaner continues to perform at its best, capturing dust and allergens effectively and promoting a healthier living environment. 3. Inspect and Clear the Brush Roll Maintaining a clean vacuum cleaner involves regular attention to the brush roll, also known as the beater bar. This component is crucial for agitating carpets and effectively picking up dirt and debris. However, it often becomes tangled with hair, string, and other materials, which can impede its performance. To keep your brush roll in optimal condition, turn your vacuum over and carefully inspect it for any entangled materials. Using a pair of scissors, gently cut away any hair, string, or debris that has wrapped around the brush roll. It’s important to be gentle during this process to avoid damaging the bristles, which are essential for the brush roll’s effectiveness. Taking the time to regularly clean the brush roll ensures that it remains free of obstructions and can continue to perform its role efficiently. This not only improves the vacuum’s ability to clean carpets but also helps in maintaining a clean vacuum cleaner overall. By consistently inspecting and clearing the brush roll, you prevent potential blockages that could strain the vacuum’s motor and reduce its suction power. A clean brush roll can move freely and agitate carpet fibers effectively, allowing the vacuum to pick up more dirt and debris with each pass. This maintenance step is especially important for households with pets or high-traffic areas, where hair and debris accumulate more rapidly. 4. Check the Hose and Attachments Ensuring a clean vacuum cleaner involves more than just maintaining the main unit; it also requires regular checks and cleaning of the hose and attachments. Over time, hoses and attachments can become clogged with debris, which significantly reduces the vacuum’s suction power. To maintain optimal performance, start by detaching the hose from the vacuum. Using a broomstick or a similar tool, carefully push out any blockages that may be lodged inside the hose. This step is crucial to restoring full suction and ensuring that your vacuum operates efficiently. If your vacuum’s hose is washable, take the time to run water through it to clear out any remaining dirt and debris. Be sure to