5 Signs Your Air Fryer Needs a Deep Clean Immediately
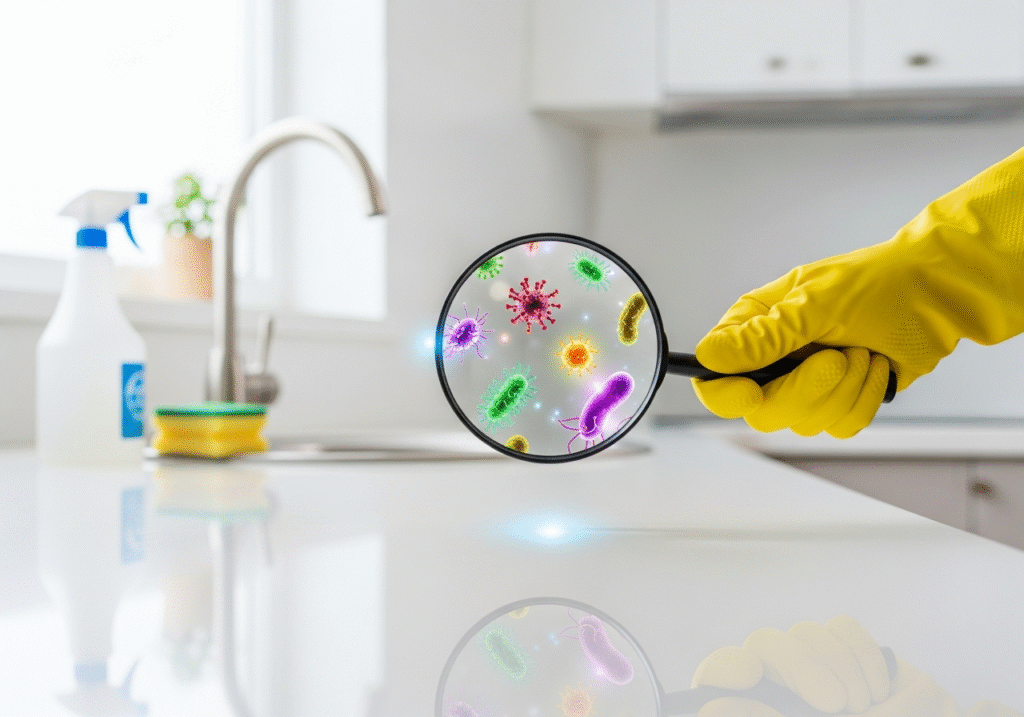
The air fryer has rapidly ascended the ranks of kitchen appliances to become as essential as the toaster or the microwave. It promises the golden, crispy texture of deep-fried food with a fraction of the oil, a proposition that has won over health-conscious cooks and busy families alike. However, this miracle machine hides a dirty secret. The very mechanism that makes it effective—high-speed air circulation—is also what makes it uniquely prone to accumulating filth. As the fan whips superheated air around the chamber, it also whips droplets of grease, crumbs, and spices, coating not just the basket, but the walls, the fan blades, and the heating element itself. Over time, these layers of debris polymerize, turning into a sticky, tar-like substance that can smoke, ruin the flavor of your food, and even pose a fire hazard. While most users rinse the basket after use, a true deep clean is rarely performed, leaving the heart of the machine to slowly suffocate under a blanket of carbonized grease. Anatomy of an Air Fryer To understand how to clean an air fryer effectively, one must appreciate the anatomy of the mess. Unlike a traditional oven, which is large and has static heating elements, an air fryer is a compact convection chamber. When you cook a fatty piece of chicken or a burger, the fat renders and spatters. In a large oven, this spatter hits the walls far away from the food. In an air fryer, the walls and the heating element are inches away. The intense heat bakes this grease onto the surfaces almost instantly. If you notice an acrid smell when you turn the machine on, or if thin wisps of white smoke escape from the vents, it is a sign that the machine is burning old food residue rather than cooking your dinner. 1.Should I Wash the Items by Hand or in The Dishwasher? The deep cleaning process must begin with safety. The air fryer should be unplugged and completely cool. Attempting to clean a hot element is dangerous and can lead to burns or damage to the cleaning tools. Once the unit is safe to handle, the easy part begins: the removable components. The basket and the crisper plate (or pan) are the workhorses. Most are dishwasher safe, but relying solely on the dishwasher is often a mistake. The harsh detergents and high heat of a dishwasher can degrade the non-stick coating over time, causing it to flake off. It is far better to wash these parts by hand. If there is stubborn, baked-on grease, the secret is not scrubbing, but soaking. Fill the basket with hot water and a generous squirt of grease-fighting dish soap. Let it sit for at least twenty minutes. This softens the bond between the food and the metal. For the stubborn residue that remains after soaking, you must be careful with your choice of tools. The non-stick coating in air fryers is notoriously fragile. A green scouring pad or a steel wool ball will destroy the surface in seconds, rendering the basket useless. Instead, use a non-abrasive sponge or a soft-bristled brush. If you encounter a spot that refuses to budge, create a paste using baking soda and a little water. Apply this paste to the spot and let it sit. Baking soda is a mild alkali that helps dissolve grease and offers a gentle abrasion that won’t scratch the coating. 2.Inside The Air Fryer Once the basket is clean, the real work begins. The interior of the main unit is where the deep clean truly happens, and it is the area most often neglected. To access this, you often need to turn the air fryer upside down or lay it on its back. Before doing this, ensure the crumb tray or basket is removed to prevent loose debris from falling into the fan. Looking up into the cavity, you will see the heating element—usually a spiral metal coil—and the fan behind it. This area is likely coated in dark brown spots or a greasy film. This buildup acts as an insulator, preventing the element from radiating heat efficiently, and it creates smoke. Cleaning the heating element requires precision. You cannot spray water or cleaner directly into this area, as it leads to the motor and electronics. Instead, you must use a damp tool. A soft toothbrush or a bottle brush is ideal for this. Dip the brush in warm, soapy water and shake off the excess liquid. Gently scrub the coil to remove the carbonized grease. It is a tedious process, as the grease is often baked on hard. For tough spots on the element, a paste of baking soda and water can be applied carefully with the toothbrush. Let it dry, then scrub it off with a clean, damp brush. It is crucial to be gentle; bending or damaging the heating coil can ruin the machine. Behind the heating element lies the fan. This is the hardest part to reach, but it is critical for airflow. If the fan blades are heavy with grease, the motor has to work harder to spin them, which can shorten the lifespan of the appliance. You can use a long-handled brush or a cotton swab to wipe the blades. It is difficult to get them perfectly clean without disassembling the unit—which voids the warranty and is generally not recommended—but removing the bulk of the surface grease will significantly improve performance. 3.Air Fryer Walls The walls of the interior chamber also need attention. These are usually metal or heat-resistant plastic. A microfiber cloth dampened with a mixture of vinegar and water is excellent for wiping these down. The vinegar cuts through the grease and neutralizes odors without leaving a soapy residue that could burn the next time you cook. Be sure to wring out the cloth well; you want to wipe the surface, not drench it. Pay special attention to the corners and the area where the basket slides in, as crumbs often accumulate here and
5 Signs Your Air Fryer Needs a Deep Clean Immediately Read More »