April 24, 2024

Person polishing wooden island with essential oils in sunny kitchen.

7 Natural Ways to Clean and Polish Wood for a Lasting Shine

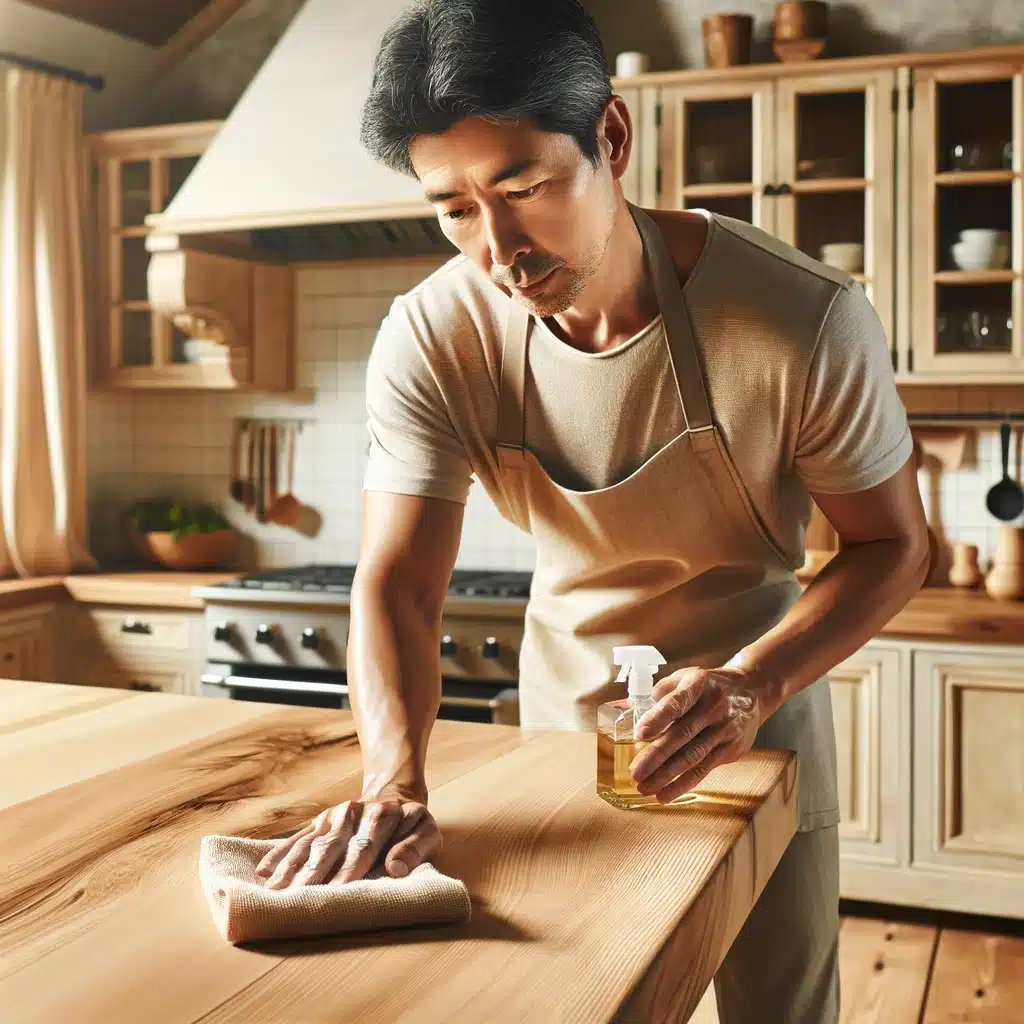
Wood furniture and surfaces add warmth and elegance to any home, but keeping them in pristine condition can be a bit of a challenge. Fortunately, you don’t have to rely on harsh chemicals to keep your wood items looking their best. Here are seven natural methods to clean and polish wood that not only bring out its beauty but are also eco-friendly and gentle on your furniture. 1. Vinegar and Olive Oil Mixture One of the most effective and gentle ways to care for your wood furniture is by using a mixture of vinegar and olive oil. This combination is not only simple to prepare but also highly effective in maintaining the luster and health of wood surfaces. The acidity of the vinegar gently cleanses the wood, removing dirt and grime without damaging the wood’s natural structure. Meanwhile, the olive oil acts as a nourishing polish, deeply conditioning the wood and enhancing its inherent shine. To make this natural wood cleaner and polish, combine one part white vinegar with three parts olive oil in a bowl or a jar. This ratio ensures that the oil sufficiently coats and protects the wood while the vinegar keeps it clean and bright. Before applying, it’s essential to stir the mixture thoroughly to blend the ingredients well. Using a soft, lint-free cloth, dip it into the mixture and wring out any excess liquid. Gently apply the solution to your wood furniture, always rubbing gently in the direction of the wood grain. This technique ensures that the oil penetrates evenly and prevents any cross-grain scratches that could mar the surface. After applying, take another clean cloth and buff the wood lightly to bring out a more vibrant shine and ensure that no excess oil remains on the surface. This method is particularly beneficial for wood items that are handled frequently or exposed to the elements, as it not only cleans but also provides a protective layer that enhances the wood’s durability and appearance.     2. Lemon Juice and Olive Oil This natural polish not only cleans effectively but also leaves a delightful, citrusy aroma that invigorates any space. Lemon juice, known for its potent cleaning properties, cuts through dirt and buildup without harsh chemicals. It’s particularly effective at tackling greasy residues that can accumulate on kitchen tables and cabinets, making it an excellent choice for areas where food is prepared. When combined with olive oil, this mixture does more than just clean. Olive oil acts as a natural conditioner, penetrating deep into the pores of the wood to restore moisture and protect it from drying out or cracking. This is especially important for wood that may be exposed to heat or air conditioning, which can sap the moisture from wood and leave it looking dull. To prepare this wood polish, mix one part freshly squeezed lemon juice with two parts olive oil. It’s important to use fresh lemon juice rather than bottled for the best results, as fresh lemon juice contains natural enzymes that are effective at breaking down grime. After mixing, apply the solution to a soft cloth, making sure the cloth is damp but not overly wet, which could saturate and damage the wood. Gently rub the cloth over the wood surfaces in your home, following the grain of the wood to avoid any scratches. The olive oil will nourish the wood, while the lemon juice enhances its color and sheen. 3. Beeswax Polish Beeswax polish is an exceptional choice for maintaining and enhancing the natural beauty of wood furniture. This traditional method goes beyond mere surface cleaning to provide a protective barrier that safeguards wood against scratches, moisture, and everyday wear and tear. When beeswax is combined with a nourishing carrier oil like jojoba or coconut oil, it creates a robust polish that not only enhances the wood’s appearance but also fortifies its durability. To prepare your own beeswax wood polish, start by sourcing natural beeswax, which can typically be found at craft stores or online. Melt the beeswax in a double boiler until it becomes liquid. Carefully blend in your choice of carrier oil—jojoba oil is especially good for its long shelf life and mimicking the natural oils found in wood, while coconut oil offers a slightly sweet fragrance and additional antibacterial properties. A good ratio to maintain is one part beeswax to three parts oil, which ensures that the mixture is easy to apply while still being rich enough to penetrate deeply into the wood. Once the beeswax and oil have fully integrated, allow the mixture to cool slightly; it should still be warm enough to be malleable. Using a soft, lint-free cloth, work the warm polish into the wood surfaces, rubbing in circular motions to ensure that the mixture covers evenly. This method allows the wax to fill in tiny pores and scratches, creating a smooth, even surface. After applying the beeswax polish, allow it to sit on the wood for a few minutes to ensure deep penetration. Then, with another clean, soft cloth, buff the wood to a high shine. This final buffing step not only enhances the wood’s natural luster but also helps to harden the protective wax coating, forming a durable seal that repels dust, water, and stains. 4. Tea Brewing Tea brewing offers a surprisingly effective method for cleaning and enriching the appearance of wood furniture. The natural tannins found in black tea make it an excellent choice for gently cleansing and enhancing the natural grain of wood surfaces. These tannins, which give tea its characteristic color and astringency, also have properties that can help to lift dirt and residue without the harsh effects associated with chemical cleaners. To use tea as a cleaning solution for wood, start by brewing a strong pot of black tea. Typically, using one or two more tea bags than you would for drinking creates the ideal concentration for cleaning. Allow the tea to steep until it’s very strong, then let it cool to room temperature to prevent

7 Natural Ways to Clean and Polish Wood for a Lasting Shine Read More »

Kitchen rust, rust, oven rust

How to Remove Rust and Corrosion from Metal: 5 Best Methods

Dealing with rust and corrosion on metal surfaces can be a real headache, especially when it starts affecting the functionality or aesthetics of your items. Whether it’s tools, outdoor furniture, or any metal object, knowing how to effectively remove rust can prolong the life of your belongings and keep them looking great. Here, we’ll walk through five effective methods to get rid of rust and corrosion from metal. Grab your gloves, and let’s get started! 1. White Vinegar Bath: The Natural Soak White vinegar isn’t just a staple for your salad dressing—it’s also a highly effective natural rust remover for metal objects. The key ingredient here is acetic acid, which actively reacts with rust to help dissolve it, clearing the way for a cleaner, shinier metal surface beneath. This method is especially suitable for those who prefer eco-friendly cleaning solutions over harsh chemicals. To start, if you’re dealing with smaller metal items, simply find a container large enough to fully submerge them in white vinegar. Allow these items to sit in the vinegar bath overnight. This extended soak gives the acetic acid ample time to penetrate and break down the rust. For larger metal pieces that can’t be easily submerged, you don’t need to worry about finding an oversized container. Instead, grab some rags or even old towels, soak them in vinegar, and wrap them around the rusted areas of the metal. The goal is to keep the rusty spots thoroughly moistened with vinegar, so sometimes it might be helpful to re-soak the rags periodically to keep them wet throughout the soaking period. Once the soaking time has elapsed, it’s time to tackle the loosened rust. Using a metal brush or a piece of crumpled aluminum foil, scrub the treated areas vigorously. The abrasive action of the brush or foil helps to lift and remove the rust particles from the metal surface. After you’ve scrubbed the metal clean, the final step is to rinse the items with water. This not only removes any remaining vinegar and rust residue but also stops the acetic acid from further acting on the metal. Be sure to dry the metal thoroughly after rinsing. Leaving the metal wet could potentially lead to new rust formation, undoing all your hard work. Dry it off with a clean cloth or towel to ensure that every nook and cranny is moisture-free.     2. Baking Soda Paste: The Gentle Scrub When faced with less aggressive rust or when you need to treat delicate metal surfaces, baking soda emerges as an excellent, mild alternative to harsher chemical rust removers. This common household item is not only accessible but also gentle on metal while being tough on rust. To utilize baking soda for rust removal, start by preparing a thick paste. This is done by mixing baking soda with a small amount of water until you achieve a consistency that’s substantial enough to cling to vertical surfaces without dripping. This paste formation is crucial as it ensures that the baking soda stays in contact with the rusted areas long enough to facilitate the cleaning process. Once your paste is ready, apply it generously over the rusted portions of the metal. Spread the paste evenly, covering all rusty spots thoroughly. After applying, let the paste sit on the rust for a couple of hours. This dwelling time is vital as it allows the baking soda to chemically interact with the rust, breaking it down and making it easier to scrub away. Following the resting period, take a brush and gently scrub the treated areas. The texture of the baking soda paste helps to exfoliate the rust from the metal surface without scratching or damaging it. Scrubbing should be done with enough pressure to remove rust but gentle enough to preserve the integrity of the metal underneath. The final step in this rust removal process is to rinse and dry the metal. Washing off the baking soda paste with water not only cleans away the loosened rust particles but also any residual baking soda. It’s important to thoroughly dry the metal after rinsing. Any lingering moisture could potentially lead to new rust formation, which would counteract your cleaning efforts. Use a clean, dry cloth to wipe down the metal, ensuring that it is completely dry and free of moisture.     3. Potato and Dish Soap: The Surprising Trick It might sound unconventional at first, but using a potato combined with dish soap is a surprisingly effective method for removing rust from metal surfaces. This technique leverages the natural oxalic acid found in potatoes, an organic compound that interacts with rust to dissolve and loosen it, making removal a breeze. To start this rust-removal process, simply take a regular potato and slice it in half. The fresh cut surface of the potato will be used as your ‘applicator’. Apply a liberal amount of dish soap to this cut end of the potato. The dish soap not only helps in lubricating the surface but also enhances the rust removal process due to its degreasing properties. Next, use the soapy potato half just as you would a brush. Rub the cut end with the dish soap directly onto the rusted areas of the metal. As you do this, the oxalic acid from the potato interacts with the rust, breaking it down, while the dish soap aids in gently scrubbing the rust away without damaging the metal underneath. This method is especially useful for dealing with small patches of rust or for treating areas that are typically hard to reach with conventional tools. After thoroughly scrubbing the rusted areas, the next step is to rinse the metal. This step is crucial as it washes away the residual potato juices and soap, along with the loosened rust particles. Make sure to rinse the metal thoroughly to ensure that no soapy or acidic residues remain, as these could cause further corrosion if left on the metal. Finally, drying the metal effectively is key to prevent any

How to Remove Rust and Corrosion from Metal: 5 Best Methods Read More »