How to Polish Wood Furniture With Natural Polishes
On this page
- How do you prepare wood furniture for polishing?
- How do you make natural wood polish?
- How do you apply polish so wood actually shines?
- How do you fix dull wood and light scratches?
- Which ingredients can damage wood finishes?
- How often should you polish wood furniture?
- When should you call a professional cleaner?
- Frequently asked questions
Polishing wood furniture takes a soft lint-free cloth, a polish matched to the job, and slow strokes along the grain, finished with a firm buff: one part vinegar to three parts olive oil for everyday shine, beeswax for real protection.
How to Polish Wood Furniture Naturally (4 Steps)
Read the video transcript
Dull wood? Follow the grain. Dust first. Wash sticky build-up with mild soapy water on a well-wrung cloth. Dry fully. One part white vinegar, three parts olive oil. Stir a small batch. Test a hidden spot and check it dry. Finished furniture only. Never let vinegar stand on wood. Never use it on bare or unwaxed timber. Keep this recipe off floors. Use a damp, not dripping, cloth. Apply a thin layer along the grain, in sections. Let it settle a few minutes. Buff firmly with a second clean cloth. Check against the light: an even sheen, without streaks or stickiness. Polish every four to eight weeks. Dry dust between polishes. For cabinets, stair rails and doors, choose regular house cleaning. Professional supplies and equipment come with your vetted, background-checked cleaner. Choose your clean. See your price, choose your time. We take it from there. Add entry details to your booking notes. You'll love your clean, or we'll make it right. See your price. torontoshinecleaning.ca.
How do you prepare wood furniture for polishing?
Start by identifying the finish before you choose any polish or method, because it decides what the wood can take. These recipes suit sealed, finished wood, whether lacquered, varnished, oiled or waxed. Bare timber needs different care, because any liquid can raise its grain. Test with a drop of water in a hidden spot: if it beads on the surface the finish is intact, and if it soaks in and darkens the wood, treat the piece as unfinished.
Next, dust the whole piece with a dry, lint-free cloth. Grit left on the surface gets dragged across the finish while you rub and buff, leaving fine scratches that dull the very shine you are trying to restore.
If the surface feels sticky or greasy, wash that build-up off first with mild soapy water on a well-wrung cloth, then dry fully, so you are not sealing old grime under fresh polish. Finally, test any mixture on a hidden spot, under a table top or behind a leg, and check it once dry before committing the whole piece.
How do you make natural wood polish?
Pick your base by the sheen you want: oil gives a soft, muted sheen and feeds the wood, while wax builds a harder, more protective shine. The everyday polish is one part white vinegar to three parts olive oil, stirred so they combine; the vinegar lifts surface grime while the oil restores lustre.
For greasy kitchen tables and cabinets, mix one part fresh lemon juice, not bottled, with double that amount of olive oil. For a protective finish, melt one part beeswax with three parts jojoba or coconut oil in a double boiler and let it cool until workable. Three to five drops of lemon or lavender essential oil stirred into any mix adds a scent you like.
Mix small, fresh batches, and store any extra sealed in a jar, remixing before reuse. At a glance:
- General cleaning: white vinegar to olive oil, 1:3
- Kitchen grease: fresh lemon juice to olive oil, 1:2
- Protective finish: beeswax to jojoba or coconut oil, 1:3
- Colour revival: strong black tea, cooled, on a wrung cloth
How do you apply polish so wood actually shines?
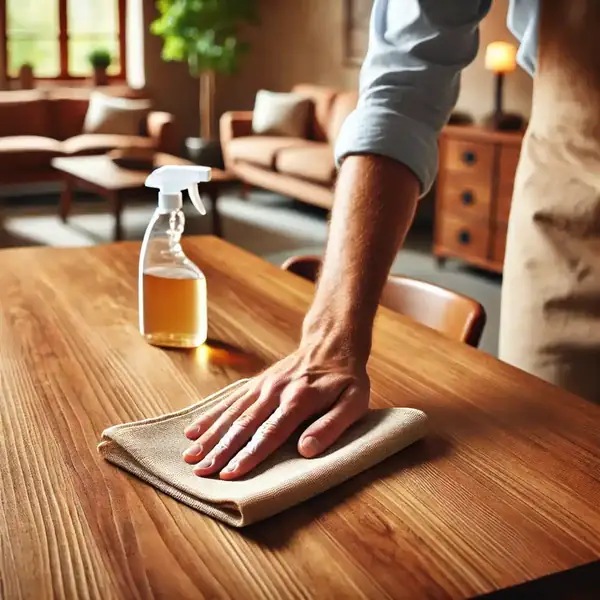
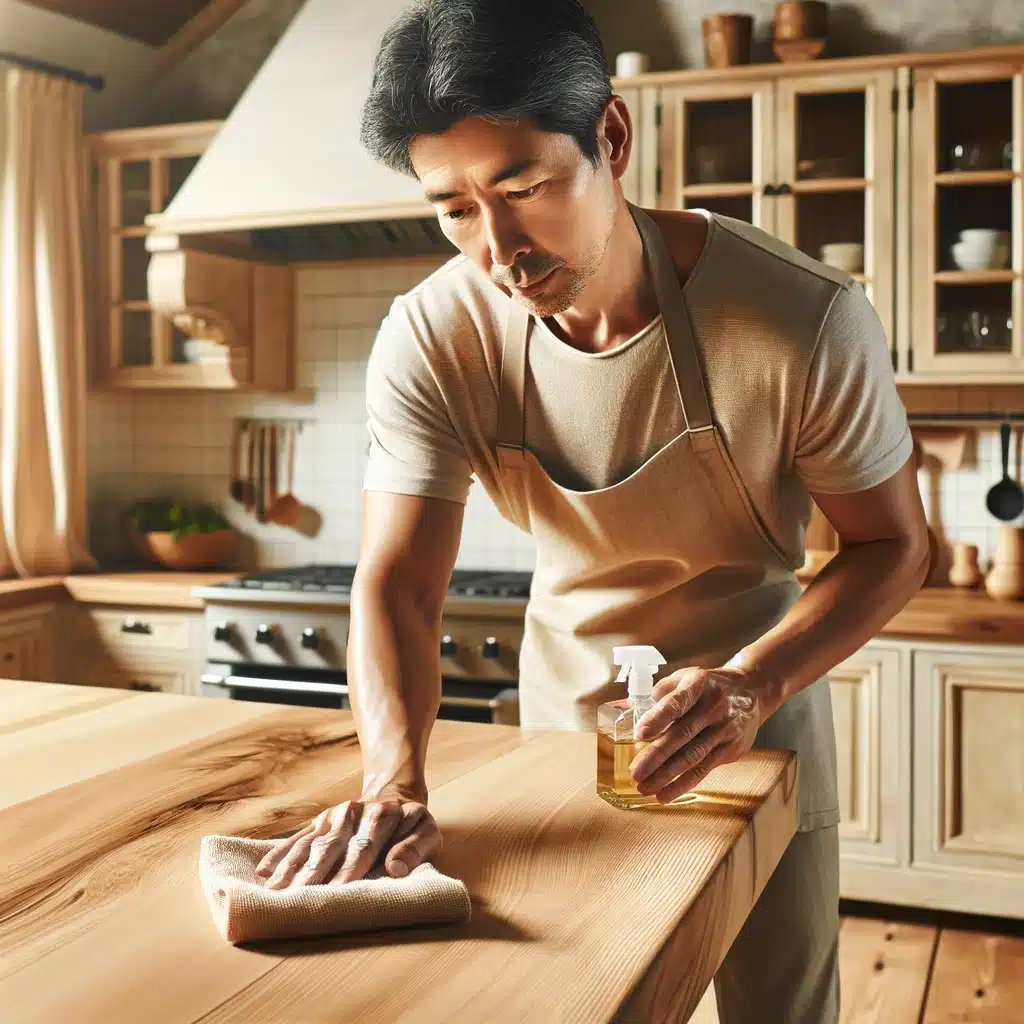
Dampen a soft, lint-free cloth with the polish, never to dripping, and wring out the excess. Rub slowly along the grain so the polish penetrates evenly and cross-grain scratches cannot happen. On a large tabletop, work in sections so no patch dries before you get back to buff it.
Leave the polish a few minutes to settle. With wax, apply in small circles so it fills pores and shallow scratches. Carved mouldings, seams and corners should be detailed with a soft-bristled brush rather than flooded with a soaked cloth, which lets liquid pool where you cannot dry it.
Then buff hard with a second clean cloth to lift surplus oil and harden the wax into a durable seal. Adjust your pressure to the look you want: light strokes leave a satin finish, firm strokes push toward gloss. It worked when the sheen is even, no streaks show when you sight the surface against the light, nothing feels sticky, and dust stops clinging.
How do you fix dull wood and light scratches?
Before treating dull wood, rule out a dirt film: clean the piece, let it dry, and judge the shine then. What looks tired may simply be grime, and polishing over it wastes your effort.
For light scratches, rub a shelled walnut along the grain until the mark blends in; it works best on light and medium tones. Shallow marks and open pores fill in with beeswax polish worked in circles, then buffed, which levels them with the surface. Dulled colour responds to strong black tea, cooled completely, and wiped on with a well-wrung cloth: the tannins lift residue and bring back depth. For dry wood near radiators or air conditioning, melt a thin layer of coconut oil in your hand, rub it in and buff off the excess.
Be plain with yourself about limits: deep scratches, gouges and water rings are refinishing jobs, not polish jobs, as are white heat marks. No pantry mix fills a divot or lifts a ring. For a wider routine on the same pieces, see cleaning wooden furniture.
Which ingredients can damage wood finishes?
Vinegar belongs only in a diluted mix and only on finished surfaces. Never let it stand on wood, and never use it on bare or unwaxed timber, where the acid raises the grain. The same caution applies to floors: Lina DaSilva told AOL to be very careful using apple cider vinegar on hardwood floors because, over time, it can strip the protective finish and leave the wood dull and vulnerable, so keep these recipes off your floors.
Oil needs thin layers only. Heavy coats of olive or coconut oil go rancid, feel sticky and interfere with future refinishing. Essential oils and lemon should stay in small, diluted, spot-tested amounts, especially on varnish and shellac. Skip silicone spray polishes and other build-up products on any piece you may refinish later, and keep abrasive powders, scrub pads and ammonia-based cleaners off wood finishes entirely, since they cloud or scratch the sheen.
One more caution: vintage or painted pieces may carry lead-based paint. Do not sand or scrub them; have the finish tested before working on it, and follow CDC lead-safety guidance rather than guessing.
How often should you polish wood furniture?
Every 4 to 8 weeks suits most furniture. Pieces near heating vents or radiators, or in air-conditioned rooms, dry out faster and need conditioning sooner. Mirage, a Canadian hardwood flooring manufacturer, suggests keeping indoor humidity around 45 per cent, checked with a hygrometer, and the same logic applies to furniture, not just floors.
Between polishes, dry dust with a microfibre cloth in the direction of the grain and wipe up spills right away, so nothing sits long enough to mark the finish. Guard the shine with coasters and placemats, and place valuable pieces out of direct sun, which fades and dulls a finish over time.
When should you call a professional cleaner?
These recipes suit the furniture you handle daily. Whole-home wood, cabinets, stair rails and doors, still collects dust and grime, and regular house cleaning covers those surfaces properly instead of just wiping around them.
For antiques, veneer damage or refinishing-scale problems, bring in a professional rather than a pantry mix: heirlooms and valuable pieces deserve someone who restores finishes for a living. In your booking notes, flag any fragile pieces, as we advise for the older houses in Whitby and its heritage streets, so your cleaner knows what needs extra care. See house cleaning across Toronto for your area, or call (647) 424-0355.
Frequently asked questions
Can I use these polishes on wood floors too?
Not as a rule. Floors take far more traffic than furniture, and flooring makers like Mirage want dedicated products. Mirage, a Canadian hardwood manufacturer, warns against floor wax, oil-based detergents and household cleaners on its floors because they can damage the finish. Keep the pantry recipes for tables, cabinets and chairs, and buy a cleaner made for your floor type.
How long does homemade beeswax polish keep?
Stored in a sealed jar in a cool cupboard, a beeswax and jojoba blend keeps well. A coconut oil version is shorter-lived, since coconut oil can spoil. If a batch smells off, separates or feels tacky when you open it, melt a fresh one instead of risking it on your furniture.
Is bottled lemon juice fine in the polish?
Fresh is better. The recipes are measured for juice straight from the fruit, and bottled juice can behave differently in the mix, so you get less predictable results on the wood. Juice a lemon as you make the batch, and only mix as much as you will use that day. If you only have bottled, save it for a different job and stick with the vinegar blend.