Preparing for Summer Cleaning – 6 Easy Steps
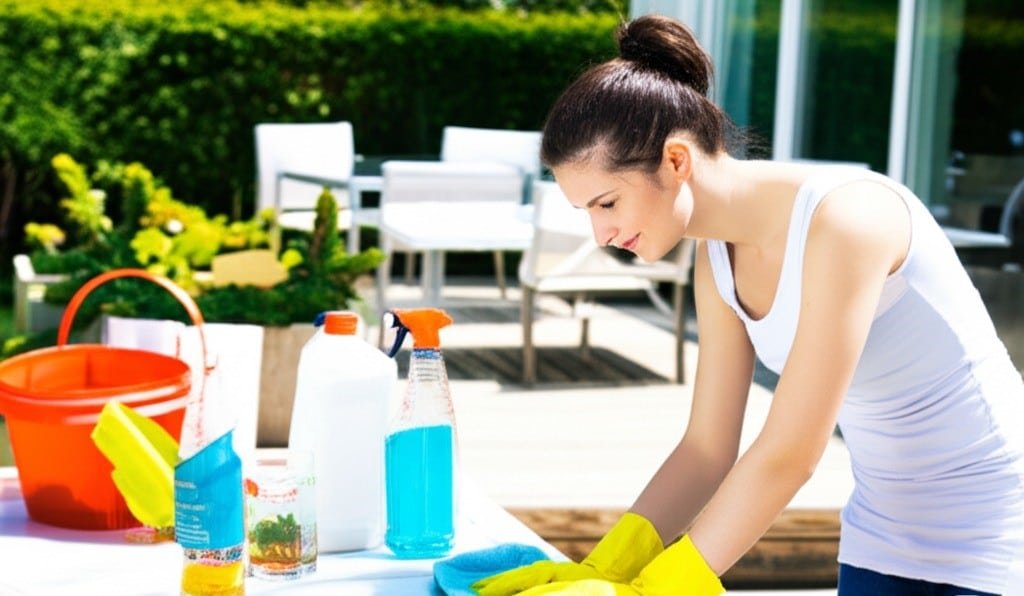
Before you begin your summer cleaning, certain preparations can make the entire process smoother, more efficient, and considerably less intimidating. Systematically tackling these preliminary steps turns a potentially overwhelming task into a series of manageable actions, setting you up for success and a refreshingly clean home. 1.Four Box Method The first and most impactful step is to thoroughly declutter. Unnecessary items not only take up valuable floor space, but they also collect dust, harbor allergens, and make cleaning around them more time-consuming and time-consuming. Embark on a systematic journey through your home, tackling it room by room, or perhaps by specific categories, such as clothes, books, papers, kitchen utensils, old electronics, or miscellaneous items. For each item, make a conscious decision: will you keep it, donate it, sell it, or discard it? Consider adopting a method like the “Four Box Method”—labeling boxes Keep, Donate/Sell, Trash, and Relocate (for items that belong in another room). Reducing the bulk of your possessions means less stuff to clean, move, and organize. This fundamental act immediately simplifies all subsequent cleaning steps, creating a more open, airy, and accessible space that’s conducive to thorough cleaning. Think of organization as the essential foundation that lightens the load for all future cleaning efforts—not just for summer cleaning, but for ongoing maintenance as well. The mental clarity and sense of calm that an organized space provides are also significant benefits, making your home feel more peaceful. 2.Start Your Summer Cleaning Once your spaces are significantly cleaner, it’s a good idea to develop a detailed, well-thought-out plan. This isn’t just a vague idea of what needs to be cleaned; it’s a concrete roadmap for your summer cleaning. Identify all the specific areas and tasks you plan to tackle during your summer cleaning. This could include deep cleaning kitchen appliances like the oven and refrigerator, washing windows and drapes, scrubbing floors and baseboards, cleaning light fixtures and ceiling fans, or tackling outdoor spaces like patios, decks, or porches. List these tasks meticulously. You can organize them by room (e.g., all kitchen tasks, then all bathroom tasks) or by type of activity (e.g., dusting, vacuuming, and mopping). Having a clear, written checklist provides essential direction, helps you visually monitor progress (which is very motivating), and ensures that no important areas or tasks are inadvertently forgotten. A structured approach avoids the common feeling of being overwhelmed and allows for a more focused, efficient effort in your summer cleaning. This planning phase is crucial for visualizing the full scope of work for your summer cleanup, allowing you to allocate resources, including time and energy, more effectively. You can even prioritize tasks, deciding which ones will have the greatest impact or which ones are most urgent for your cleanup. 3.Accessories And Supplies With your comprehensive cleaning plan in place, the next logical step is to gather all the cleaning supplies and tools you’ll need for your summer cleanup. Take a complete inventory of your current supply of cleaning products, disinfectants, cloths, sponges, brushes, and any specialized equipment, such as vacuum cleaners with all their attachments, mops, buckets, or steam cleaners. Make a detailed list of everything that’s missing, low on supplies, or items that need replacing (such as old, ineffective sponges or worn-out mop heads). Purchase these items before you begin cleaning. Having everything readily available will prevent frustrating interruptions and help you keep the momentum going once the cleaning process begins. Most importantly, make sure your tools are in good working order: empty vacuum cleaner bags or containers, clean or replace filters, make sure mop heads are clean and fresh, and spray bottles are working properly. This preparatory step ensures that when you set aside time for your summer cleaning, you can proceed smoothly and efficiently without unnecessary delays or trips to the store. Consider whether you prefer commercial cleaning products or if you want to use more natural or homemade solutions like vinegar and baking soda for your cleaning, and make sure you have these ingredients on hand. 4.Make Your Own Pace Consider carefully how you will allocate time for your summer cleaning project. Breaking the overall summer cleaning endeavor into smaller, more manageable chunks can be highly effective and less daunting. You can dedicate specific days or weekends to certain rooms or specific types of tasks for your summer cleaning. For example, one Saturday morning could be dedicated to deep cleaning the kitchen, while another afternoon could be dedicated to washing all the windows in the house. Alternatively, you could take a “little and often” approach, dedicating 30 to 60 minutes each day to tackling one or two items on your summer cleaning checklist. Scheduling these time blocks into your existing calendar, just like any other commitment, helps you integrate summer cleaning into your routine without it becoming an all-consuming endeavor that disrupts your entire life. This approach also helps you maintain your energy levels and thoroughness for each individual task, preventing burnout. Be realistic about how long certain cleaning tasks will take; it’s usually better to overestimate a little. Fitting your summer cleaning into your current schedule, rather than trying to overhaul your entire routine to do so, leads to greater consistency and a higher likelihood of completion. 5.Protection Before you apply any cleaning products or start scrubbing or washing heavily, prepare the actual spaces you’ll be working in for your summer cleaning. Ensure good ventilation by opening windows and, if necessary, using fans to circulate the air, especially if you’ll be using strong-smelling cleaning solutions or chemicals while cleaning. This is especially important during the warmer summer months, when indoor air can become stagnant and fumes can build up. Protect furniture, floors, or delicate items that aren’t being cleaned by covering them with old sheets, drop cloths (canvas is durable, plastic protects against spills), or plastic sheeting. If possible and practical, move smaller pieces of furniture out of the area temporarily. Clearing walkways and ensuring that you have safe, unobstructed access to all areas you plan to clean