How To Prepare For August Cleaning: 7 Steps Fast and Easy
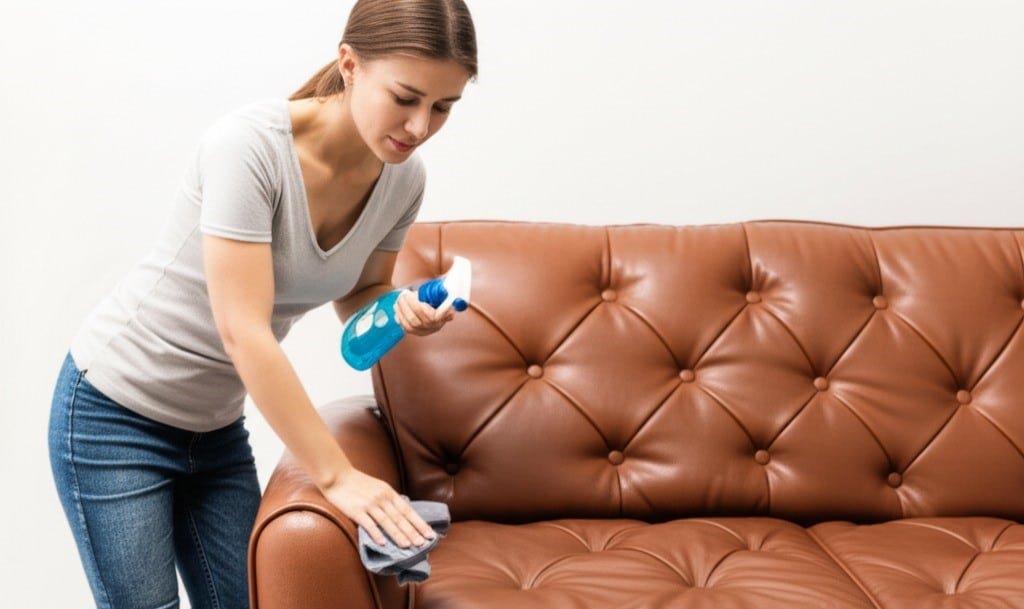
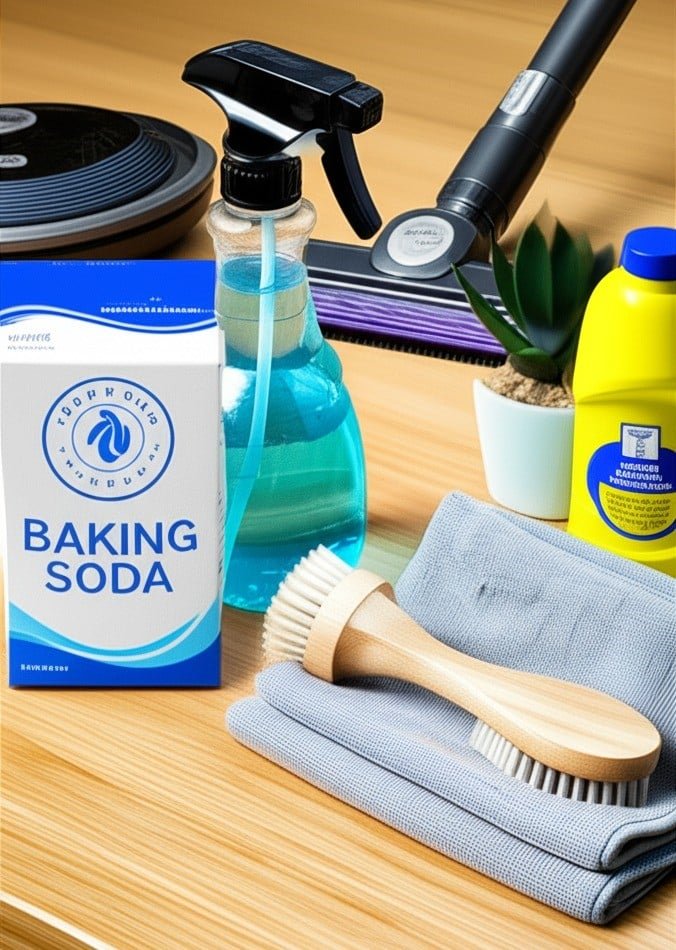
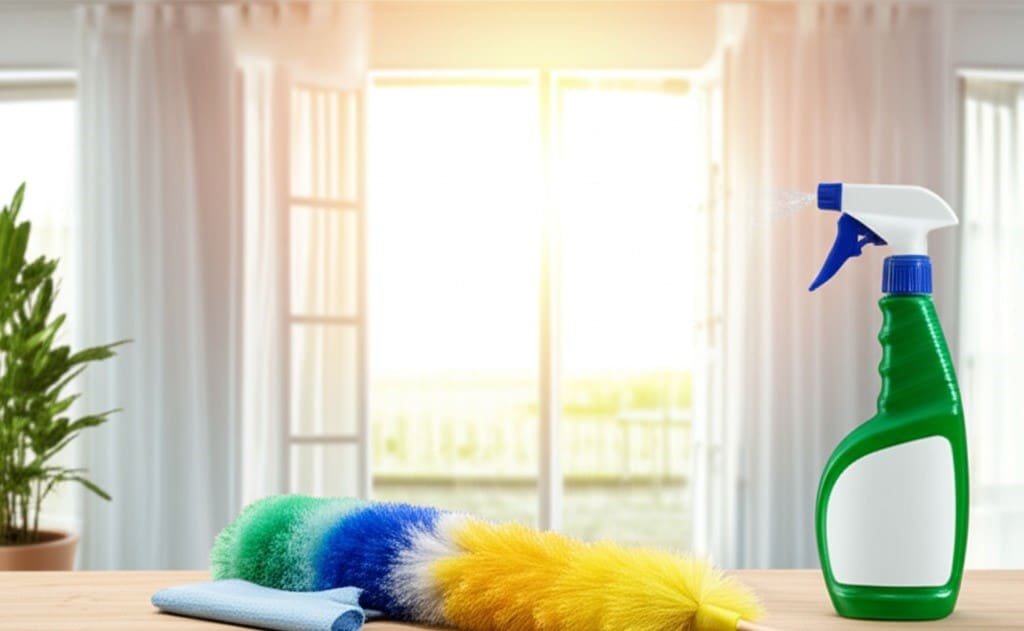
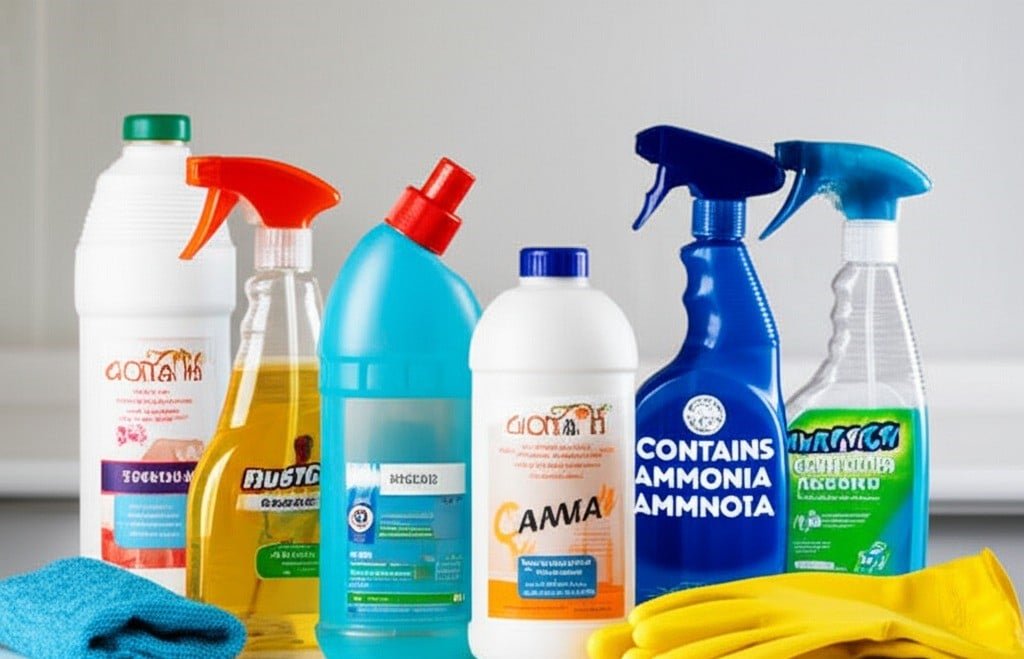
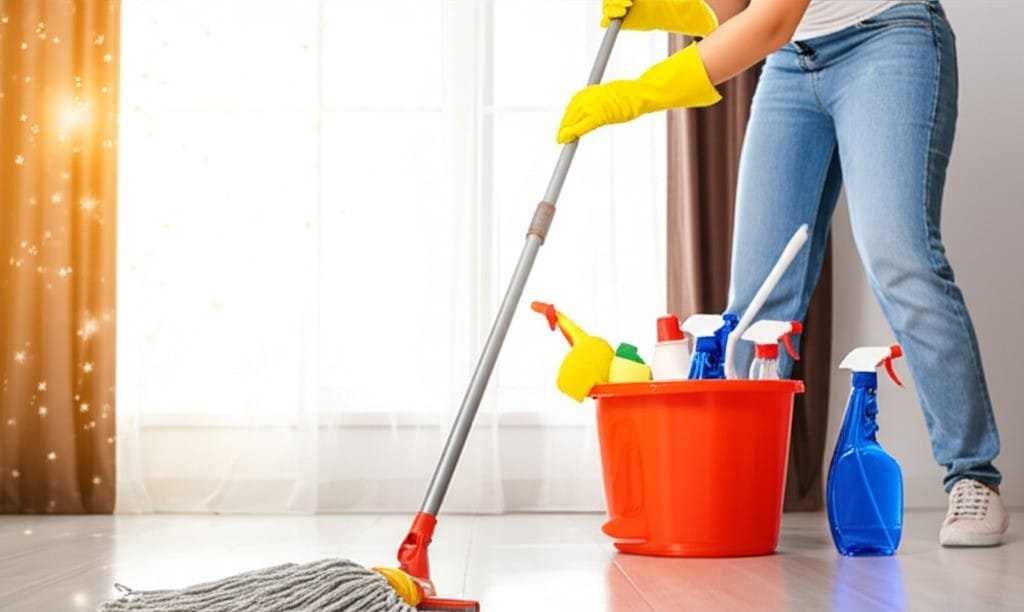
August cleaning is a specific kind of reset, the air in Toronto during August carries a distinct weight. This is the month where summer hits its peak just before beginning its slow retreat. Inside your home, the evidence of a season lived to its fullest is everywhere. Preparing for the August cleaning isn’t just about tidying; it’s about resetting the home after months of high activity and preparing it for the shift into autumn. The purpose of a dedicated August cleaning is to systematically remove the specific grime of summer and create a clean foundation for the indoor months to come. 1.HVAC A critical first step in any thorough August cleaning is addressing the air your family breathes. With windows open for weeks, allergens, city dust, and pollen have infiltrated every room. Your HVAC system has been in constant use, and its filter is the first line of defense. Changing it is a non-negotiable starting point for your August cleaning. A clogged, grey filter is not only inefficient but also circulates the very particles you want to remove. Once replaced, use a vacuum with a brush attachment to clean all intake and outtake vents. This foundational task sets the stage for the rest of your August cleaning, ensuring the air moving through your home is as clean as possible. 2.Windows and Doors Now, turn your attention to the windows and doors. The screens have been interceptors of bugs, leaves, and dirt all summer. A proper August cleaning demands they be removed and washed. A soft brush, mild soap, and a gentle spray from a garden hose will dislodge the grime. While they dry, focus on the window tracks and sills. These channels are graveyards for dust and insects. Vacuum the loose debris and use an old toothbrush to scrub the caked-on dirt. This level of detail is a hallmark of a successful August cleaning. Washing the glass, inside and out, on an overcast day will prevent streaking and let pristine light into your newly refreshed space. Completing this part of the August cleaning makes an immediate, visible difference to the brightness of your home. 3.The Floors The floors hold the story of summer. Sand from The Beaches, soil from the garden, and grass from the park have been ground into every surface. A deep floor treatment is non-negotiable for a proper August cleaning. For hard floors, a thorough mopping, perhaps even twice in high-traffic areas, is required to lift the settled-in dirt. For carpets and area rugs, this is the time for a deep extraction clean. Renting or owning a carpet cleaner is essential for this part of the August cleaning, as it pulls out the deep-set allergens and grit that a standard vacuum cannot reach. The murky water you dispose of is proof of the effectiveness of this task. Moving furniture to clean underneath is a vital step in a comprehensive August cleaning; the dust and lost items accumulated over three months need to be addressed. This aspect of the August cleaning removes the literal grit of the season from your home. 4.Fat in the Kitchen The kitchen August cleaning is a project in itself. The refrigerator has been a revolving door of summer treats and barbecue ingredients. Empty it completely. Wash all shelves and drawers in warm, soapy water. Wipe the interior with a food-safe cleaner, checking expiration dates as you go. The exterior and handles, covered in fingerprints, also need attention. Summer cooking often involves more frying and grilling, leaving a sticky film of grease on cabinets, the backsplash, and especially the range hood. A good degreaser is your best tool for this part of the August cleaning. Spray it on, let it work for a few minutes, then wipe clean. Don’t forget the hidden areas during your August cleaning; pull out the oven and stove to clean the sides and the floor underneath, which are magnets for crumbs and grease. This part of the August cleaning is about health as much as it is about aesthetics. 5.Sofa Cushion Your living room August cleaning should focus on soft surfaces where dust and dander settle. If your sofa cushion covers are machine-washable, now is the time to launder them. For all other upholstery, a meticulous vacuuming with the correct attachment is key. Go into every seam and crevice. For a deeper refresh, sprinkling baking soda over the fabric, letting it sit to absorb odors, and then vacuuming it up is a great technique to include in your August cleaning schedule. All throw blankets and pillows should be washed or cleaned according to their care tags. Dusting is another crucial element. Use a damp microfiber cloth to trap dust, not just move it. The goal of this August cleaning is to touch every surface, including the tops of picture frames, ceiling fan blades, and lamp shades. This comprehensive dusting is what makes an August cleaning so effective. Think of this as resetting the comfort zones of your home with your August cleaning. 6.Bathroom The bathroom August cleaning targets the buildup from summer humidity and increased traffic. Go beyond the basic wipe-down and scrub the grout lines on the floor and in the shower where soap scum and mineral deposits have accumulated. A paste of baking soda and vinegar is an effective, natural solution. Wash the shower curtain and its liner. The exhaust fan cover, likely caked with dust, should be removed and cleaned to ensure it can effectively pull moisture from the air. A successful August cleaning restores these high-use spaces to a state of hygienic freshness. Take the time to empty and wipe out medicine cabinets and vanities, organizing the contents as you go. 7.The Summer Gear A key part of the August cleaning process is managing the transition of seasonal items. The summer gear pool toys, beach chairs, inflatable rafts needs to be cleaned, deflated, and stored properly to protect it for next year. The barbecue grill deserves a deep clean after a season of heavy
How To Prepare For August Cleaning: 7 Steps Fast and Easy Read More »