Distilled Water: 5 Simple Secrets on How to Use Distilled Water
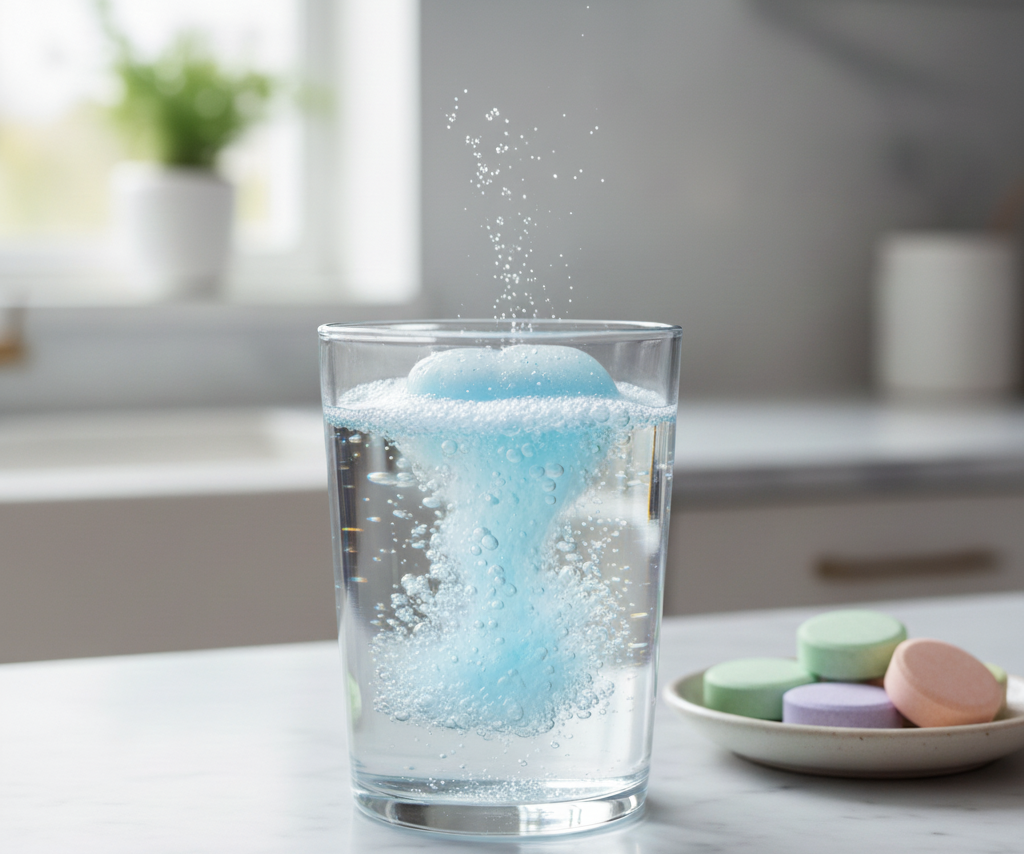
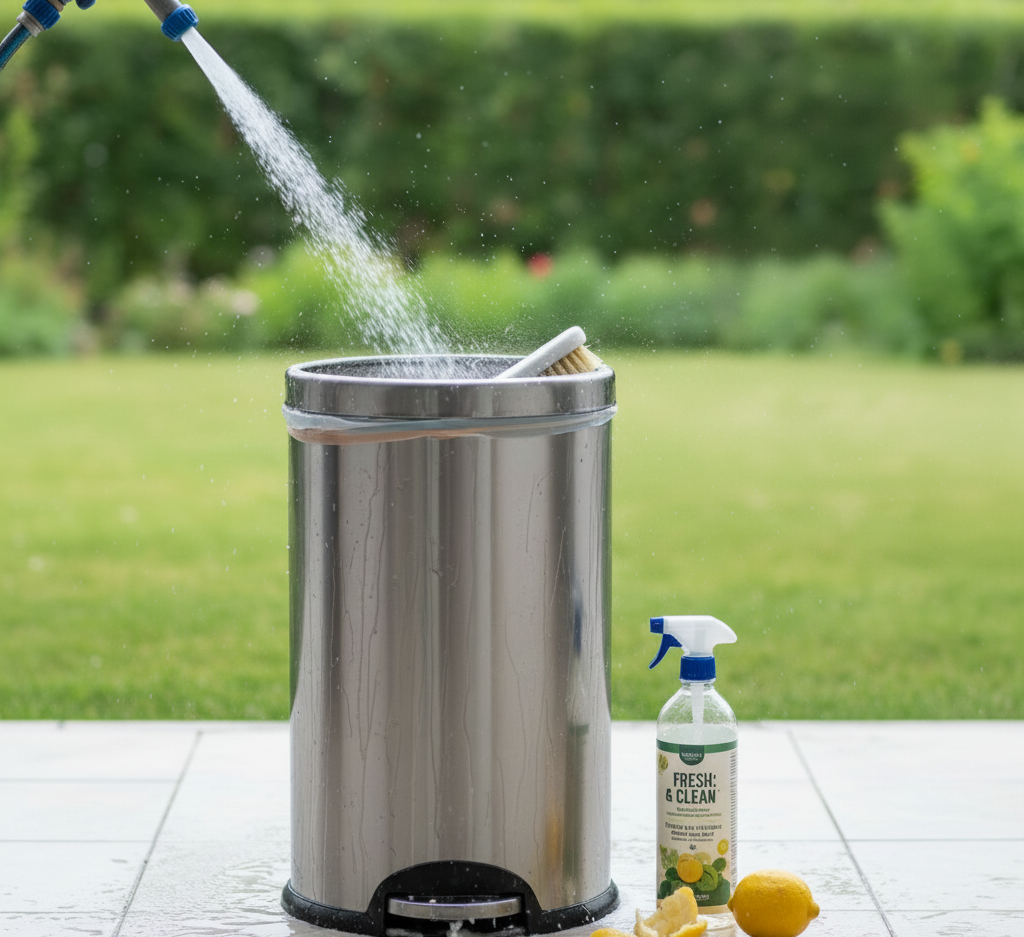
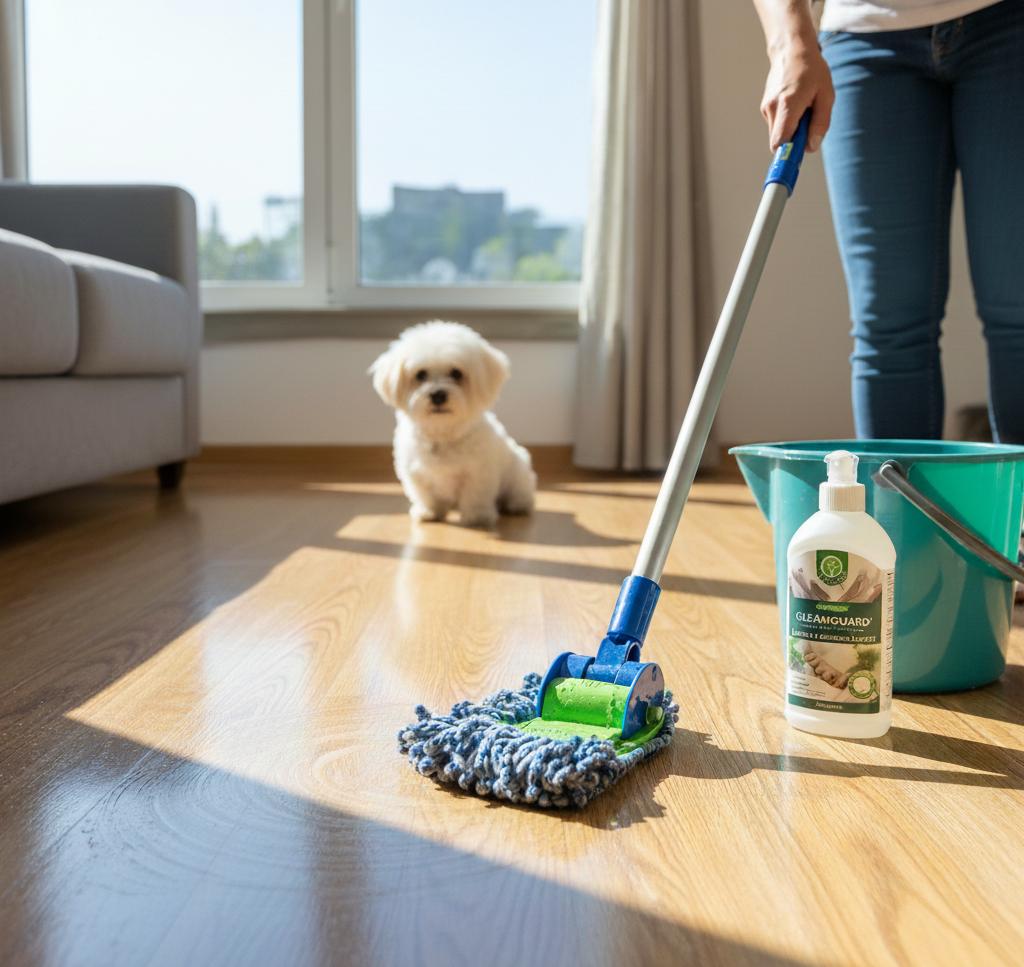
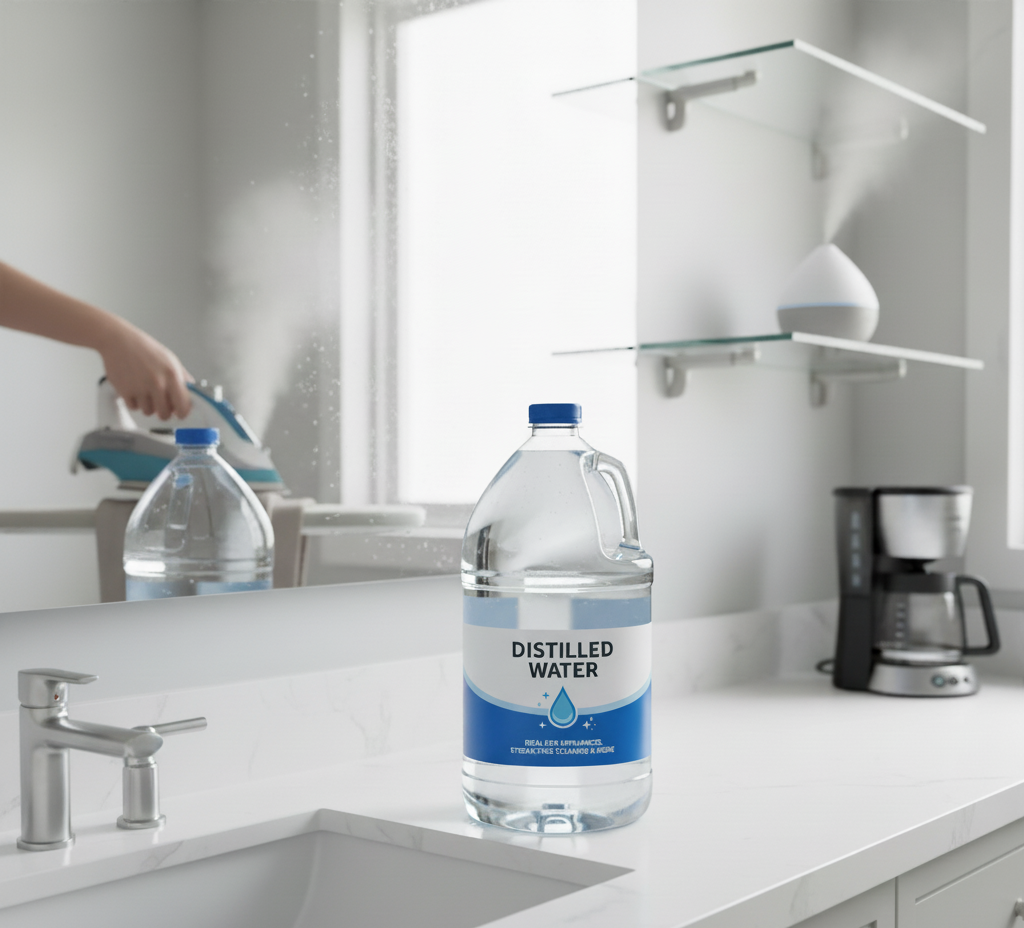
The secret to a perfect, streak-free clean is not found in a bottle of expensive, high-tech cleaning solution. It is not achieved through a special microfiber cloth woven with miraculous fibers, nor is it the result of a secret scrubbing technique passed down through generations. The real secret to a flawless, residue-free finish is something far more fundamental and surprisingly simple. It is the water itself. More specifically, it is the absence of minerals in that water. The single most transformative, yet overlooked, tool in any advanced cleaning arsenal is a simple jug of distilled water. We are conditioned to see water as a simple cleaning agent, but the water that flows from our taps is far from pure. It is a complex liquid, carrying a dissolved cargo of minerals and trace elements from its journey through the ground and pipes. The most common of these are calcium and magnesium, the primary culprits behind “hard water.” When you clean a surface with tap water and it evaporates, it leaves these microscopic mineral deposits behind. This is the root cause of nearly every common cleaning frustration: the hazy film on your hardwood floors, the stubborn white spots on your shower door, the frustrating streaks on your windows, and the cloudy residue on your stainless steel appliances. You can scrub and polish for hours, but if you are using tap water, you are fighting a battle against an invisible enemy that you are simultaneously reapplying with every wipe. Distilled water is the elegant solution to this problem. It is water that has been purified back to its most basic, elemental state: pure H₂O. By understanding what it is and how it works, you can elevate your cleaning from a chore of constant frustration to a science of predictable, perfect results. What Exactly Is Distilled Water, and Why Does It Matter? The process of distillation is a simple act of separation. Regular water is boiled into steam. As the water turns into a gas, it leaves behind everything that is not water: minerals, salts, heavy metals, and other contaminants. This pure water vapor is then collected and condensed back into its liquid form. The result is water that is stripped of all its baggage, a true “blank slate.” This purity is precisely what makes it a secret weapon for cleaning. Because distilled water contains no dissolved solids, when it evaporates, it leaves absolutely nothing behind. There are no minerals to create spots, no salts to leave a film. It dries completely clean. This unique property gives it two significant advantages in a cleaning context: It Prevents Residue: As mentioned, it eliminates the source of spots and streaks. This is its most obvious and celebrated benefit. It Is a More Effective Cleaner: Because distilled water is free of dissolved minerals, it is chemically “hungry.” It has a greater capacity to dissolve and absorb other substances, like dirt and soap, making it a more effective solvent than tap water. This means you often need less cleaning solution to achieve the same result. Key Applications for Distilled Water in Your Home Switching to distilled water for specific tasks is a small change that yields disproportionately large results. Here are the most impactful ways to incorporate it into your cleaning routine. 1. The Ultimate Streak-Free Window and Mirror Cleaner This is the classic and most transformative use. For a truly professional, invisible finish on glass, distilled water is non-negotiable. The Problem: The minerals in tap water are the primary cause of streaks on windows and mirrors. No matter how well you squeegee, as the last microscopic droplets of water dry, they leave mineral deposits behind, creating a faint but frustrating haze. The Solution: Create your own professional-grade glass cleaner. In a clean spray bottle, mix a solution of 50% distilled water and 50% distilled white vinegar. The vinegar acts as a powerful cleaning agent, cutting through grease and grime, while the distilled water ensures that once you wipe or squeegee it away, the surface will dry to a perfectly clear, spot-free shine. This simple, cheap solution will outperform almost any commercial glass cleaner on the market. 2. Flawless Stainless Steel and Chrome Stainless steel appliances are notorious for showing every fingerprint and water spot. Distilled water is the key to winning this battle. The Problem: Wiping down stainless steel with a cloth dampened with tap water is a recipe for frustration. As the water dries, it leaves behind a constellation of mineral spots that mar the finish. The Solution: For routine cleaning, simply dampen a clean microfiber cloth with distilled water and wipe the appliance, always following the direction of the grain. For a final polish, use a second, completely dry microfiber cloth to buff the surface. The absence of minerals means no spots will form as it dries. For greasy fingerprints, you can add a single drop of dish soap to your damp cloth, then “rinse” with a separate cloth dampened with only distilled water before buffing dry. The same principle applies to chrome faucets and fixtures in the kitchen and bathroom. 3. A Haze-Free Finish for Hardwood and Laminate Floors If your hard-surface floors look dull and cloudy even after mopping, the culprit is likely a buildup of mineral residue from your tap water. The Problem: Over time, mopping with tap water (even with a floor cleaner) can leave behind a cumulative, hazy film that dulls your floor’s natural shine. The Solution: This is especially effective with a spray mop system. Fill the mop’s reservoir with mostly distilled water and a small splash (a few tablespoons) of white vinegar. The vinegar helps to break down any existing film, while the distilled water ensures no new film is created. The result is a floor that is truly clean, without the dulling residue that compromises its appearance. 4. Spot-Cleaning Carpets and Upholstery Without Leaving a Ring Have you ever cleaned a small spot on your carpet, only to be left with a noticeable ring or outline after it dries? That ring is often caused
Distilled Water: 5 Simple Secrets on How to Use Distilled Water Read More »