Dangerous to Your Health: 5 Common Products That are Dangerous For Your Daily Life
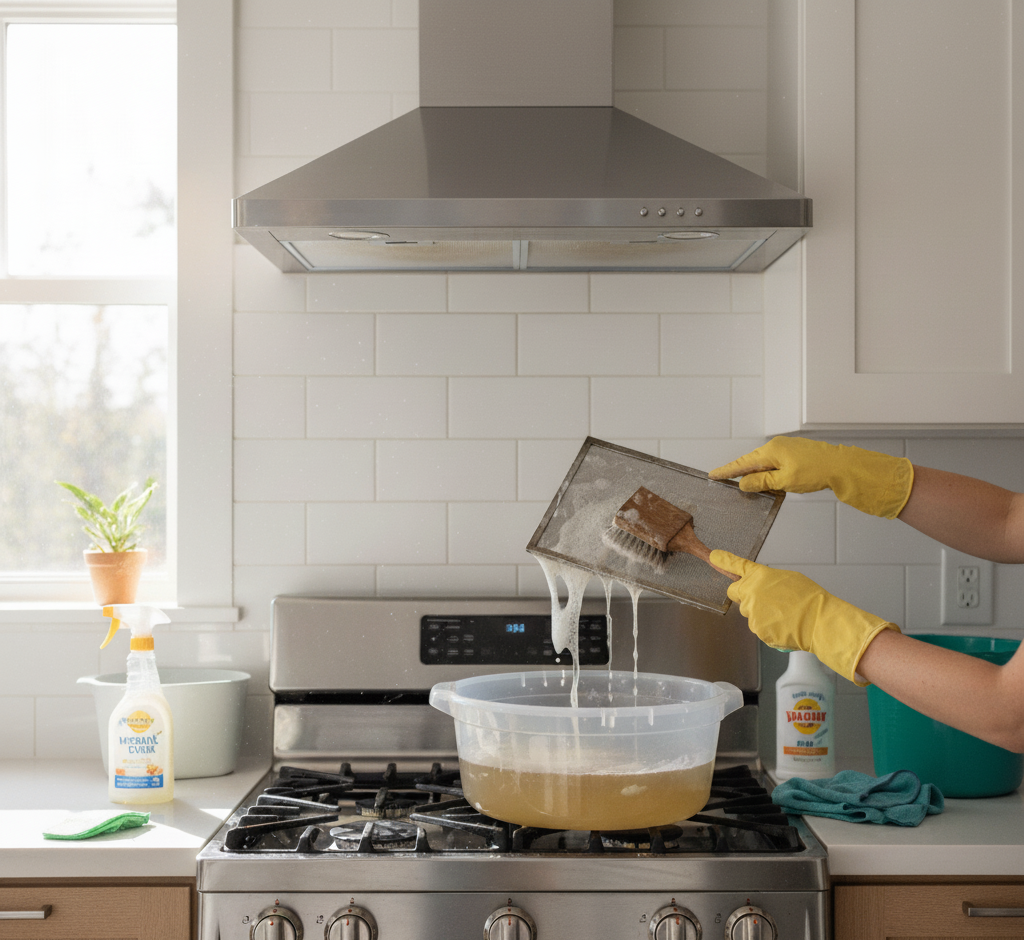
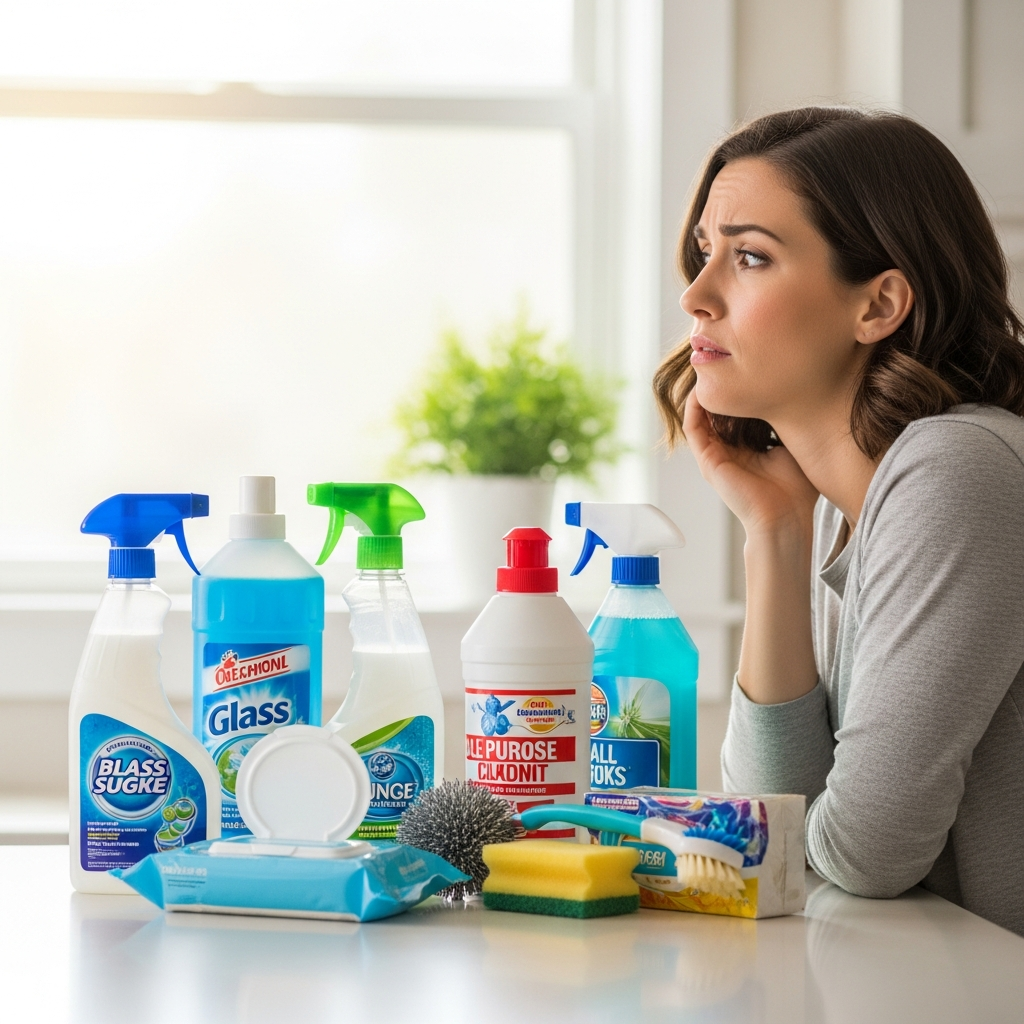
What would be dangerous to your health? The modern home is often viewed as a sanctuary, a controlled environment where we retreat from the pollution and chaos of the outside world. We scrub, spray, and polish surfaces with the intention of creating a safe, hygienic space for our families. However, there is a profound irony hidden within the cabinets under our sinks. In our aggressive pursuit of cleanliness, we have introduced a chemical arsenal that often makes the air inside our homes significantly more toxic than the air outside. The products we trust to sanitize our countertops and brighten our floors are frequently composed of volatile compounds that are potentially dangerous to your health. Understanding the chemistry of these common household items is the first step in dismantling the dangerous myth that a strong chemical smell equates to a clean home, when in reality, it often signals the presence of toxins. 1.Sodium Hypochlorite The most ubiquitous and perhaps most misunderstood chemical in the cleaning arsenal is sodium hypochlorite, commonly known as bleach. It is the default weapon for many when tackling mold, mildew, or bathroom grime. The risk of bleach lies not just in its corrosive nature, which can burn skin and eyes upon contact, but in its respiratory impact. Bleach is highly volatile. When used in a confined space like a shower or a small bathroom, the fumes react with organic matter to create chlorinated volatile organic compounds that are dangerous to your health, especially if you suffer from respiratory issues. inhaling these fumes causes immediate irritation to the mucous membranes of the throat and lungs. Furthermore, the chemical instability of bleach leads to one of the most common and deadly household accidents: the mixing of cleaners. If bleach is mixed with ammonia—which is found in urine and many glass cleaners—it produces chloramine gas. If mixed with acidic cleaners, it releases chlorine gas. Both of these reactions create an immediate atmospheric condition that is acutely dangerous to your health, leading to hospitalization or worse. 2.Ammonia Ammonia itself is another staple that warrants extreme caution. It is the primary active ingredient in many glass and window cleaners due to its ability to evaporate quickly without streaking. However, ammonia is a powerful irritant. Upon inhalation, it seeks out moisture, meaning it aggressively attacks the eyes, the throat, and the lungs. High concentrations of ammonia are dangerous to your health, causing chemical burns to the respiratory tract and exacerbating chronic conditions like asthma. The risk is compounded by the method of application. Most ammonia products are sold in spray bottles. When the trigger is pulled, the chemical is aerosolized into a fine mist. This mist hangs in the breathing zone, ensuring that the person cleaning inhales a significant dose with every breath. The distinct, sharp odor of ammonia is a warning signal from the body that the environment has become dangerous to your health, yet many push through the discomfort under the false impression that the pain is necessary for cleanliness. 3.Fragrance or Parfum Beyond the obvious corrosives, there is a silent and pervasive threat hiding in almost every bottle: fragrance. The word “fragrance” or “parfum” on an ingredient label represents a regulatory loophole. It is considered a trade secret, meaning manufacturers are not required to list the hundreds of specific chemicals that make up their signature scent. Within this chemical cocktail, one often finds phthalates. Phthalates are a group of chemicals used to make scents last longer, but they are also known endocrine disruptors. They mimic hormones in the body, potentially interfering with reproductive development, making them subtly but profoundly dangerous to your health over the long term. When you spray a lemon-scented counter spray or plug in a floral air freshener, you are releasing these compounds into the air. They settle on surfaces, are absorbed through the skin, and are inhaled into the bloodstream. 4.Air Fresheners and Fabric Deodorizers Air fresheners and fabric deodorizers are particularly egregious offenders in this category. These products do not clean; they coat. Many air fresheners work by releasing a nerve-deadening agent that temporarily interferes with your ability to smell, or by coating the nasal passages with an oily film. Others simply overload the air with volatile organic compounds (VOCs) to mask the underlying odor. These VOCs contribute to poor indoor air quality, leading to headaches, dizziness, and fatigue. The use of aerosol sprays adds another layer of risk, as the propellants themselves can be flammable and irritating to the lungs, making the very act of freshening the room dangerous to your health. Using these products is essentially solving a hygiene problem with a pollution problem, replacing a bad smell with a toxic chemical cloud. 5.Oven Cleaners and Drain Openers The heavy artillery of kitchen cleaning, oven cleaners and drain openers, represents the most immediate physical danger. Oven cleaners are typically formulated with lye (sodium hydroxide), a caustic substance that dissolves baked-on grease by turning it into soap. This chemical is so corrosive that it can cause permanent blindness if it splashes into the eyes and severe chemical burns on the skin. The fumes generated when spraying a cold oven are bad enough, but many people make the mistake of spraying the cleaner onto a warm oven. This vaporizes the lye, creating a toxic cloud that fills the kitchen and is immediately dangerous to your health upon inhalation. Similarly, drain openers rely on concentrated sulfuric acid or lye to burn through hair and grease clogs. These chemicals generate intense heat and can damage old pipes, but the health risk to the user is paramount. If the product fails to clear the clog and a plumber later tries to snake the drain, the splashing backwash creates a scenario that is physically dangerous to your health. 6.Quats In the post-pandemic world, the use of quaternary ammonium compounds, or “quats,” has exploded. These are the active ingredients in most disinfectant wipes and sprays. While effective at killing bacteria and viruses, quats are powerful lung irritants. There is growing evidence to suggest that frequent exposure to quats
Dangerous to Your Health: 5 Common Products That are Dangerous For Your Daily Life Read More »