Cleaning a Glass Top Stove: The Do’s and Don’ts for a Perfect Shine
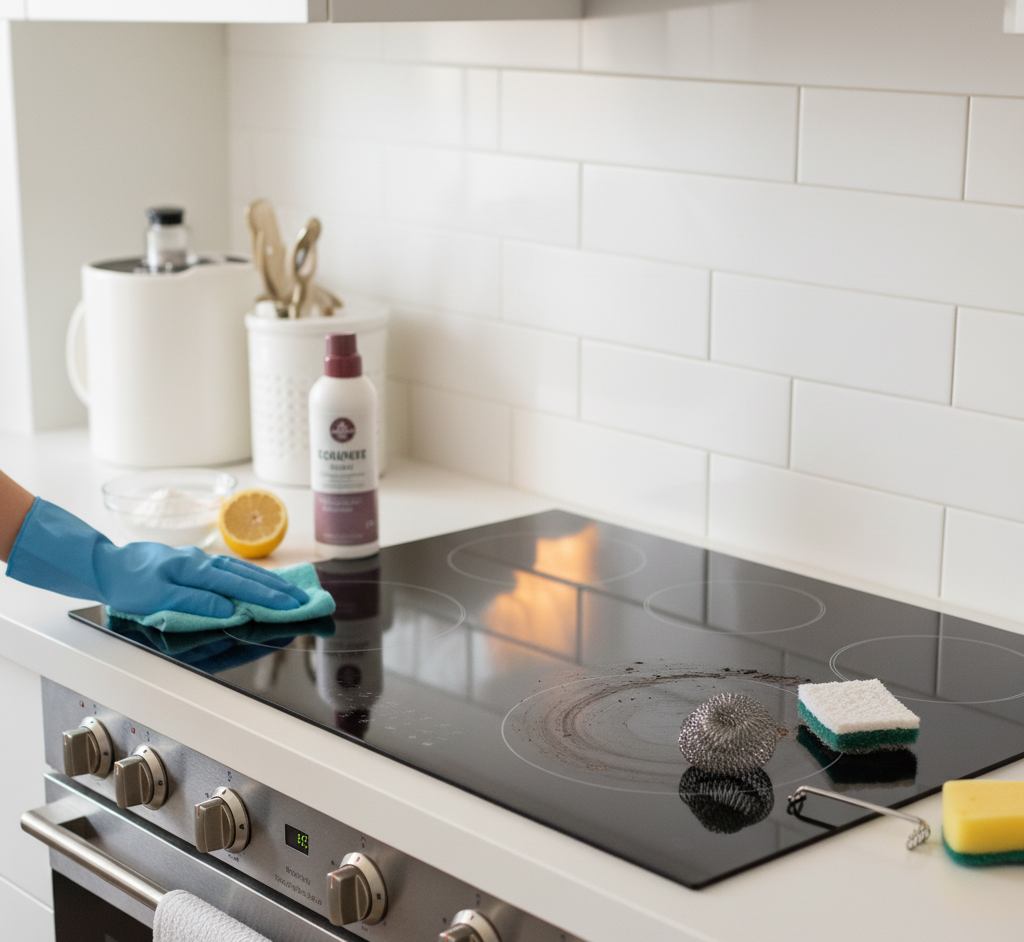
The glass top stove is the centerpiece of the modern kitchen. Its sleek, seamless surface offers a minimalist appeal that is both beautiful and functional. But for all its aesthetic charm, it is an appliance that strikes fear into the hearts of many homeowners. It looks so pristine, so delicate, that the first splatter of grease or boil-over of a sugary sauce can induce a wave of panic. We have all heard the horror stories of permanent stains, unsightly scratches, and a once-glossy surface dulled by the wrong cleaning methods. The truth is, cleaning a glass top stove is not a difficult or dangerous task. It is, however, a precise one. The glass-ceramic surface is a marvel of engineering, designed to withstand incredible temperature fluctuations, but it is not invincible. It is vulnerable to two primary enemies: scratches from improper tools and pitting from certain types of spills. The secret to keeping your glass cooktop looking brand new for years is not about using harsh chemicals or scrubbing for hours; it is about using the right tools, the right techniques, and, most importantly, a consistent routine. Understanding the Do’s and Absolute Don’ts Before we touch on how to clean, we must first establish the ground rules of what to avoid. Most damage to glass cooktops happens when well-intentioned people use the wrong products. To protect your investment, commit these rules to memory. The Absolute Don’ts: Never Use Abrasive Sponges: This is the cardinal sin of glass top stove care. Steel wool, green scouring pads, and any other abrasive sponge will create a web of fine micro-scratches on the surface. These scratches will not only dull the finish permanently but will also create tiny crevices where dirt and grime can become trapped, making future cleaning even more difficult. Never Use Abrasive Cleaners: Powdered cleansers like Comet or Ajax are designed for durable porcelain or stainless steel sinks, not for glass-ceramic. Their gritty particles will scratch the surface just as surely as an abrasive sponge. Never Use Ammonia-Based Cleaners: A standard glass cleaner like Windex might seem like a logical choice, but most contain ammonia. Ammonia is a harsh chemical that can be too strong for the cooktop’s surface, potentially causing discoloration or streaks that are difficult to remove. Never Use a Knife or Sharp Kitchen Utensil to Scrape: When faced with a stubborn, burnt-on piece of food, it is tempting to grab a butter knife to pry it off. This is a fast track to a deep, irreversible scratch. There is only one tool that is safe for scraping, which we will cover later. Never Clean While the Surface is Hot: Aside from the obvious safety risk of getting burned, applying a cool cleaning solution to a hot surface can cause thermal shock, which in extreme cases could crack the glass. Always wait for the indicator light to go off and for the surface to be cool to the touch. Never Let Sugary Spills Sit: If you are boiling jam, making candy, or a pot of sugary sauce boils over, this is the one time you must act quickly. A hot sugar spill can create a chemical bond with the glass-ceramic surface, causing permanent pitting or staining if it is left to cool completely. The Essential Toolkit You do not need an arsenal of expensive, specialized products. A powerful and safe cleaning kit can be assembled from simple, effective household staples. Microfiber Cloths: You will need at least two—one for cleaning and one for buffing. Microfiber is soft, non-abrasive, and designed to trap dirt and absorb liquid without leaving behind lint. Baking Soda: This is your gentle but effective scrubbing agent. Its mild alkalinity helps to break down grease and food stains, and its fine particles provide just enough abrasion to lift grime without scratching. Distilled White Vinegar: This is your degreaser and polisher. The mild acid in vinegar cuts through grease and, crucially, dissolves the mineral deposits from hard water, which are a primary cause of streaks and hazy films. Keep it in a spray bottle, often diluted 50/50 with water. A Non-Abrasive Sponge or Pad: For scrubbing, you need a sponge that is safe for non-stick pans. A Cooktop Scraper: This is a specialized tool that is essential for any glass stove owner. It is a handle that holds a single-edge razor blade at a safe, low angle. When used correctly, it is the only tool that can safely remove heavy, carbonized food deposits without scratching the glass. Optional – A Commercial Cooktop Cleaner: Products like Weiman or Cerama Bryte are excellent. They are not just cleaners; they are conditioners. They often contain silicones that help to fill in microscopic imperfections and leave behind a protective film that makes future cleaning easier. This is best used as a final polishing step. Daily Maintenance and the Deep Clean Level 1: The Daily Wipe-Down The key to a perpetually clean stove is consistency. A quick, 60-second wipe-down after each use (once the stove is cool) will prevent the buildup that leads to major scrubbing sessions. Wait for it to Cool: Ensure the “Hot Surface” indicator light is off and the cooktop is cool to the touch. Remove Loose Debris: Use a dry paper towel or a microfiber cloth to wipe away any loose crumbs or food particles. Spray and Wipe: Lightly spray the surface with your 50/50 vinegar and water solution. The vinegar will immediately start to break down any light grease splatters from that meal. Buff Dry: Use a second, clean, dry microfiber cloth to wipe the surface dry. Use wide, circular motions to buff the surface to a streak-free shine. This simple routine is your best defense. If you do this every time, you will rarely need to perform a deep clean. Level 2: Burnt-On Messes This is the method for when life happens—a pot boils over, grease splatters and burns on, or the daily wipe-down has been neglected. Start with the Scraper: Once the cooktop is cool, tackle the most severe, raised deposits first. Take your cooktop scraper and, holding it at a low
Cleaning a Glass Top Stove: The Do’s and Don’ts for a Perfect Shine Read More »