What to Expect from a Professional Airbnb Cleaning Service
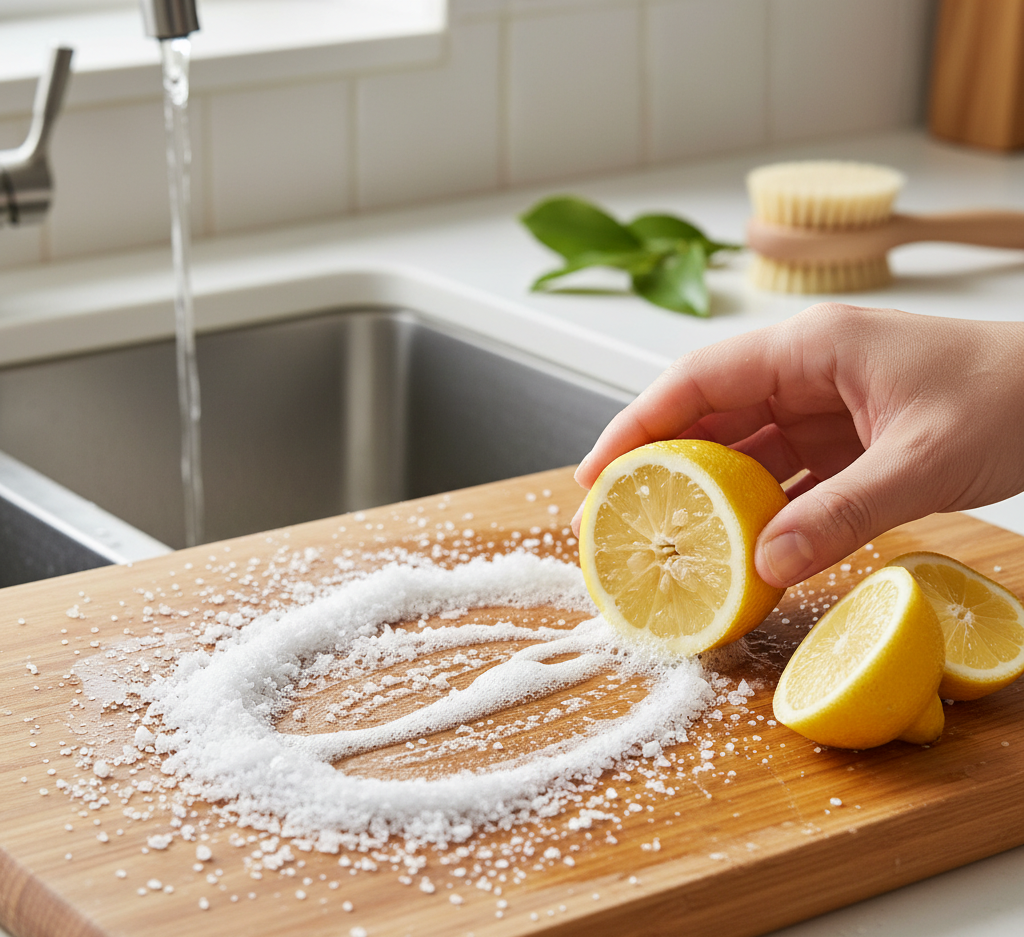
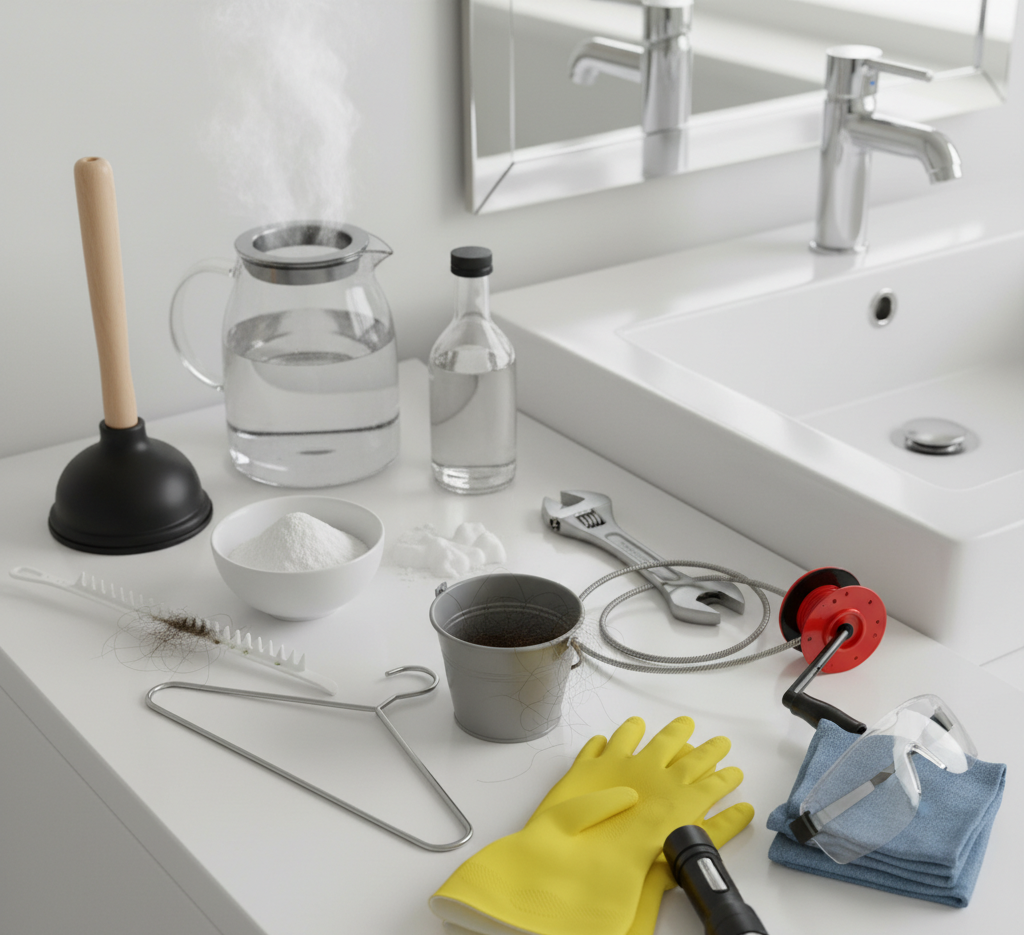
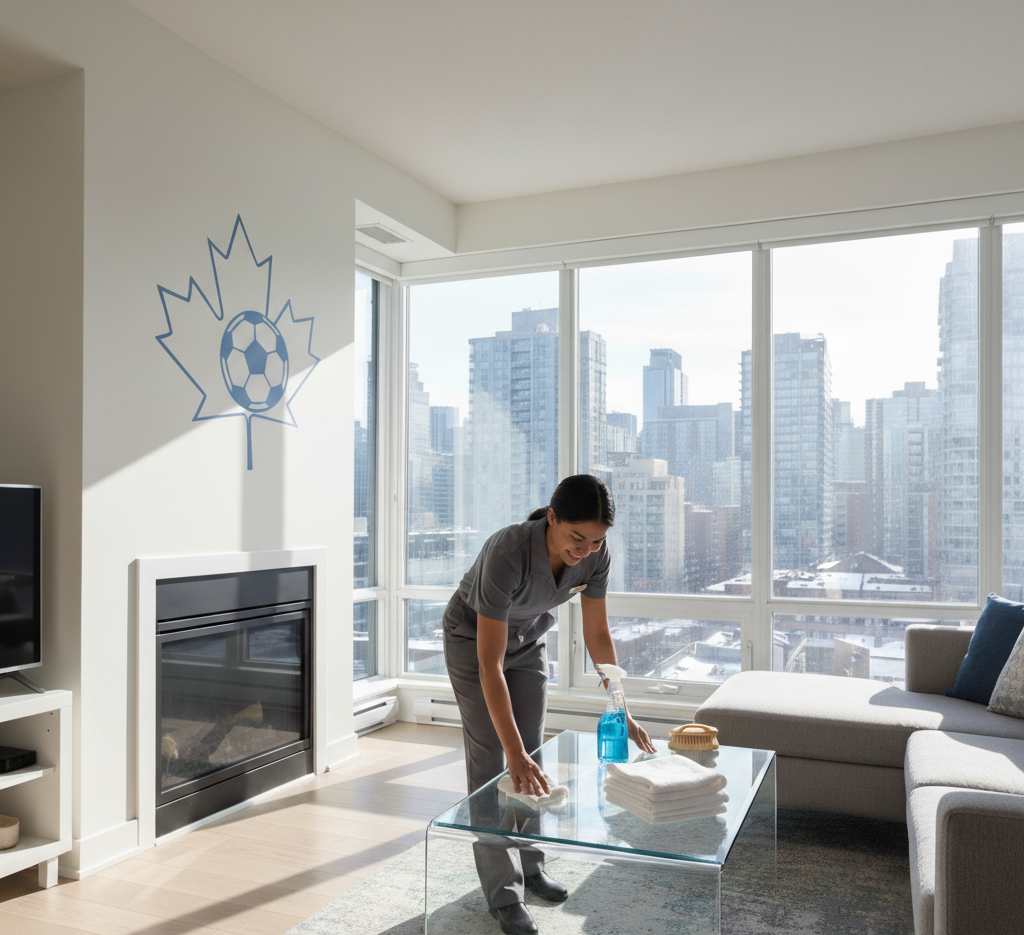
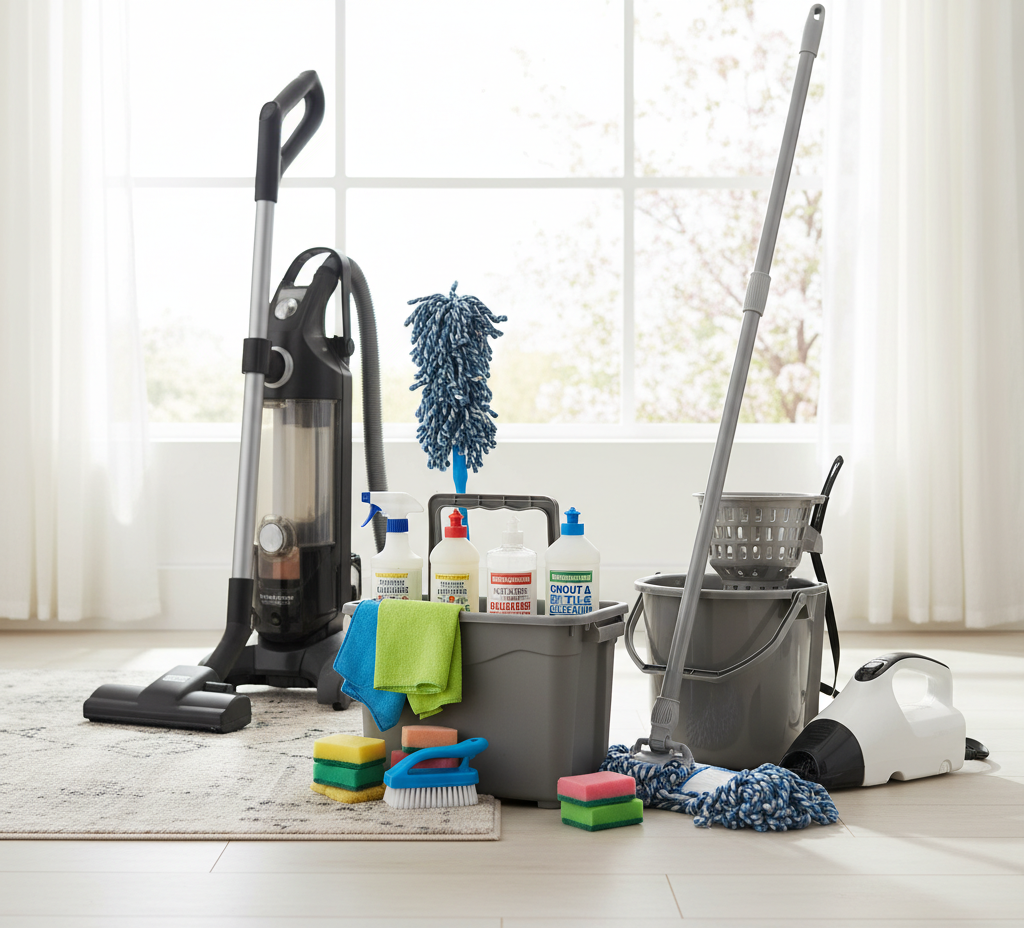
In the highly competitive Airbnb Cleaning Service market, the quality of a guest’s stay is determined by many variables, but none is as critical or as immediate as the cleanliness of the property. When travelers book an Airbnb, they are seeking a unique, home-like experience combined with the pristine, standardized comfort of a high-end hotel. The moment a guest crosses the threshold, their first impression is formed by what they see, feel, and smell. A single stray hair in the bathroom, a greasy fingerprint on a kitchen cabinet, or a musty odor in the bedroom can instantly ruin that impression, leading to a disappointing stay and, ultimately, a negative review. In the short-term rental business, reviews are the lifeblood of success, directly influencing search rankings, booking rates, and nightly pricing. Consequently, a rigorous and reliable cleaning routine is not merely a chore; it is a fundamental business strategy. Standard cleaning? The process of preparing a property for the next guest, commonly referred to as a turnover clean, is vastly different from a standard residential cleaning. A routine home cleaning is about maintaining a comfortable level of tidiness for the residents. A turnover clean, however, is a meticulous staging and sanitization process designed to erase any evidence of the previous occupants, creating a “blank slate” that makes each new guest feel as though they are the very first person to ever stay in the space. This intensive process must be performed within a tight, high-pressure window, typically between the standard check-out time of eleven in the morning and the check-in time of three in the afternoon. Managing this logistically demanding task requires a highly organized, step-by-step strategy. First Phase The first phase of a successful turnover begins the moment the previous guests depart, starting with a thorough inspection of the property. This is a critical step before any actual cleaning takes place. Walk through every room to check for any visible damage to the walls, furniture, or appliances, and verify that all key amenities, such as the television, Wi-Fi, and kitchen appliances, are in working order. This is also the time to look for any personal items left behind by the guests. If damage is found or items are missing, documenting the scene with photographs immediately is essential for any reimbursement claims. Once the inspection is complete, the physical cleaning process can begin, and the first task should always be to strip the beds and collect all dirty towels. Starting the laundry immediately is a key efficiency strategy, as washing, drying, and folding linens is almost always the primary bottleneck in the turnover schedule. Keeping double or even triple sets of identical sheets and towels on hand is a highly recommended practice, allowing the cleaning team to immediately remake the beds with fresh, pre-washed linens while the dirty ones are laundered, saving precious time during the tight turnover window. With the laundry underway, the systematic cleaning of the bedrooms and living areas can proceed, working from the top down to ensure that any dust or debris falls onto floors that have not yet been cleaned. Dust all elevated surfaces, including light fixtures, ceiling fan blades, picture frames, and the tops of furniture. Wipe down high-touch areas like light switches, door handles, and remote controls with a disinfectant. Vacuum the upholstered furniture thoroughly, removing the cushions to clear away any crumbs or debris that may have accumulated in the crevices. When making the beds, attention to detail is paramount. The linens must be crisp, clean, and arranged neatly, creating the inviting, unlived-in appearance that guests expect. The Kitchen Moving into the kitchen, the standard of cleanliness must be exceptionally high, as this is an area where guests are highly sensitive to grease and food residue. Clear out the refrigerator and freezer completely, discarding any leftovers or opened items left by the previous guests. Wipe down the interior shelves and door bins to remove any sticky spots. Clean the interior of the microwave, which is a common site for splatters. The stovetop and the exterior of all major appliances must be degreased and polished until they are free of smudges and fingerprints. Inspect the interior of the oven and dishwasher to ensure they are clean. Perhaps most importantly, check all the dishes, cutlery, and glassware stored in the cabinets. Even if the previous guests ran the dishwasher, it is not uncommon for some items to remain greasy or spotted. Every dish must be thoroughly inspected and re-washed if necessary, as finding a dirty fork is a major detractor for guests. Wipe down all countertops, backsplashes, and the interior of the sink basin, and finish by thoroughly cleaning and sanitizing the garbage can, which can be a primary source of kitchen odors. The Bathroom The bathroom requires the most intensive sanitization of all, as it is the area where any lapse in cleanliness is most noticeable and least forgiven. Hair removal is the absolute highest priority in this space. Even a single strand of hair left on the bathroom floor, in the sink, or on a freshly folded towel can completely destroy a guest’s perception of cleanliness. Meticulously clean and disinfect the entire toilet, paying attention to the base, the handle, and the hard-to-reach area behind the bowl. Scrub the shower, bathtub, and tile walls to remove any buildup of soap scum or hard water stains. Polish the faucets, showerhead, and drain covers until they are gleaming and free of mineral spots. Wipe down the mirror with a streak-free glass cleaner, and clean the vanity countertop and sink basin. Ensure the bathroom is stocked with a generous supply of fresh, fluffy towels, neatly folded or rolled, along with essential toiletries like hand soap, shampoo, conditioner, and body wash. Floor Once all the individual rooms have been thoroughly cleaned and sanitized, the focus shifts to the floors throughout the property. Vacuum all carpets and area rugs slowly and methodically, making overlapping passes to pull up all dust and hair. For hard surfaces like hardwood,
What to Expect from a Professional Airbnb Cleaning Service Read More »