Descaling Agent: Essential Tips On How To Use This Cleaning Product
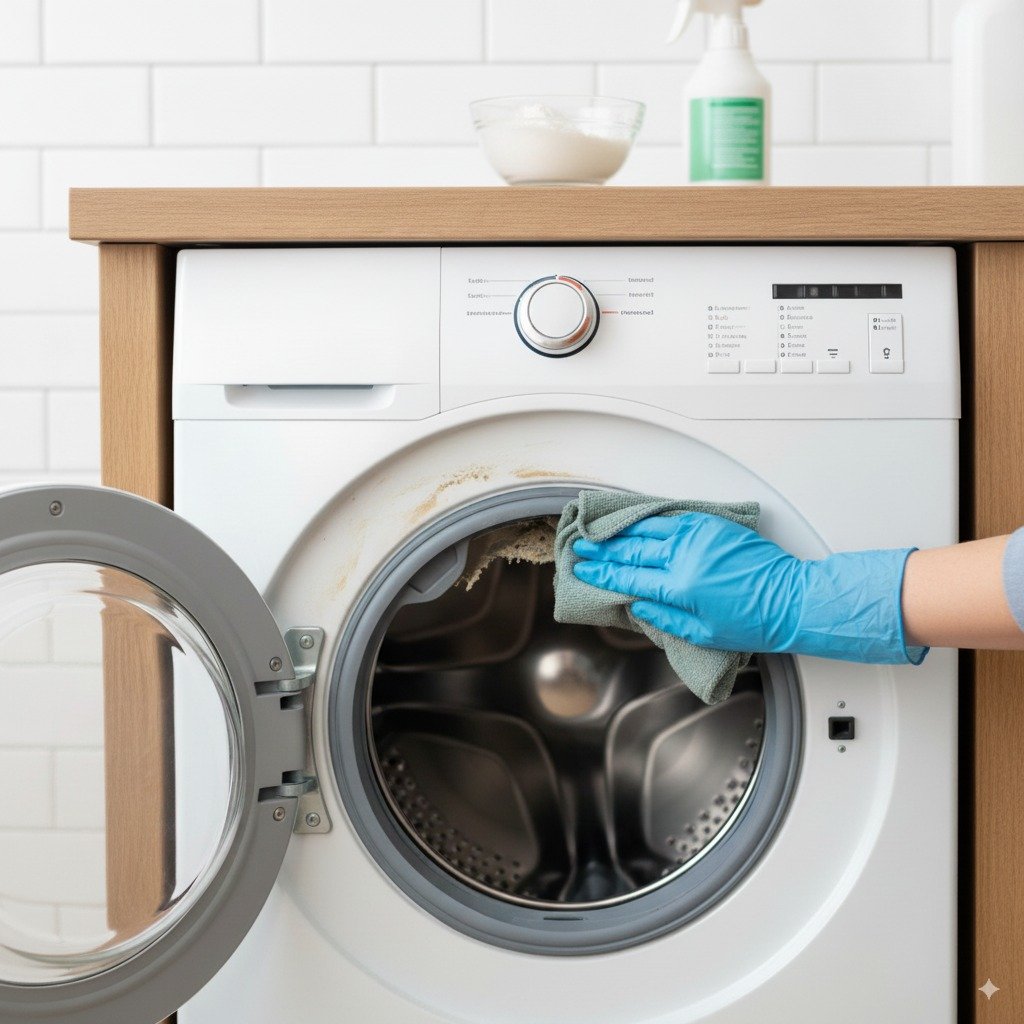
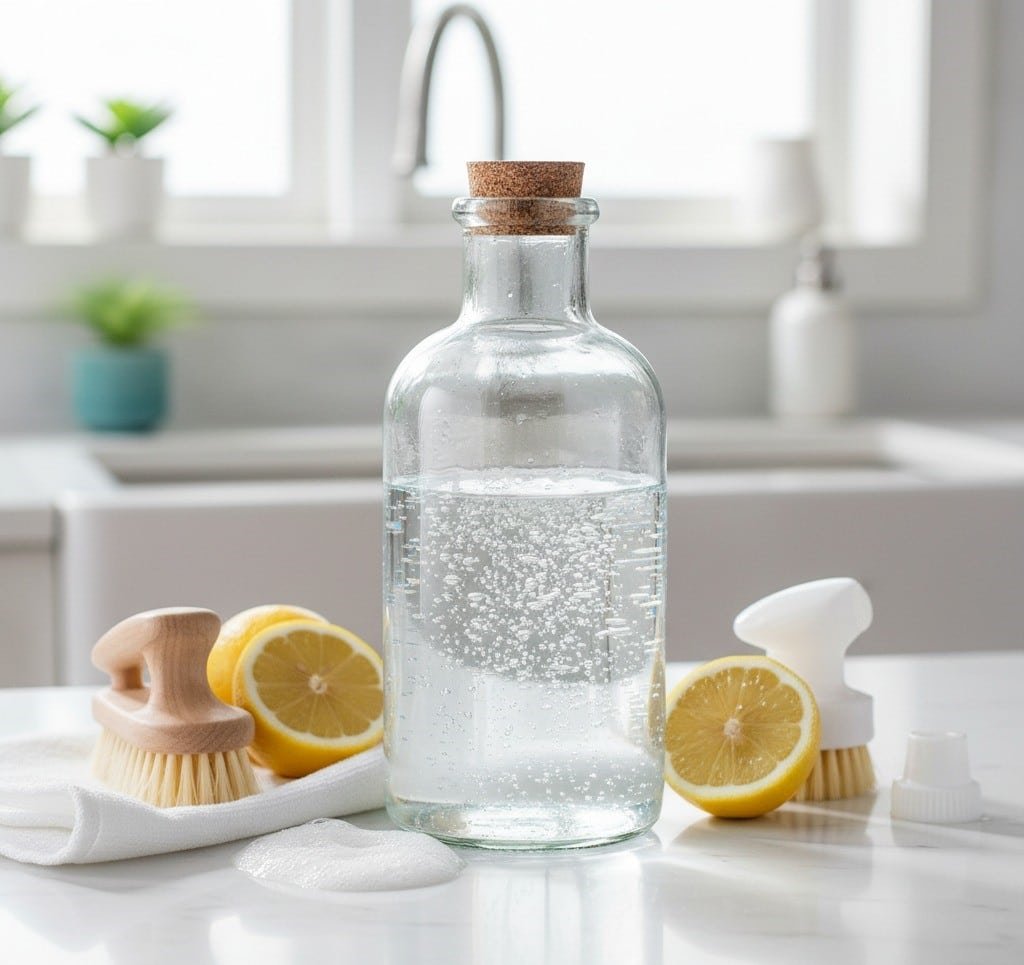
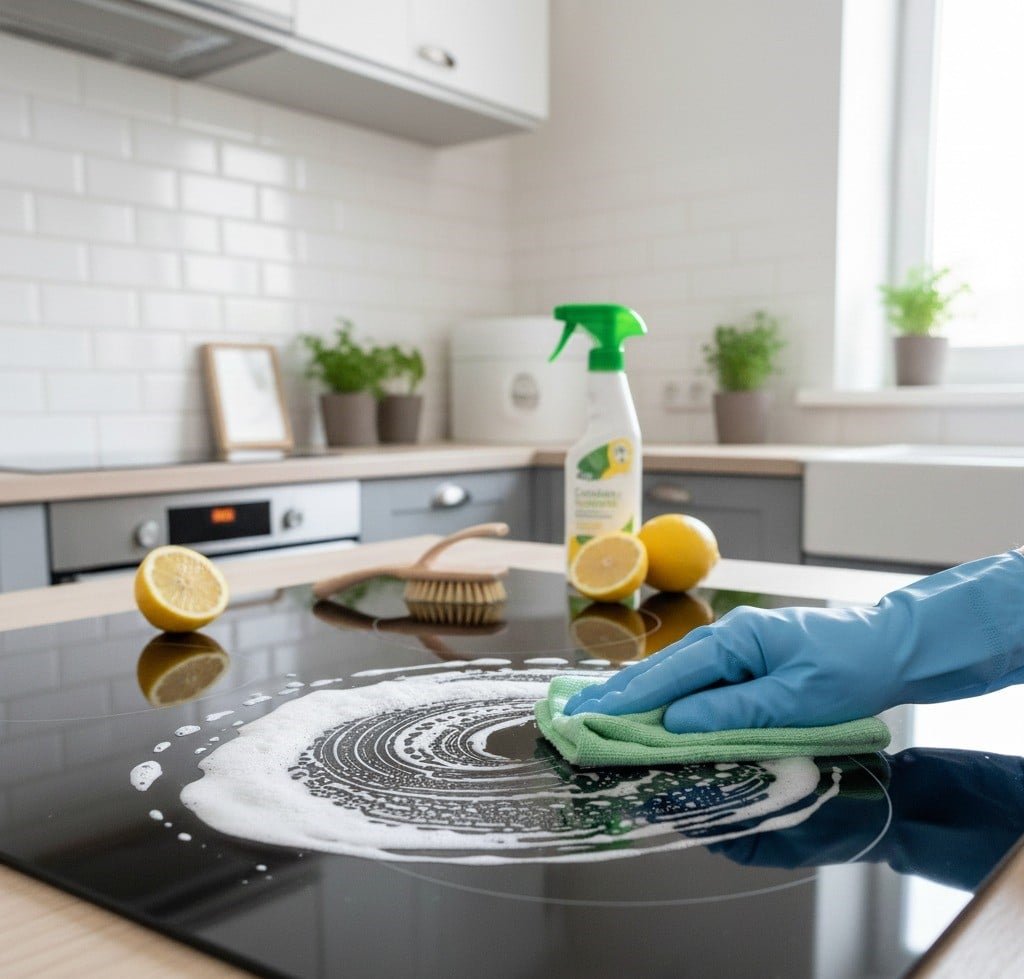
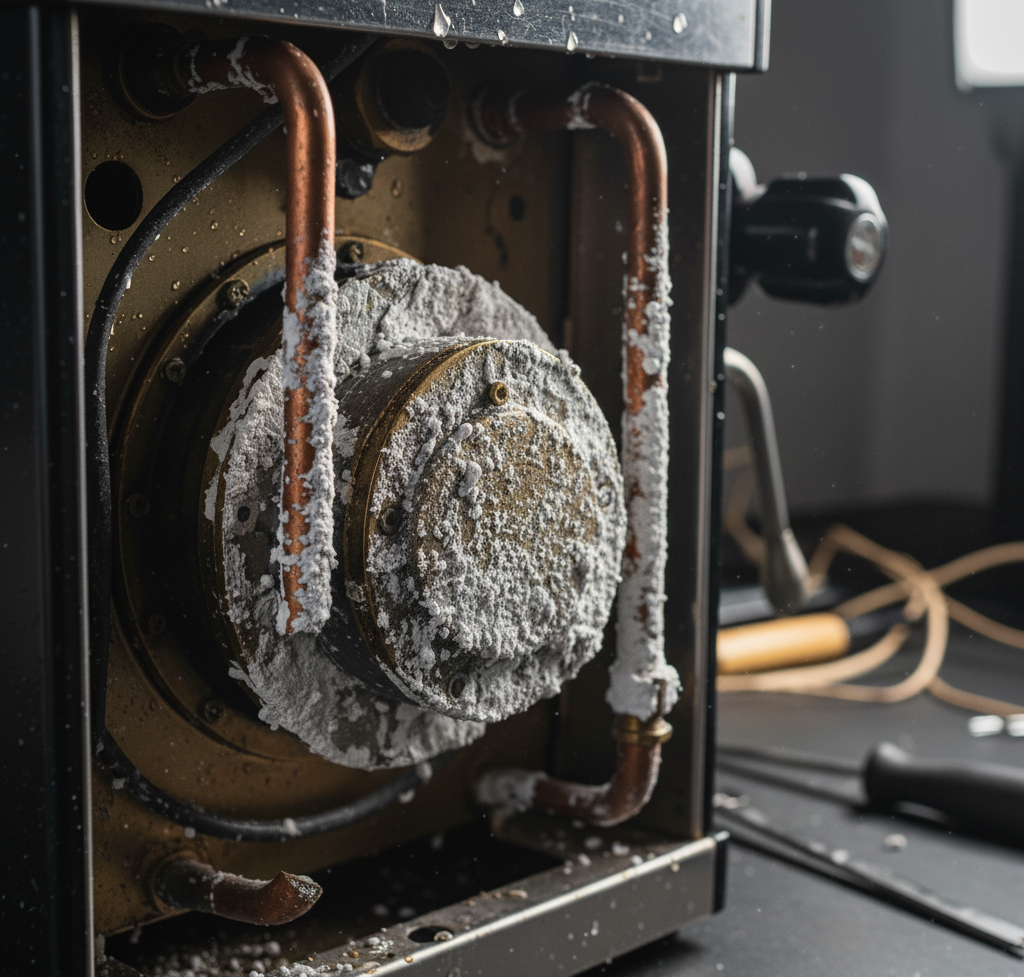
The silent buildup of limescale that infiltrates our appliances is a common household problem, but don’t underestimate the descaling agent. This is limescale, the mineral residue left behind by hard water. As water evaporates, it leaves behind deposits of calcium carbonate and magnesium, which harden over time into a stubborn, crusty layer. This scale doesn’t just look unsightly; it is an active threat to the efficiency, longevity, and even the hygiene of some of our most-used appliances. To combat this, a specific type of cleaning product is required: the descaling agent. Understanding the role of a descaling agent is understanding basic chemistry. Limescale is an alkaline substance. The most effective way to break it down is with an acid. A descaling agent is, at its core, an acidic solution formulated to dissolve these mineral deposits safely and effectively. When the acid comes into contact with the calcium carbonate, a chemical reaction occurs that breaks the scale down into water-soluble substances that can be easily flushed away. This process is essential for maintaining a healthy and functional home. Neglecting it leads to appliances that work harder, consume more energy, and ultimately fail sooner. The most critical application for descaling agents is in appliances that heat water. Heating elements are magnets for limescale. As water is heated, the minerals precipitate out of the solution more rapidly, causing them to coat the heating element in a thick, insulating layer. This forces the appliance to use significantly more energy to achieve the same temperature, driving up electricity bills. Over time, the constant overheating can cause the element to burn out completely. This is true for electric kettles, coffee makers, washing machines, and dishwashers. Descaling is not just a cleaning task; it’s preventative maintenance that saves money and extends the life of your investments. There are two primary categories of descaling agents: those you can find in your pantry and those formulated commercially. Both have their place in a comprehensive cleaning routine. Household Descaling Agents For many common descaling tasks, simple, non-toxic household acids are perfectly effective. White Vinegar (Acetic Acid): This is the most well-known and accessible descaling agent. Its acetic acid is strong enough to dissolve light to moderate limescale buildup. It’s inexpensive, readily available, and multi-purpose. However, it has a strong, lingering odor that requires thorough rinsing, and its potency may not be sufficient for very heavy, long-term scale. It is the ideal choice for routine maintenance of kettles, drip coffee makers, and showerheads. Citric Acid: Often sold in powder form in grocery or bulk food stores, citric acid is a step up from vinegar. It is a more powerful acid, allowing it to work faster and more effectively on tougher scale. Its biggest advantage is that it is completely odorless, making it a far superior choice for coffee machines and kettles where a vinegar aftertaste would be unpleasant. Many commercial “eco-friendly” descalers are primarily citric acid-based. It is a highly effective and safe option for most applications. Lemon Juice: Containing a weaker form of citric acid, lemon juice can be used for very light descaling tasks, such as removing water spots and light film from faucets and fixtures. While not powerful enough for heavy buildup inside appliances, it is useful for surface cleaning and leaves a fresh, pleasant scent. Commercial Descaling Agents For more serious buildup or for delicate, high-end appliances, a commercial descaler is often the recommended choice. These products are specifically formulated to work quickly and safely on particular materials. Formic Acid or Sulfamic Acid-Based Descalers: These are more powerful, industrial-strength acids that are common in descalers designed for high-performance espresso machines and other specialized equipment. They work very quickly and are extremely effective at removing heavy scale. However, they are more potent and must be handled with care, strictly following the manufacturer’s instructions regarding dilution, contact time, and safety precautions like wearing gloves. Lactic Acid-Based Descalers: Often marketed as a gentler, plant-derived, and biodegradable option, lactic acid is still highly effective. It is less corrosive than stronger acids, making it a safe choice for a wide range of appliances while still providing excellent descaling power. Practical Descaling Applying the right descaling agent correctly is key to success. Electric Kettles: This is one of the easiest and most satisfying descaling tasks. Fill the kettle about halfway with a solution of equal parts white vinegar and water. Bring it to a boil, then turn it off and let it sit for an hour. Pour out the solution and rinse thoroughly. For an odorless clean, use citric acid: add one to two tablespoons of citric acid powder to a kettle half-full of water, boil, let it sit, and rinse. The scale will have dissolved completely. Drip Coffee Makers: Limescale buildup in a coffee maker slows down the brewing process, affects the water temperature, and can impart a bitter, chalky taste to your coffee. To descale, fill the water reservoir with a solution of equal parts white vinegar and water. Place a clean filter in the basket and run a full brewing cycle. Discard the hot vinegar solution. Run two to three more cycles with plain fresh water to completely rinse out any vinegar residue and taste. Espresso Machines (Single-Serve Pod and Traditional): This is where using the right product is critical. Always consult your user manual. Many manufacturers advise against using vinegar, as its strong acidity can damage sensitive internal components like aluminum parts and rubber seals over time. They will recommend a specific commercial descaler. The process generally involves running the descaling solution through the machine via the water reservoir, followed by extensive rinsing cycles to ensure all traces of the agent are flushed out. Regular descaling is non-negotiable for preserving the taste of your espresso and the health of the machine. Washing Machines and Dishwashers: Hard water affects these appliances by coating the heating elements and leaving a chalky film on the interior drum and spray arms. To descale, run an empty machine on the hottest, longest cycle. For washing machines, add two cups of white vinegar or a
Descaling Agent: Essential Tips On How To Use This Cleaning Product Read More »