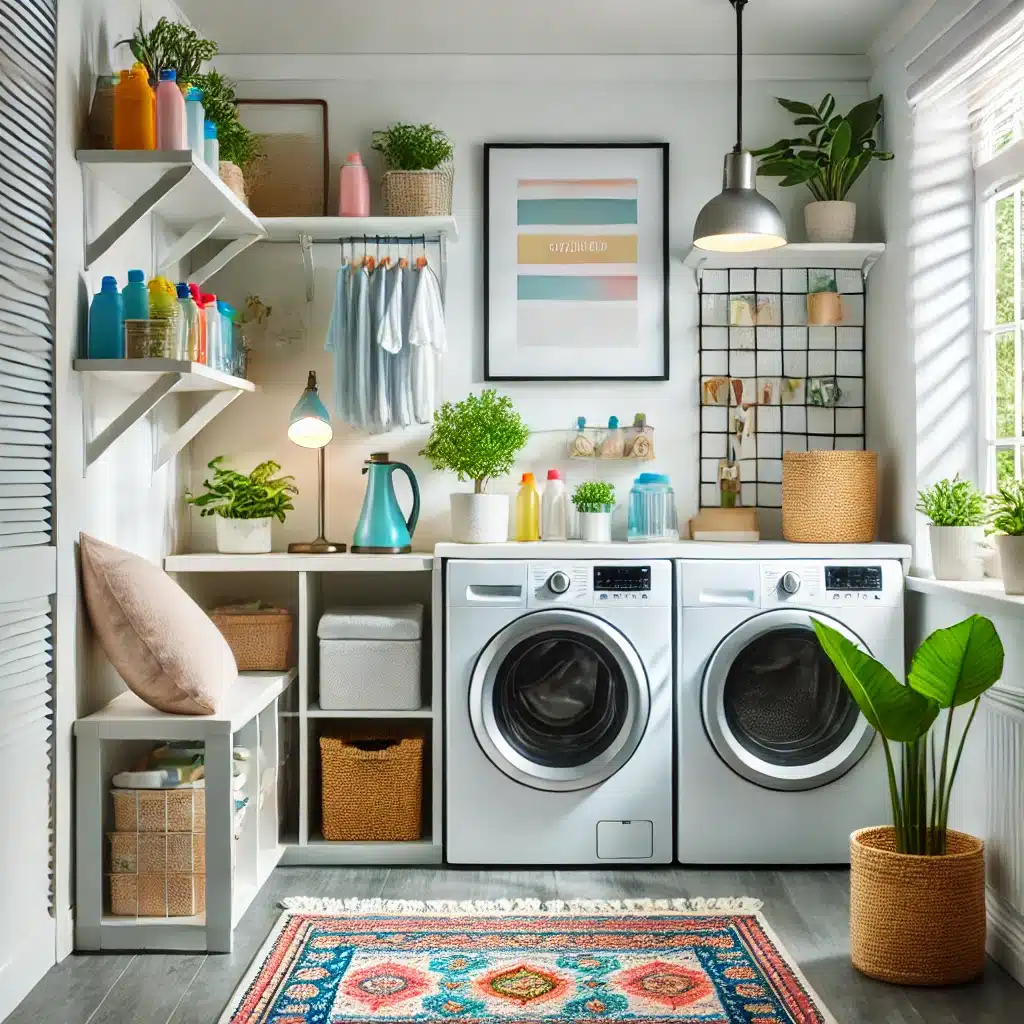
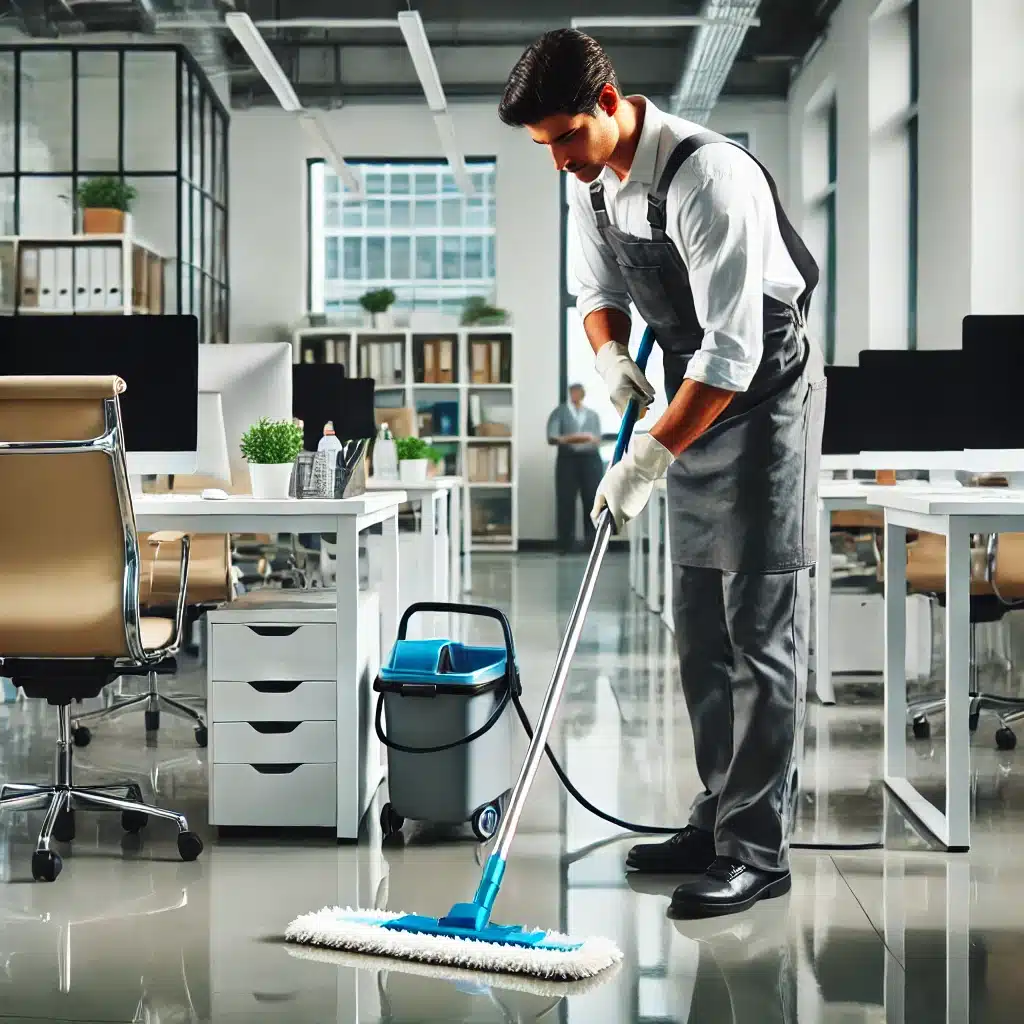
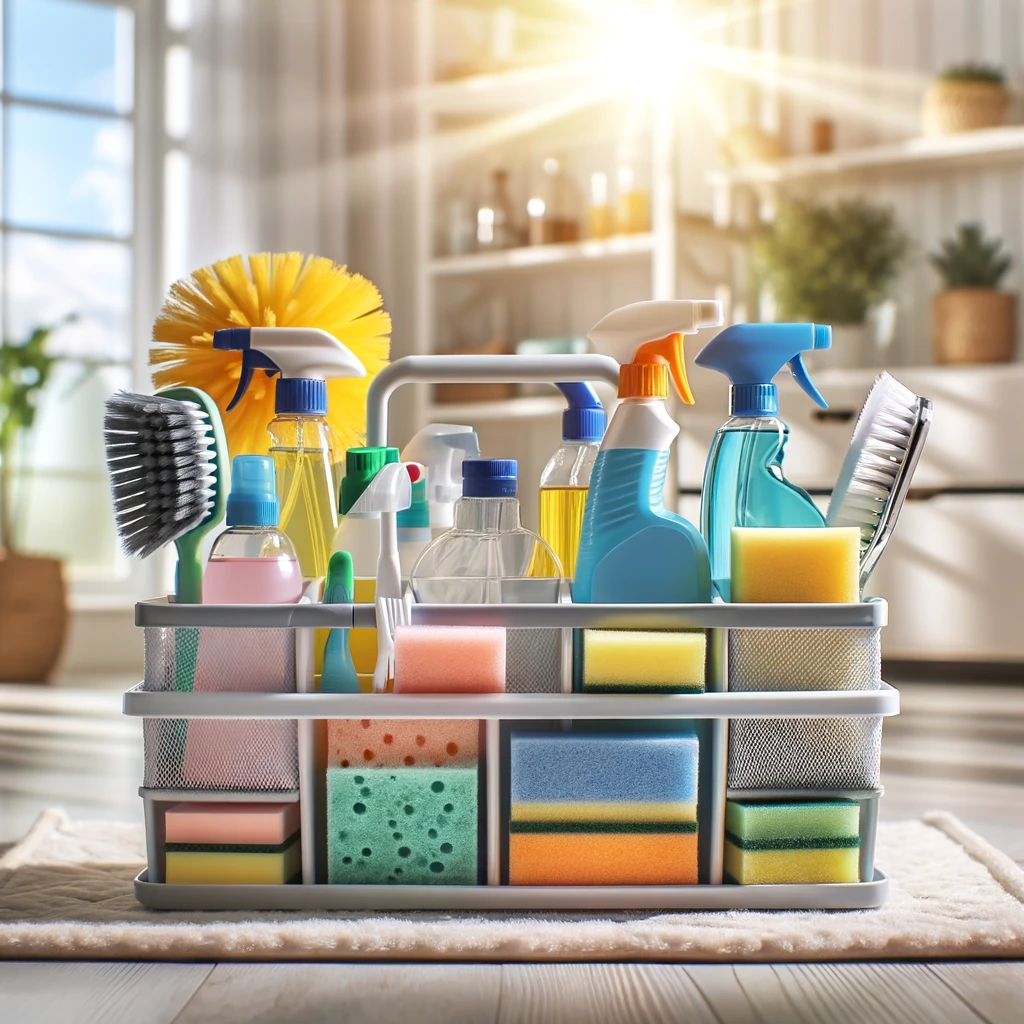
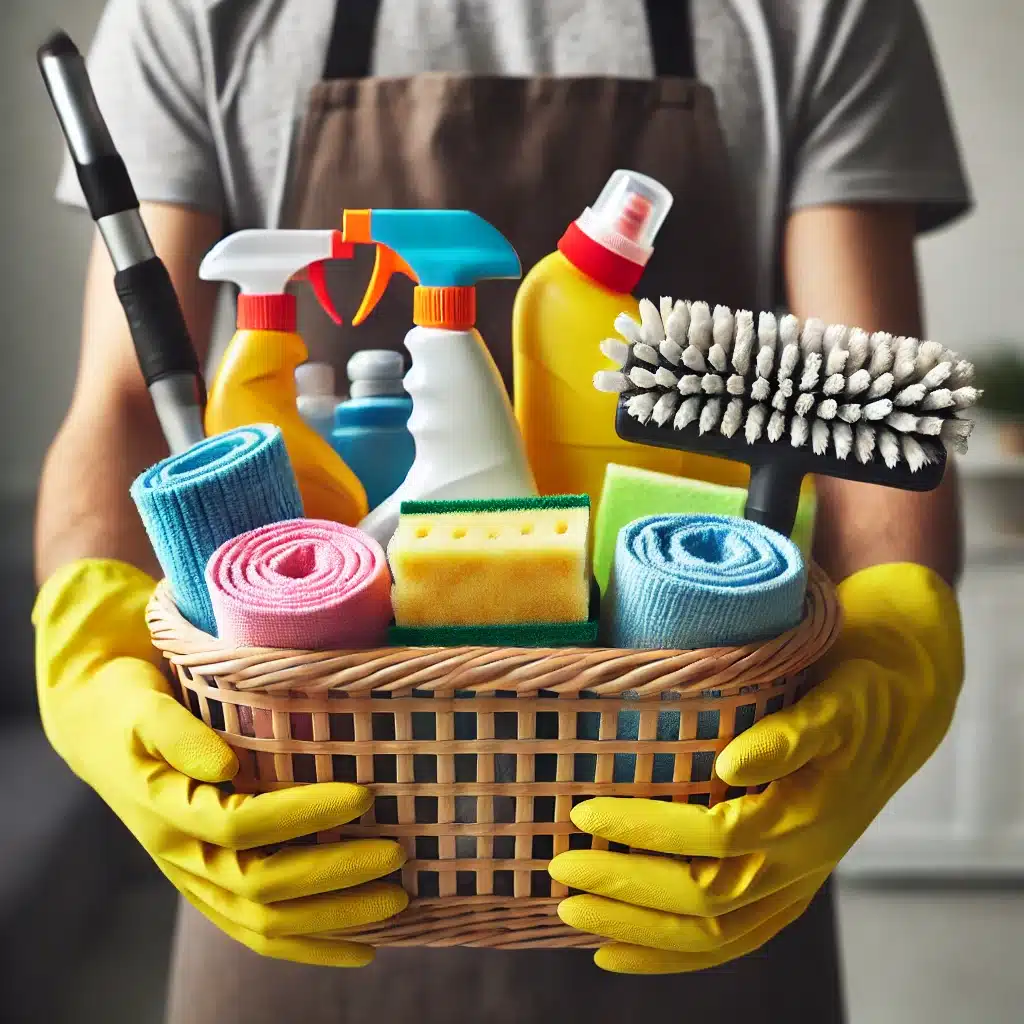
Essential Tools and Supplies for Cleaning Jobs
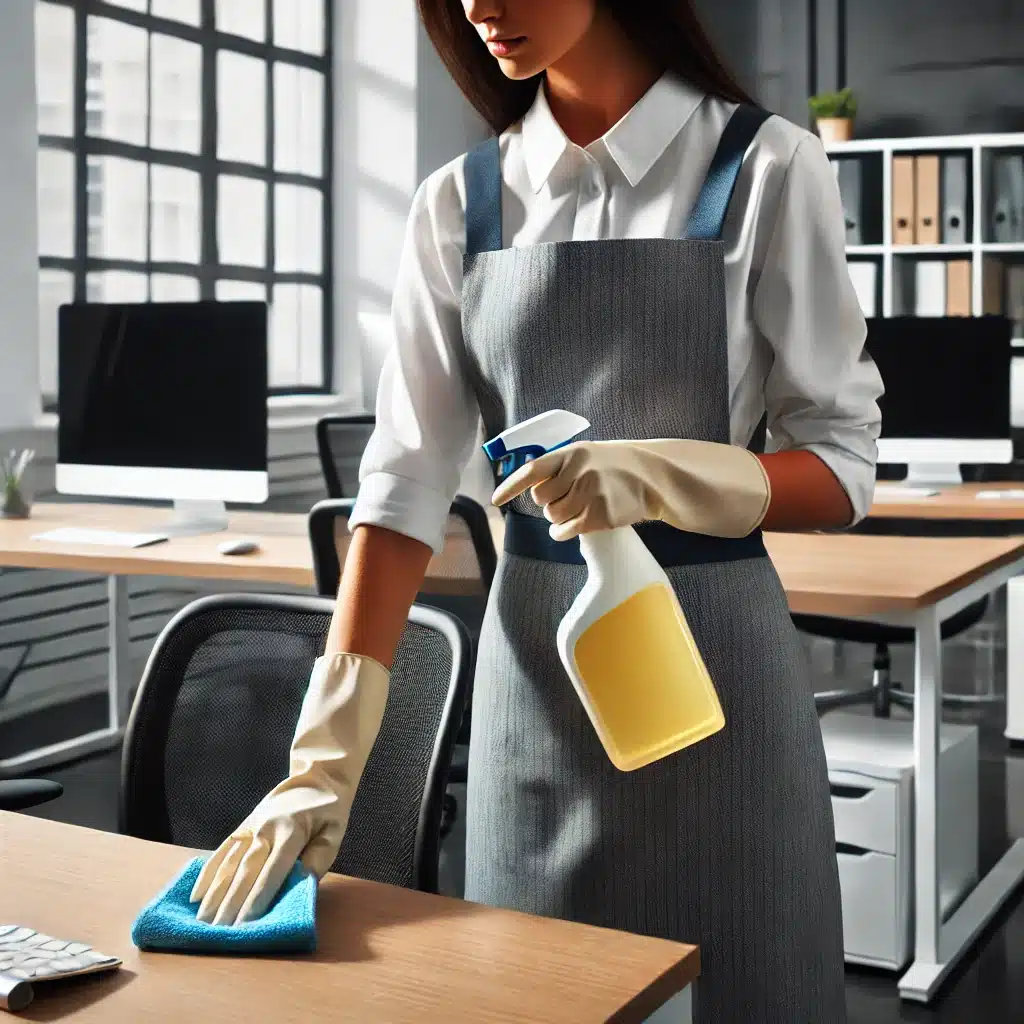
Keeping your home sparkling clean with a cleaning job can be a breeze if you have the right tools and supplies. Whether you’re tackling a deep clean, regular maintenance, or preparing for a move-in/move-out cleaning job, having 1. Microfiber Cloths Microfiber cloths are a game-changer for any cleaning job. These versatile cloths, made from synthetic fibers, are highly absorbent and can be used either dry or damp. Their unique construction allows them to trap dust, dirt, and even bacteria effectively, making them a staple in any cleaning arsenal. Unlike traditional cloths or paper towels, microfiber cloths can clean surfaces without leaving streaks or scratches, ensuring a spotless finish every time. This makes them ideal for a variety of tasks, from dusting delicate surfaces like electronics and furniture to wiping down kitchen counters and polishing mirrors and windows. What sets microfiber cloths apart in any cleaning job is their ability to handle different types of surfaces with ease. When used dry, they excel at dusting, thanks to their electrostatic properties, which attract and hold onto dust particles rather than just pushing them around. When dampened, these cloths become even more effective, lifting and absorbing spills and grime without the need for harsh chemicals. This dual functionality not only makes cleaning more efficient but also more environmentally friendly, as it reduces the reliance on disposable products and chemical cleaners. In addition to their versatility and efficiency, microfiber cloths are also incredibly durable. They can be washed and reused hundreds of times without losing their cleaning power, making them a cost-effective solution for any household. For anyone tackling a cleaning job, whether it’s routine maintenance or a deep clean, microfiber cloths are an essential tool that can handle everything from everyday dusting to intensive scrubbing. 2. All-Purpose Cleaner An all-purpose cleaner is a must-have for any cleaning arsenal, serving as the backbone for tackling a wide range of cleaning jobs. Its versatility is one of its greatest strengths, allowing you to use it on multiple surfaces and stains with ease. From greasy kitchen counters to grimy bathroom tiles and even certain types of flooring, an all-purpose cleaner can handle it all. This means you don’t need to clutter your cleaning cupboard with multiple specialized products. Instead, you can rely on a single, powerful solution to maintain the cleanliness and hygiene of your home efficiently. When choosing an all-purpose cleaner for your cleaning jobs, it’s crucial to consider products that are safe for both the environment and your family. Eco-friendly cleaners made from natural ingredients can be just as effective as their chemical-laden counterparts, without the harsh side effects. These cleaners reduce the number of toxins released into your home, ensuring a healthier living space for everyone. Additionally, they are often biodegradable, minimizing environmental impact. 3. Vacuum Cleaner A good vacuum cleaner is essential for maintaining clean carpets and floors, making it a cornerstone tool for any cleaning job. The right vacuum can significantly reduce the time and effort required to keep your home tidy, ensuring that every nook and cranny is free from dust, dirt, and debris. Modern vacuum cleaners come equipped with various features and attachments designed to handle different surfaces and hard-to-reach areas, from plush carpets to hardwood floors and narrow crevices. These attachments enhance the vacuum’s versatility, allowing you to switch between different cleaning tasks seamlessly and efficiently. For those with pets, a vacuum cleaner equipped with a HEPA filter is particularly beneficial. Pet hair and dander can be challenging to manage, but a HEPA filter traps these tiny particles, preventing them from being recirculated into the air. This is especially important for maintaining good indoor air quality and reducing allergens, which can be a significant concern for allergy sufferers. 4. Broom and Dustpan For quick clean-ups and daily maintenance, a sturdy broom and dustpan are indispensable tools in any cleaning job. These simple yet effective items are perfect for swiftly sweeping up crumbs, dirt, and debris from your floors, making them essential for keeping your home tidy on a day-to-day basis. Unlike vacuum cleaners, which can be cumbersome for smaller messes, a broom and dustpan offer a lightweight and portable solution. They are especially handy in high-traffic areas like kitchens and entryways, where dirt and debris accumulate rapidly. A broom with angled bristles is particularly effective for thorough cleaning jobs, as it can easily reach into corners and under furniture where dust and dirt often hide. These bristles are designed to adapt to the contours of your floors, ensuring that every sweep captures as much debris as possible. This makes them not only efficient but also versatile, suitable for a variety of surfaces from hardwood and tile to linoleum. 5. Mop and Bucket A mop and bucket are essential for keeping your floors spotless, making them vital tools for any cleaning job. The right combination ensures that you can effectively remove dirt, spills, and stains, maintaining the overall cleanliness and appearance of your home. Whether you opt for a traditional string mop or a more modern microfiber mop, it’s important to choose one that’s suitable for your specific flooring type. For example, a string mop is excellent for heavy-duty cleaning jobs, while a microfiber mop is perfect for delicate surfaces and daily maintenance. The versatility of these tools allows you to adapt your cleaning approach based on the needs of different areas in your home. A bucket with a wringer is an invaluable addition to your mopping setup, providing you with better control over the amount of water used during your cleaning job. This feature is particularly important for preventing water damage to sensitive flooring materials like hardwood or laminate, which can warp or buckle when exposed to excessive moisture. By wringing out the mop thoroughly, you can ensure that your floors are cleaned efficiently without being overly saturated. Additionally, using a mop and bucket combination can significantly reduce the physical strain of mopping, as it minimizes the need to bend over and manually wring out