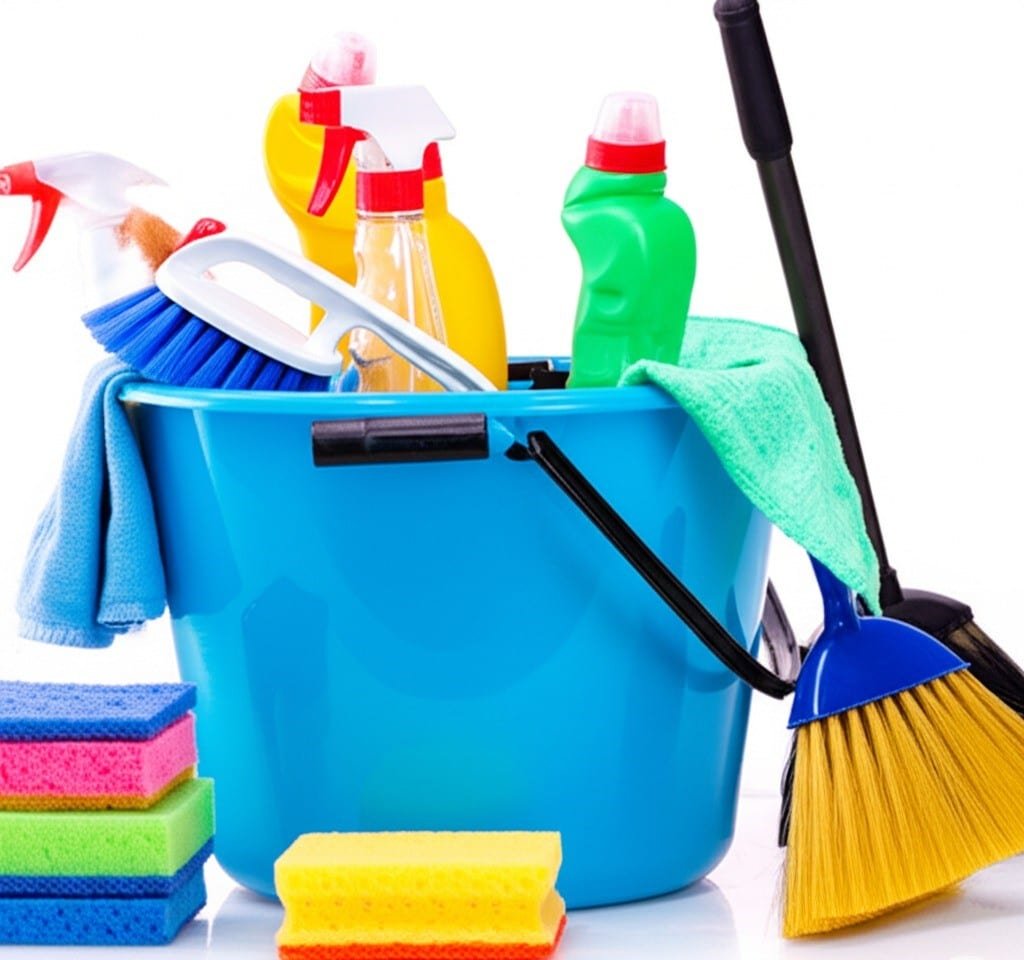
How To Clean Kitchen Islands – You Should Know
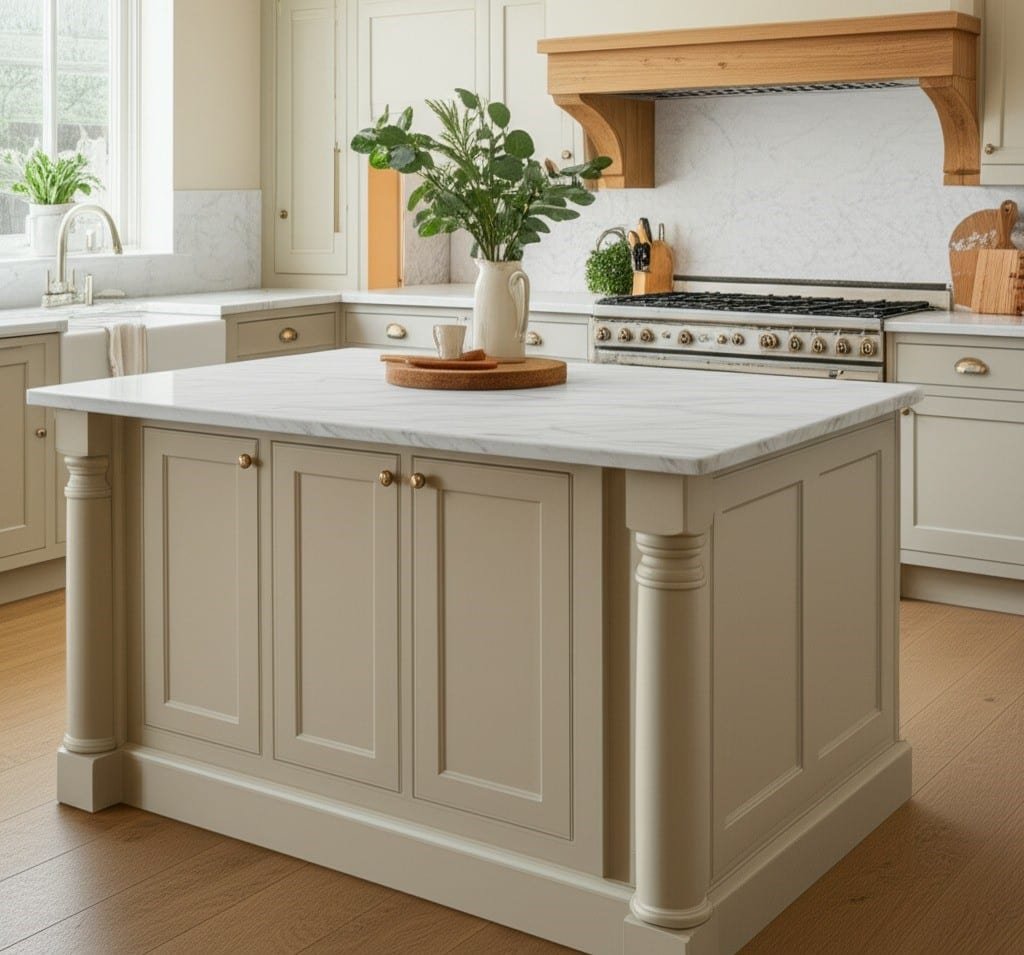
Keeping a kitchen island clean and looking its best requires understanding its various surfaces and the materials that are best suited to each. Often the center of culinary activities and social gatherings, kitchen islands can be constructed from a variety of materials, each with specific cleaning requirements. 1.Granite For kitchen islands topped with granite, a natural stone known for its durability and unique patterns, daily cleaning should involve a pH-neutral cleaner formulated specifically for stone, or a mild solution of dish soap and warm water. Application with a soft microfiber cloth is ideal, followed by thorough rinsing and drying to prevent water spots and film buildup on your kitchen island. Abrasive cleaners, scouring powders, and acidic substances such as vinegar or lemon juice should be avoided, as they can erode the surface or dull the polish over time. Granite countertops are porous and are typically sealed after installation. This sealant wears away with use and requires reapplication, usually annually or semi-annually, depending on use. Sealant integrity testing can be done by looking for water droplets on the surface; if water seeps through, it’s time to reseal. To remove stains from granite, special poultices are effective. Oil-based stains on your kitchen island can usually be removed with a paste of baking soda and water, left to sit for several hours or overnight before gently wiping away. Organic stains, such as coffee or wine stains, may respond well to a poultice made with hydrogen peroxide and flour. Always test stain removal methods on an inconspicuous area first. 2. Quartz Kitchen islands with quartz countertops, a man-made stone product, are praised for their nonporous nature and high resistance to stains and scratches. Daily cleaning is simple: a soft cloth or sponge with warm water and a mild detergent is usually sufficient. Unlike granite, quartz does not require sealing. However, it is important to avoid harsh chemicals, such as bleach or oven cleaners, and abrasive pads, which can dull the surface or cause fine scratches. Although highly stain-resistant, immediate cleaning of spills such as wine, coffee or paint is still recommended. For dried-on residue on your kitchen island, a plastic spatula can be used gently, followed by wiping with a non-abrasive cleaner designed for quartz or a glass cleaner. Direct heat can damage quartz, so using hot pads or sponges under hot pans is essential. 3.Marble Marble kitchen islands, another natural stone, bring elegance to an island, but are considerably more delicate than granite or quartz. Their soft, porous nature makes them highly susceptible to stains, etching, and scratches. Only pH-neutral cleaners should be used on marble. Even mildly acidic substances, including common foods such as citrus juice, vinegar, or tomatoes, can erode the surface, leaving dull stains. Cleaning a marble kitchen island involves wiping with a soft cloth, a pH-neutral cleaner, and thorough rinsing and drying. Marble countertops should be sealed regularly, often more frequently than granite, to protect against stains. Spills should be wiped up immediately. For stains, there are specialized marble powders available, or one can be made with baking soda and water for oil-based stains, or hydrogen peroxide for organic stains, similar to granite but with even more care. Abrasive cleaners and scrubbing will scratch marble. Polished marble may require professional repolishing over time to restore its shine. 4.Laminate Laminate countertops are an economical option, offering a wide variety of designs. Cleaning laminate is generally easy, requiring only a soft cloth or sponge with mild soap and water or a non-abrasive all-purpose cleaner. It is crucial to avoid excessive amounts of water, especially near seams, as water can seep underneath and cause the substrate to swell or the laminate to delaminate. Abrasive cleaners, steel wool, or scouring pads will scratch the surface. For stubborn stains, a paste of baking soda and water can be gently applied, or a solvent such as denatured alcohol can be used sparingly for ink or dye stains, followed by a thorough rinse. Some laminate finishes may benefit from a specialized laminate polish to enhance the shine and provide a protective layer on your kitchen island. 5.Wood For kitchen islands with wood countertops or butcher block countertops, care routines depend on the finish. Sealed wood surfaces can be cleaned with a damp cloth and mild detergent and then dried thoroughly. Unsealed or oil-finished butcher blocks, often used for food preparation, require more specific care. Daily cleaning involves scraping off food debris, washing with hot water and mild detergent, and then immediately and thoroughly drying. To sanitize, a solution of white vinegar and water (usually in a 1:1 ratio) can be sprayed on, left for a few minutes, then wiped and dried. Food-grade mineral oil or a specialized butcher block conditioner (usually a mixture of mineral oil and beeswax) should be applied regularly, monthly or when the wood feels dry, to keep the wood moisturized, prevent cracking, and maintain its water resistance. This oiling process involves applying a generous layer, letting it soak in for several hours or overnight, and then wiping off the excess. Deep stains or burn marks may require sanding and re-oiling your kitchen island. Avoid letting water sit on the surface for long periods of time. 6.Stainless Stainless steel kitchen islands add a professional look to your kitchen and are known for being hygienic and heat-resistant. However, they can show fingerprints, water spots, and scratches. For daily cleaning, a soft cloth or sponge with mild detergent and warm water is effective. Always wipe in the direction of the wood grain. Rinse thoroughly and dry with a clean microfiber cloth to avoid water spots and streaks. Specialized stainless steel cleaners can enhance the shine and remove fingerprints from your kitchen island. For tougher dirt or sticky residue, a paste of baking soda and water can be gently rubbed in the direction of the wood grain. Avoid abrasive cleaners, steel wool, or scrubbing against the grain of the wood, as these will scratch the surface. Some find that a very light application of mineral