How to Declutter and Clean Your Home in 5 Easy Steps
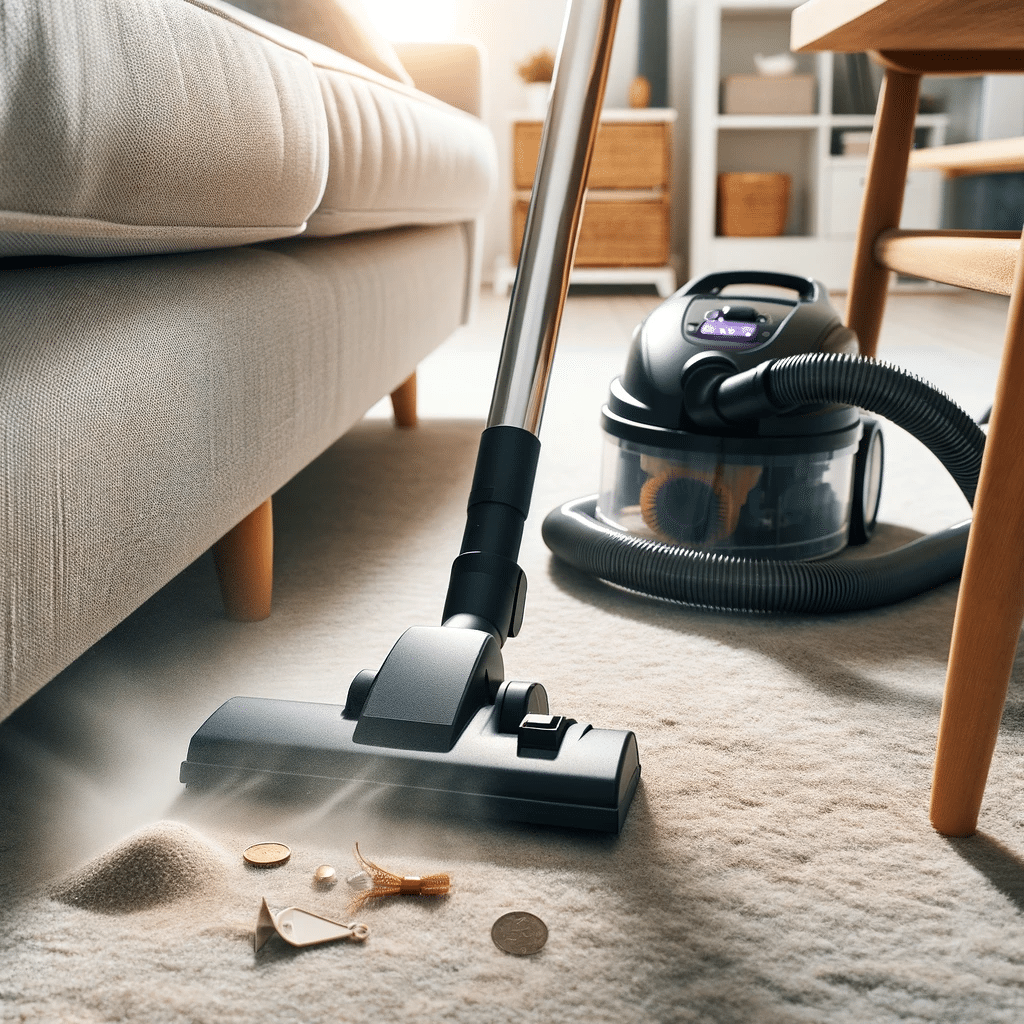
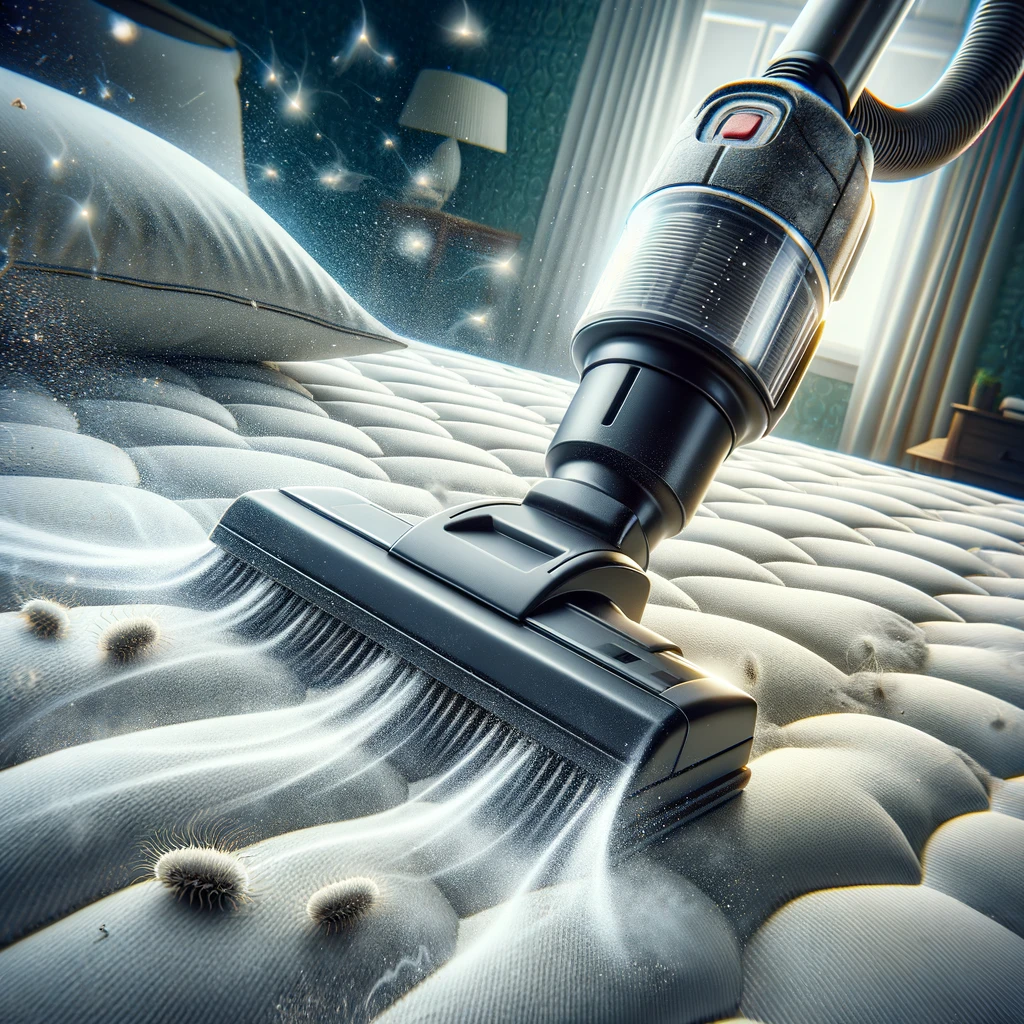
Ah, Declutter and Cleaning – the duo that promises a fresher, tidier home but often ends up on our “I’ll do it tomorrow” list. Whether you’re in Toronto, bracing against a brisk wind, or elsewhere, enjoying a sunnier clime, the steps to declutter and clean your space remain universally straightforward. Let’s dive into how you can transform your home into a sanctuary of calm and cleanliness in just five easy steps, so you can kick back and enjoy a well-deserved break in a space you love. 1. Set Your Goals and Make a Plan Imagine your ideal living space. Maybe it’s a minimalist haven with sleek surfaces and strategically placed art. Or perhaps it’s a cozy, book-filled nook with warm lighting and plush pillows. Whatever your vision, hold onto it tightly because this image is your guiding star through the process. Let’s break down the planning part. It’s all about approachability. Think about how eating a pizza slice by slice is less daunting than trying to eat the whole pie at once. Apply the same principle here. By breaking down your space into manageable sections, you’re making the task less intimidating and more doable. It could be as detailed as starting with a single drawer or shelf. The key is to create a sequence that logically flows from one area to the next, ensuring you’re not just moving clutter around but actually clearing it out. Setting realistic timelines is another cornerstone of this step. While we’d all love to wave a magic wand and have everything sorted in an afternoon, the reality is that decluttering and cleaning can take time, especially if you’re doing a thorough job. Be kind to yourself and set achievable goals. If Saturdays are your free days, perhaps dedicate a couple of hours each Saturday to tackle a new area. Progress is progress, no matter how small. One final tip for this planning stage is to consider the challenges you might face. Maybe you struggle to let go of items for sentimental reasons, or you find it hard to stay motivated. Anticipate these hurdles and plan ways to overcome them. This might mean inviting a friend to help and offer moral support, or rewarding yourself after completing each section of your home. 2. The Four-Box Method The four-box method transforms what can often feel like an overwhelming chore into a manageable, almost game-like process. It’s about creating a physical and mental space that reflects your current needs and joys. Each box or bin becomes a decision point, guiding you towards a clearer, more intentional living environment. When you start with this method, it’s like setting up a personal sorting station, where every item in your home has to make a case for its continued place in your life. The “Keep” box is for those items that still have a role to play, whether it’s practical use or emotional value. This is where your favorite kitchen gadgets, cherished photographs, and cozy sweaters will end up. The “Donate/Sell” box is your opportunity to give your items a second life with someone else. It’s a reminder that what no longer serves you might be exactly what someone else is looking for. Whether it’s clothes that don’t fit, books you’ve finished reading, or duplicate kitchen tools, this box helps you lighten your load while offering up possibilities for others. Then there’s the “Recycle” box, a nod to our environmental responsibilities. This is where you place items that shouldn’t go to the landfill but can be transformed into something new. Think of old magazines, electronics that have seen better days, and glass jars from gone-off condiments. Recycling is a critical step in decluttering responsibly, ensuring that we’re not just clearing our homes but also contributing positively to our planet. Lastly, the “Trash” bin is the final resort for items that have outlived their usefulness and can’t be repurposed or recycled. Worn-out shoes, broken electronics, and expired medications are examples of what might end up here. While it’s the least desirable outcome, it’s an essential part of decluttering, helping us fully let go of what’s no longer needed. 3. Deep Clean After Decluttering Once the clutter has been cleared, and your space starts to resemble the tidy haven you’ve envisioned, the next step is to deep clean your home. This isn’t just about making things look nice; it’s about creating a healthier, more inviting environment for you and anyone who steps through your door. By starting from the top and working your way down, you ensure that no nook is left untouched and that your efforts are as efficient as they are effective. Beginning with the ceilings and light fixtures might seem a bit counterintuitive at first. After all, these areas aren’t typically the dirtiest parts of our homes. However, you’d be surprised by how much dust can accumulate on ceiling fans, in light fixtures, and along crown moldings. By tackling these areas first, you ensure that any dust or dirt that falls during the cleaning process won’t settle on already cleaned surfaces. For those braving the diverse weather of Toronto, the cleaning process includes some specific challenges. The changing seasons bring a mix of humidity, rain, snow, and everything in between, affecting different parts of your home. Windows, for instance, can become grimy from precipitation and changing temperatures. Giving them a thorough clean not only brightens your rooms but also enhances your view of the outside world, no matter the season. Furnace filters are another area that shouldn’t be overlooked. These work tirelessly to filter out dust, pollen, and other airborne particles from your heating system, ensuring the air in your home is as clean as possible. Over time, however, they can become clogged, reducing their efficiency and potentially circulating dirty air throughout your home. Checking and replacing these filters as part of your deep cleaning process can make a significant difference in your home’s air quality. Areas prone to dampness or mold, such as bathrooms, basements, and
How to Declutter and Clean Your Home in 5 Easy Steps Read More »