5 Proven Facts About Activated Charcoal for Cleaning Your Home
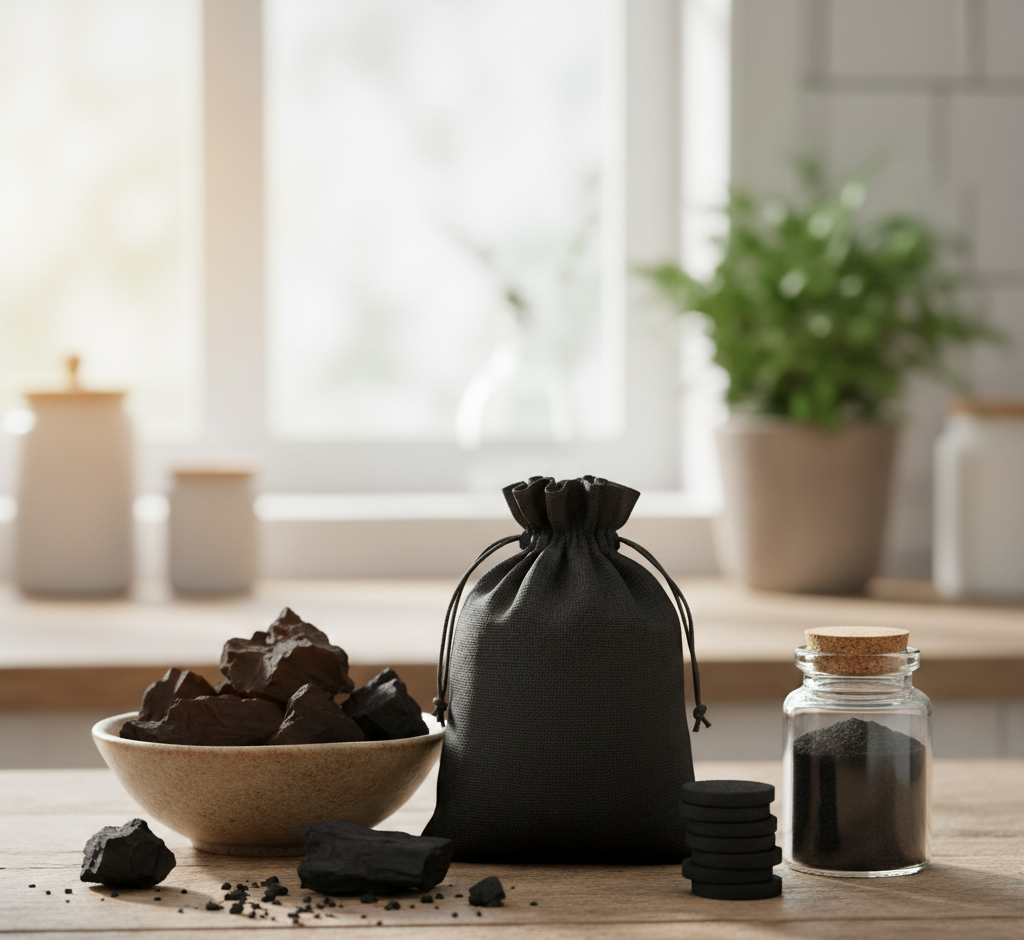
How does activated charcoal work? In the world of home care, some of the most powerful solutions work not through aggressive scrubbing or harsh chemical reactions, but through a quiet, passive, and relentless process of attraction. Among these silent workers, activated charcoal stands out as a true natural wonder. This unassuming, porous black substance is a master of purification, a molecular-level trapper that can pull odors, pollutants, and impurities directly out of the air and water. Understanding the science behind this simple material unlocks a versatile, sustainable, and incredibly effective tool for creating a cleaner, fresher, and healthier home environment. What is Activated Charcoal? The magic of activated charcoal lies in a powerful scientific principle called adsorption—not to be confused with its more common cousin, absorption. While absorption involves a substance soaking up another, like a sponge soaking up water, adsorption is a surface-level phenomenon. The process of creating activated charcoal involves heating carbon-rich materials, such as wood, coconut shells, or bamboo, to extremely high temperatures in the absence of oxygen. This process, called pyrolysis, is followed by “activation,” which involves treating the charcoal with oxygen or steam. This activation erodes the internal surfaces of the charcoal, creating a vast, labyrinthine network of microscopic pores and dramatically increasing its surface area. A single gram of activated charcoal can have a surface area equivalent to a football field. It is this immense, porous surface area that gives activated charcoal its power. The surface of the carbon is covered with millions of tiny bonding sites. Think of it as a form of molecular Velcro. When air or water containing impurities flows past it, the unwanted molecules—be they volatile organic compounds (VOCs), odor-causing bacteria, or chlorine—are drawn to this surface and become physically stuck. The charcoal literally traps and holds onto these molecules, removing them from the surrounding environment. It does not mask them or neutralize them with another chemical; it physically removes them from circulation. How to use 1.Deodorizer The most common and celebrated application for activated charcoal in the home is as a passive, long-lasting deodorizer. This is where it truly excels, providing a continuous, chemical-free solution to a host of common household smells. One of the most challenging areas to keep fresh is a damp, musty space with poor air circulation, such as a basement, a closet, or the cabinet under a sink. This musty smell is caused by the off-gassing of mold and mildew spores that thrive in humid environments. While conventional air fresheners simply mask this odor with a stronger scent, activated charcoal directly addresses the source. By placing a few breathable bags filled with activated charcoal in these areas, you create a silent, 24/7 odor trap. As air circulates, the charcoal will continuously adsorb the airborne mold spores and the volatile organic compounds they produce, effectively removing the musty smell from the air rather than just covering it up. 2.Kitchen This same principle makes activated charcoal a phenomenal tool for refrigerators and freezers. While an open box of baking soda can neutralize some acidic food odors, activated charcoal is a broader-spectrum solution, capable of trapping a wider range of odor molecules. A small bag placed in the fridge will not only absorb the pungent smells of onions, garlic, or strong cheeses but will also help to prevent flavor transfer between different foods. This means your butter will not taste faintly of last night’s fish, and your fruits will not absorb the savory smells of other items. It even goes a step further by adsorbing ethylene gas, a natural ripening agent emitted by many fruits and vegetables. By removing this gas, activated charcoal can actually help to extend the freshness of your produce. 3.Bathrooms, Mudrooms, and Pet areas Activated charcoal is also a lifesaver in high-odor zones like bathrooms, mudrooms, and pet areas. A small bag placed discreetly near a litter box can dramatically reduce ambient odors, providing a constant defense against smells without releasing any fragrances that might irritate a sensitive pet. In a shoe closet, a sports equipment locker, or directly inside a pair of gym shoes, it will work relentlessly to adsorb the moisture and trap the bacteria that cause footwear to become unpleasant. By managing the odor at its source, it keeps these confined spaces from becoming overpowering. 4.Purifying Water Beyond deodorizing the air, activated charcoal is one of the most effective and widely used substances for purifying water. This is the same principle of adsorption at work. The charcoal filters found in popular water pitchers and faucet-mounted systems are filled with granulated activated carbon. As tap water flows through the filter, the charcoal’s vast surface area traps a host of common impurities. It is particularly effective at removing chlorine, which is added to municipal water as a disinfectant but can give it an unpleasant taste and smell. It also adsorbs many organic compounds, such as pesticides and industrial solvents, further improving the quality and taste of your drinking water. However, it is just as important to understand what activated charcoal doesn’t do in water. It does not remove dissolved minerals, so it will not soften your water. It is also not effective at removing most viruses, bacteria, or inorganic contaminants like fluoride and nitrates. For this reason, it should be seen as a tool for improving the taste and quality of municipally treated water, not for purifying water from an unknown or unsafe source. Stain Remover While its passive deodorizing and filtering abilities are its primary strengths, activated charcoal can also be used in a more hands-on cleaning capacity, particularly as a gentle, stain-lifting poultice. A poultice is a thick paste designed to draw out stains from porous surfaces. This method can be effective on stubborn organic stains—like wine or oil—on unsealed surfaces like concrete or very dark stone. To create a poultice, you can mix activated charcoal powder with water to form a thick paste, similar in consistency to peanut butter. Apply this paste in a thick layer over the stain, then cover
5 Proven Facts About Activated Charcoal for Cleaning Your Home Read More »