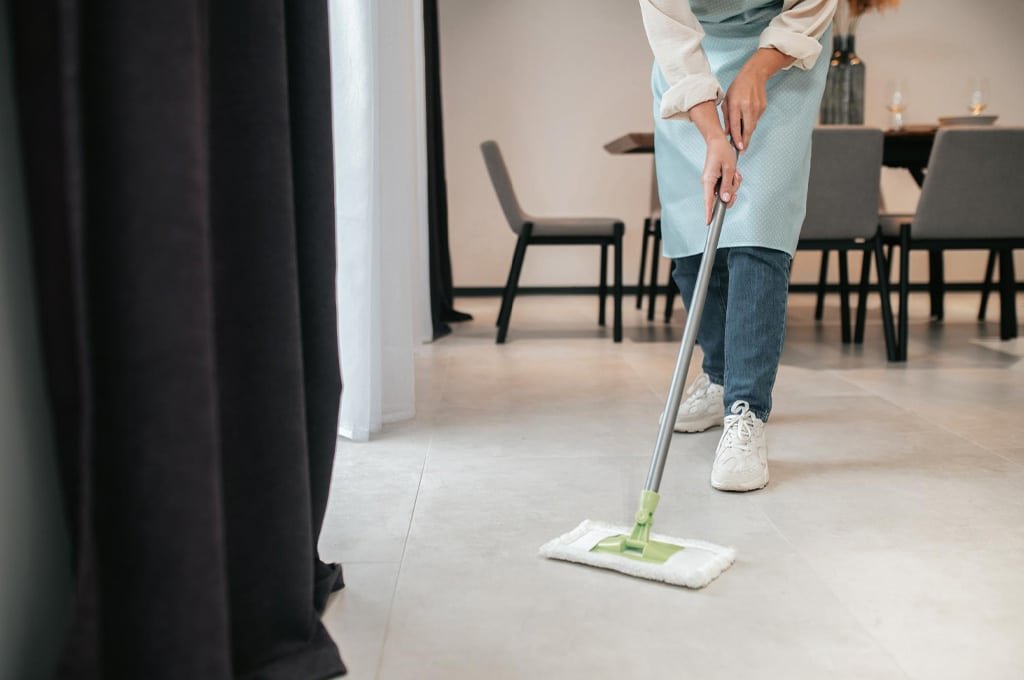
5 Good Reasons Why You Should Use Apartment Cleaning Services in Toronto
5 Good Reasons to Hire Apartment Cleaning Services in Toronto Living in a bustling city like Toronto means balancing work, social life, and personal time. Keeping your apartment clean often takes a back seat to more pressing priorities. Professional apartment cleaning services offer a practical solution that goes beyond surface tidiness. Here are five compelling reasons to let the experts handle the dusting, scrubbing, and vacuuming. 1. Save Valuable Time Every Week Time is your most non-renewable resource. Between commuting, career demands, and family obligations, finding hours to deep clean your apartment can feel impossible. A professional cleaning team can accomplish in two hours what might take you an entire Saturday. That reclaimed time can go toward hobbies, exercise, time with loved ones, or simply resting. Regular cleaning services work around your schedule, arriving when it suits you so you never have to sacrifice another weekend to scrubbing floors. 2. Achieve a Professional-Grade Clean Everyday cleaning routines miss the hidden spots where dust and grime accumulate. Professional cleaners bring commercial-grade equipment and specialized techniques to reach behind appliances, inside cabinets, and into corners that regular mopping and dusting skip. They use high-quality products that break down grease, remove stubborn stains, and sanitize surfaces more effectively than typical store-bought supplies. Many services now offer eco-friendly options that keep your apartment fresh without introducing harsh chemicals into your living space. Depending on the plan you choose, a typical visit can include: Kitchen detailing: counters, sinks, appliance exteriors, and cabinet fronts Bathroom sanitizing: tubs, showers, toilets, and sinks Dusting: baseboards, window sills, light fixtures, and vents Floor care: vacuuming carpets and mopping hard floors 3. Customized Plans That Fit Your Lifestyle No two apartments are alike, and neither are cleaning needs. Professional services tailor their approach to your specific situation. Whether you need a weekly refresh, a bi-weekly deep clean, a one-time move-out service, or extra attention on the kitchen and bathroom, a customized cleaning plan adapts to you. You can adjust frequency, skip weeks when hosting guests, or add extra services for seasonal deep cleaning. This flexibility ensures you only pay for what you actually need. Cleaning Plan Type Best For Frequency Regular maintenance Busy professionals, small families Weekly or bi-weekly Deep cleaning Seasonal refresh, allergy sufferers Monthly or quarterly Move-in or move-out Renters, new homeowners One-time service Custom focus areas Kitchens, bathrooms, specific rooms As needed 4. Support a Healthier Living Environment A clean apartment directly affects your physical well-being. Dust mites, pet dander, mold spores, and airborne bacteria accumulate in carpets, upholstery, and hard-to-reach corners. Professional cleaning reduces these irritants, improving indoor air quality and lowering the risk of allergy flare-ups and respiratory issues. Kitchens and bathrooms receive special attention with sanitizing treatments that eliminate harmful germs. According to the CDC, regular cleaning and disinfecting of high-touch surfaces is one of the most effective ways to prevent the spread of illness in your home. The Government of Canada also emphasizes the importance of using household cleaning products safely to maintain a healthy indoor environment. A professionally cleaned space reduces your exposure to allergens and creates a sanctuary where you can truly relax. 5. Reduce Stress and Improve Mental Well-Being Cluttered, messy spaces contribute to feelings of overwhelm and anxiety. Walking into a tidy, organized apartment at the end of a long day has a measurable calming effect. Outsourcing your cleaning removes a major source of daily stress, freeing mental energy for more meaningful activities. Knowing your home will be consistently maintained regardless of how busy your schedule gets provides peace of mind that is hard to put a price on. Frequently Asked Questions How much do apartment cleaning services cost in Toronto? Pricing varies based on apartment size and cleaning type. Regular cleaning for a studio or one-bedroom typically starts around $212.63 before HST, while deep cleaning begins at approximately $270.38. Visit the pricing page for current rates. Are professional cleaners bonded and insured? Yes, reputable services like Toronto Shine Cleaning carry a $1,000,000 insurance policy and a $10,000 accidental breakage and surety bond, protecting both you and your property. What areas of Toronto do apartment cleaning services cover? Services extend across Toronto and the GTA, including Scarborough, North York, Etobicoke, Mississauga, Markham, Richmond Hill, Vaughan, and many more neighbourhoods. Check the locations page to confirm coverage in your area. Can I book a one-time clean instead of a regular schedule? Absolutely. Many providers offer one-time deep cleaning, move-in or move-out cleaning, and post-event cleaning alongside recurring plans. What if I need to change my cleaning schedule? Plans are flexible. You can skip a week, add an extra session, or adjust the focus of a particular clean with minimal notice. Make Your Apartment Shine Professional apartment cleaning services in Toronto deliver more than just a tidy space. They save you time, improve your health, reduce stress, and provide customized care for your home. Whether you need regular upkeep or a one-time deep clean, regular maid service or a thorough deep cleaning can transform your living experience. Call Toronto Shine Cleaning today at (647) 424-0355 to schedule your appointment.
5 Good Reasons Why You Should Use Apartment Cleaning Services in Toronto Read More »