Hey there! Are you searching for a guide to cleaning after moving out, wondering how to make it sparkle for the next person? No worries! I’m here to guide you through a top-to-bottom clean-up that’ll leave your space looking absolutely pristine. Whether you’re aiming to get that security deposit back without a hitch or just want to do a solid for the next occupant, this guide’s here to have your back.
Start with a Plan
Jumping straight into cleaning without a plan can be like trying to navigate a maze blindfolded. You know you need to get to the end, but how? The key lies in breaking down this monumental task into manageable chunks. Unlike your usual spruce-up, moving out cleaning demands a level of detail and thoroughness that’s a few notches above. So, let’s sketch out a strategy that’ll make this a breeze:
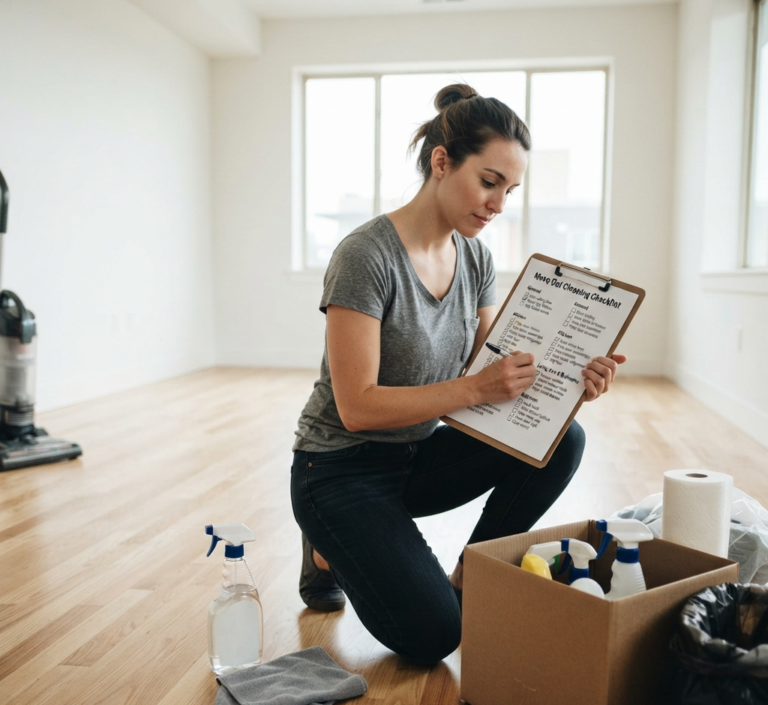
- Room-by-Room Checklist: The best way to tackle this is one room at a time. It’s like playing a game of cleaning chess – strategize and conquer each section before moving on to the next. This way, you won’t feel overwhelmed and you can ensure every nook and cranny gets the attention it deserves. Imagine the satisfaction of ticking off each room from your list!
- Deep Cleaning vs. Surface Cleaning: This is a crucial distinction. Some areas in your home will need more love than others. The oven, for instance, might be begging for a deep clean after all those baking adventures, or the bathroom tiles might be showing signs of soap scum and water stains. These spots will need your full attention and a bit of elbow grease. On the other hand, surfaces like countertops or shelves might just need a quick wipe to dust off and shine. It’s all about prioritizing and focusing your energy where it’s needed most.
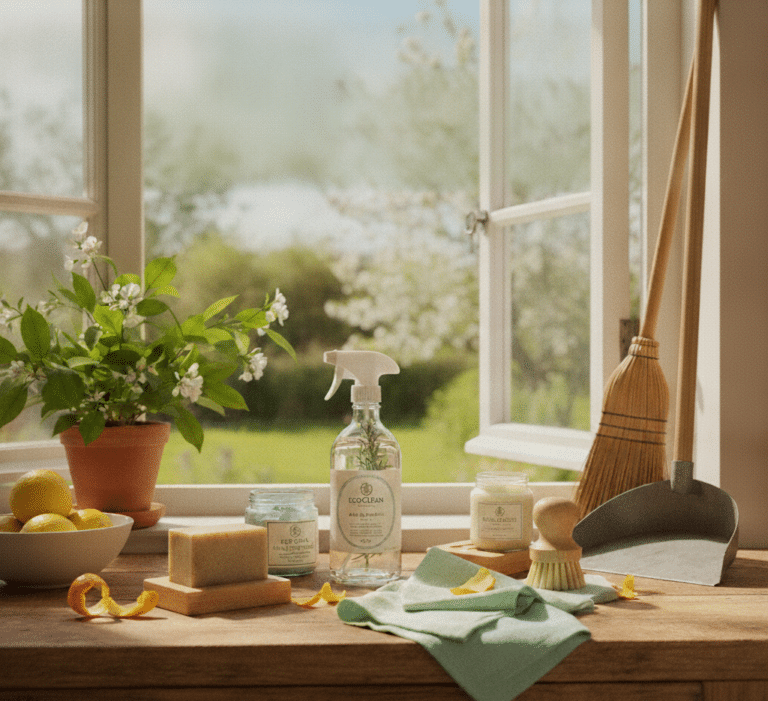
- Supplies Ready: Ever been in the middle of a cleaning spree only to find out you’re out of cleaner or scrubbing pads? Yeah, not fun. To avoid these mood-killing interruptions, do a quick inventory of your cleaning supplies before you start. Ensure you have everything from cleaners, sponges, and cloths to gloves and garbage bags. It’s better to be over-prepared than to have to hit pause and dash to the store mid-clean.
By setting up a clear plan and organizing your approach, you’ll find the task less daunting and more efficient. It’s about making the process as smooth and stress-free as possible. So, take a deep breath, arm yourself with your cleaning gear, and let’s make your place shine like it’s brand new!
Tackling Each Room
Now, let’s break down the cleaning process room by room.
Kitchen
- Fridge: Start by emptying it out completely. Toss anything old or expired. Then, mix a gentle cleaning solution (like baking soda and water) to wipe down the shelves and inner walls. Don’t ignore the nooks where crumbs and spills hide. The door seals often get overlooked but can harbor grime, so give them a good clean. And remember to unplug and pull out the fridge to clean the floor and wall behind it. Dust off the coils at the back too; this can actually help your fridge run more efficiently!
- Oven: This can be a bit of a project, but it’s so satisfying! If your oven has a self-cleaning function, start there. If not, you can make a paste with baking soda and water, apply it inside the oven, and let it sit overnight. The next day, wipe it down. Don’t forget the racks and the oven’s exterior, especially the knobs where greasy fingers often touch.
- Microwave: Mix some lemon juice or vinegar with water in a microwave-safe bowl and microwave it for a few minutes until it boils and steams up the window. This steam loosens grime and food splatters, making it easier to wipe down. Clean the outside, too, including the buttons.
- Dishwasher: Check the filter and clean out any trapped food particles. Run it empty with a dishwasher cleaner or just plain vinegar to freshen it up and remove any lingering odors.
- Cabinets: Empty them out and wipe down both the insides and outsides. Pay attention to the handles – they can get surprisingly grimy. For the tops of high cabinets, a duster with an extendable handle works wonders to remove that layer of dust that often accumulates there.
- Countertops: Use a cleaner suitable for your countertop material. If you have natural stone, like granite or marble, use a cleaner specifically for those surfaces. For laminate, a mild soap and water solution does the trick. Don’t forget the backsplash – it can collect a lot of splatters from cooking.
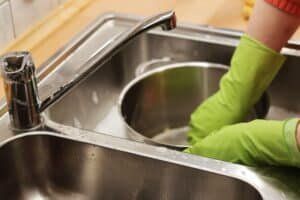
- Sink: To tackle limescale, use a mixture of vinegar and water, or a limescale remover if the buildup is significant. Don’t just clean the sink bowl; scrub the rim and the drain too. A toothbrush can be handy for scrubbing around the edges and the faucet.
- Faucets: After removing limescale, polish your faucets to make them shine. You can use a commercial polish or a DIY solution like a flour and water paste for stainless steel faucets, or just a soft cloth dampened with water and a bit of dish soap.
Bathroom
- Shower/Tub: For the shower or tub, a good scrub is key. Use a bathroom cleaner that’s designed to cut through soap scum and limescale. Don’t forget the shower doors or curtains – these can harbor a lot of soap residues and mildew. A mixture of vinegar and water works great on glass doors. If you have tiles, scrub the grout lines too; a toothbrush can be your best friend for this task. After cleaning, rinse everything thoroughly.
- Toilet: Cleaning the toilet is not the most glamorous task, but it’s essential. Use a strong disinfectant toilet cleaner. Don’t just clean the bowl; make sure to clean the rim, the seat, the lid, and the area around the base of the toilet. The toilet handle is a germ hotspot, so give that a good wipe too. For those hard-to-reach areas behind the toilet, a smaller mop or a cloth on the end of a long-handled brush can do wonders.
- Mirrors: For a streak-free shine on mirrors, use a glass cleaner or a homemade solution of vinegar and water. Wipe with a microfiber cloth or newspaper for the best results. Remember, lighting can reveal streaks you didn’t see initially, so check your work from different angles.
- Cabinets: Empty the cabinets first, then wipe them inside and out. Don’t forget the top of the cabinet – it’s a dust magnet. For the exterior, especially if it’s wood, a wood cleaner can bring out the shine. Handles and knobs should also be cleaned since they’re touched frequently.
- General Cleaning: Sweep or vacuum the floor first to remove hair and other debris. This makes mopping more effective.
- Mopping: Use a disinfectant cleaner suitable for your bathroom floor type. Pay extra attention to the corners and edges, where dust and grime tend to accumulate. Behind the toilet and under any vanities or cabinets are often missed spots – make sure to reach these areas.
- Grout Cleaning: If your bathroom floor is tiled, the grout may need special attention. A paste of baking soda and water applied to the grout, left for a few minutes, then scrubbed with a brush can help brighten it up.
Living Room and Bedrooms
- Carpets: Start with a thorough vacuuming. For stains, a carpet cleaner is your best bet. You can either rent a machine or use a carpet cleaning spray. Be sure to test any cleaner on a small, inconspicuous area first to avoid discoloration. If you have pets, consider a cleaner that’s designed to handle pet odors and stains.
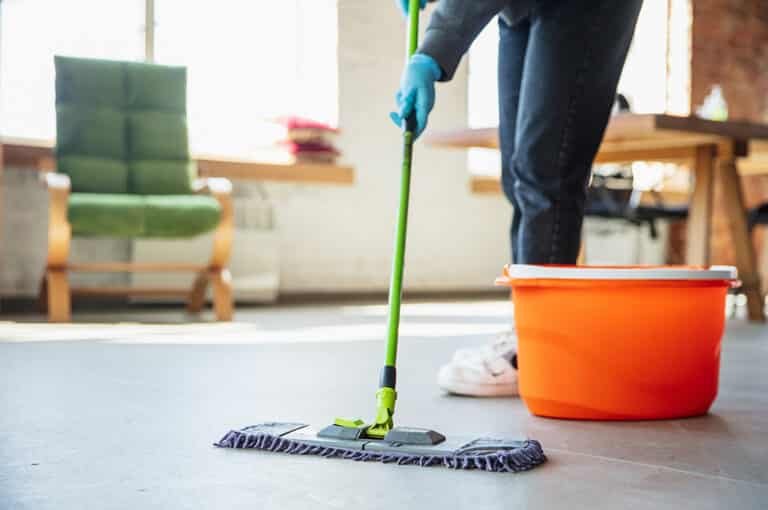
- Hard Floors: Sweep or vacuum first to remove any dust and debris. Then, mop with a floor cleaner suitable for your floor type. Be cautious with water on hardwood floors – use a damp mop rather than a wet one to avoid damage.
- Walls: Dust the walls first. For washable paint, a gentle cleaning with a sponge and a mild soap solution can remove most marks. Be gentle to avoid damaging the paint.
- Baseboards: These often get overlooked in regular cleaning, but they can accumulate a surprising amount of dust. Wipe them down with a damp cloth. For tougher marks, a magic eraser can be quite effective.
- Windows: Clean both the inside and outside of windows. A streak-free glass cleaner and a squeegee or microfiber cloth work well. Don’t forget to clean the window sills and tracks.
- Blinds: Dust blinds with a microfiber duster. If they’re particularly dirty, you may need to take them down for a more thorough cleaning, depending on the material.

Other Areas
- General Cleaning: Empty the closets completely to vacuum and wipe the shelves. This is also a great time to declutter.
- Closet Doors: Wipe down the closet doors, paying special attention to handles.
- Odor Removal: If there’s any lingering smell, use a deodorizer or leave an open box of baking soda in the rooms.
- Final Walkthrough: Do a final check to ensure you haven’t missed anything.
- Remove all personal items: Double-check all drawers and cabinets.
- Dispose of Trash: Don’t leave any garbage behind.
- Minor Repairs: If there are any small damages, like nail holes, fix them up.
Need Extra Help?
Sometimes, the task of deep cleaning an entire home during a move can feel like a mountain too high to climb, especially when you’re juggling packing, organizing, and the countless other tasks that come with moving. If you find yourself running short on time, or if the thought of scrubbing and dusting every corner just seems too daunting, there’s always the option of calling in the pros. Professional cleaning services like Toronto Shine Cleaning are experts in move-out cleaning. They come equipped with all the tools and expertise needed to make your home look and feel brand new.
A Complete Guide to Cleaning After Moving Out!
As you gear up for your move, keep in mind that cleaning your old place is more than just a chore – it’s an act of courtesy to the next occupants and a way to ensure a smooth transition out of your current home. Whether you’re aiming to get your full security deposit back, or you just want to leave things nice and tidy for the next residents, a thorough clean is essential. It might seem like a big task at first, but with some well-organized planning and a bit of effort, it’s definitely achievable. And remember, if it all gets to be too much, professional cleaners are just a call away.